Virtual tours allow prospective buyers to interact with a home and look at features in detail without being on-site. This can greatly increase the reach of your listings, so it’s essential for agents to know how to create them. To create a virtual home tour, start by deciding the type of virtual tour you’d like to create, choosing your equipment, and planning your shots before taking your photos. Additional details like leveling the tripod, staging each room, and using virtual tour software are also vital to creating a virtual tour.
Many real estate agents avoid creating virtual tours because of the assumed time, effort, and expenses. However, companies like Asteroom remove those obstacles by offering affordable and easy-to-use software, as well as a simple 3D tour kit for creating high-resolution virtual tours right from your smartphone. The kit provides tools to turn your smartphone into a 360-degree camera to create tours in 15 minutes. Start creating virtual tours with Asteroom today.
Here are 10 steps on how to create a virtual tour for real estate in greater detail:
1. Determine the Best Type of Virtual Tour to Offer
“Virtual tour” is an umbrella term used to describe a few different types of interactive property photos or videos. These include video walk-throughs, 3D virtual tours, and interactive 360-degree virtual tours. However, it’s important to know that a slideshow of listing photos set to music is not a virtual tour since it does not recreate the experience of being inside or walking through a property. True virtual tours have some element of interaction for viewers so they have a clear understanding of what it’s like to visit the property in person.
The three main types of virtual tours include the following:
A video tour or walk-through is exactly what it sounds like—a video showing the home as the agent or photographer walks through the property, or in other words, a guided walk-through of a property. Video tours are the least interactive virtual tour option, but they are the easiest to create using anything, from smartphones to highly sophisticated digital video equipment.
Video tours can be created in 10 to 15 minutes by walking around the home with your smartphone or a camera, like this example from Nava Realty Group:
Real estate video walk-through (Source: YouTube)
Video tours are one of the easiest ways to add an engaging and unique element to your property listings, but that’s only the beginning. In fact, video is the most engaging type of social media content, with 66% of users saying that short-form video is even more engaging than long-form. Therefore, make sure you take advantage of the marketing power of video.
3D virtual tours are not videos but are interactive experiences that allow users to click through 3D images and experience what it is like to move through the property. They are created by taking multiple photos of each space with a panoramic camera lens, then using virtual tour software to stitch the images together. The result is an interactive experience that allows viewers to more clearly understand the floor plan, view spaces from different angles, turn around, and back up in each room to see details.
Because this type of virtual tour is created from static images and not from video, the flow from room to room can feel jumpy, like looking at something in Google Street View. However, they provide considerable value to potential buyers because they can virtually “walk” through the property at their own speed and look at spaces in detail.
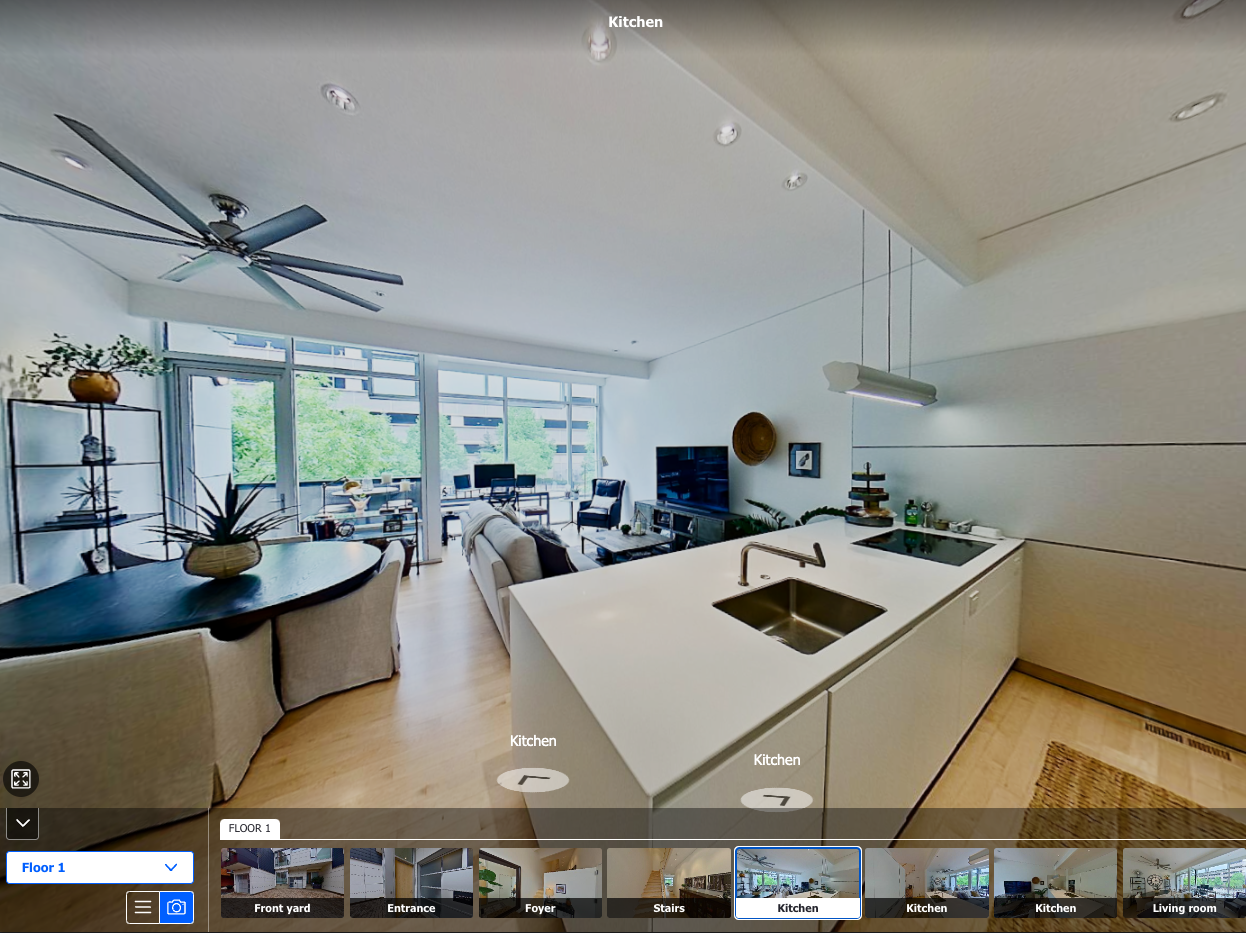
Clickable virtual tour (Source: Zillow)
Another affordable way to easily create a 3D home tour is with the Zillow 3D Home Tours. It’s a free app that works with 360-degree cameras and smartphones to capture panoramas and generate an interactive home tour. The tour can then be shared on the MLS, the Zillow listing, social media, and your website. Try the app today.
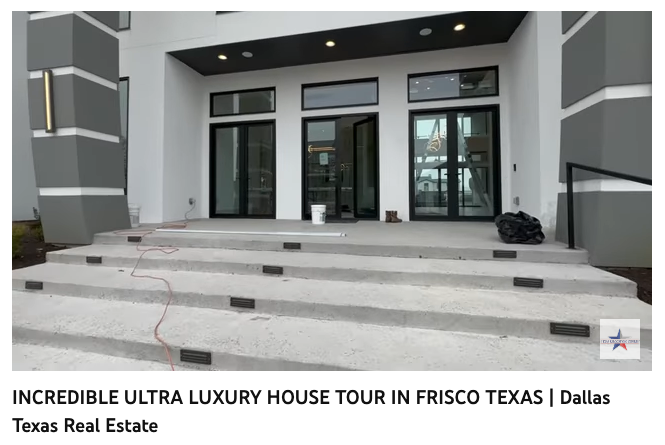
360-degree tours offer an immersive, true-to-life experience of walking through a home, similar to wearing a virtual reality (VR) headset. Of course, learning how to make a 360-degree tour requires more specialized equipment and software than the other types of virtual tours, but the result will help you and your listings stand out from the competition.
Sample residential 3D tour from Matterport (Source: Matterport 3D tour example)
360-degree virtual tours, like 3D tours, require you to set your camera in the center of the room. Then, you must activate your 360-degree camera, and it will rotate to take a high-resolution, 360-degree photo of its surroundings. Each photo is then uploaded to special software, where text, links, and other interactive multimedia content can be added to the photos—creating a highly dynamic experience for the viewer.
2. Choose the Right Equipment
One of the reasons that some agents avoid learning how to make virtual tours is that they are confused or intimidated by the equipment necessary to create them. In reality, the growth of virtual reality (VR) and 360-degree photography has increased the number and type of equipment options available. In fact, some virtual tour kits are extremely affordable and user-friendly, showing you how to do a virtual tour by using your smartphone or a DSLR camera.
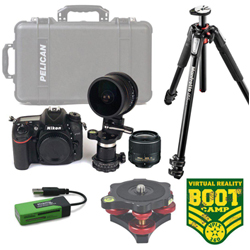
Many real estate photographers and professionals agree that the best way to create a virtual walk-through is by using a DSLR rig. A “rig” basically means adding equipment accessories to your DSLR to create a virtual tour. When you’re figuring out how to create 360-degree virtual tours with a DSLR camera rig, there are hundreds, if not thousands, of equipment and accessory options. However, the basics will always include:
- DSLR camera: A few great DSLR options for creating virtual tours are the Sony a7R series, Sony a6000, or Nikon D3500.
- Fisheye lens: This type of lens allows you to get the widest angle. Before selecting one, research cropped, circular, and diagonal fisheye lenses.
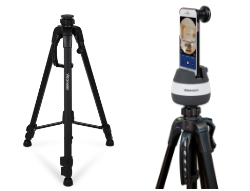
- Tripod and/or monopod: A tripod sits on a surface and holds your camera steady, while a monopod has only one leg, and is used for shooting smooth 360-degree videos.
- Panoramic tripod head: In addition to a tripod that holds your camera steady, virtual tours and 360-degree photos will require a tripod head for panoramic photos. Evaluate whether you need a manual or automatic tripod head.
- Carry case: While this may seem like an optional piece of equipment, it’s necessary to keep your equipment safe, secure, and easy to transport around the property.
On the other hand, advanced 360-degree cameras provide higher quality photography and videography with more extensive tools, features, and accessories.
Here are a few of the top virtual tour cameras on the market:
Equipment | Use | Price Range | Purchase From |
|---|---|---|---|
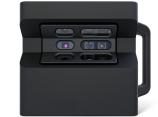
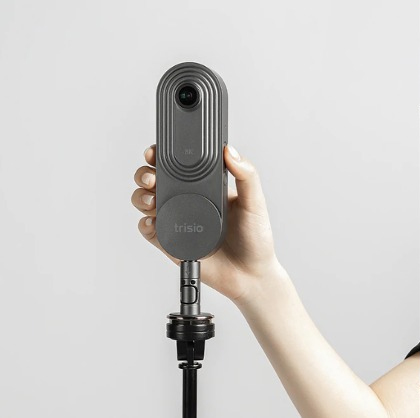 Trisio Lite 2 Camera |
| $399 | |
 Asteroom 3D Tour Kit |
| $109 - $399 | |
 Matterport Pro2 or Pro3 |
| $3,395 - $5,995 | |
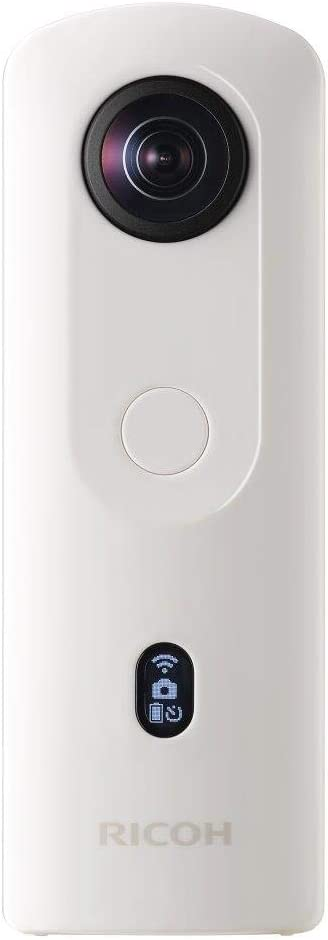 Ricoh Theta Z1 |
| $329 - $1,049 | |
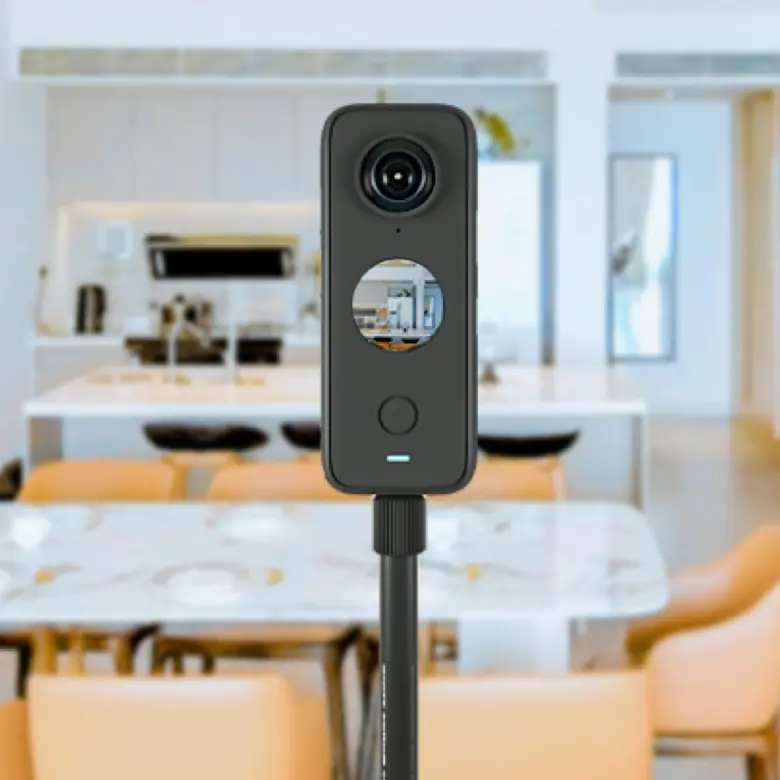 Insta360 One X2 |
| $429 - $490 | |
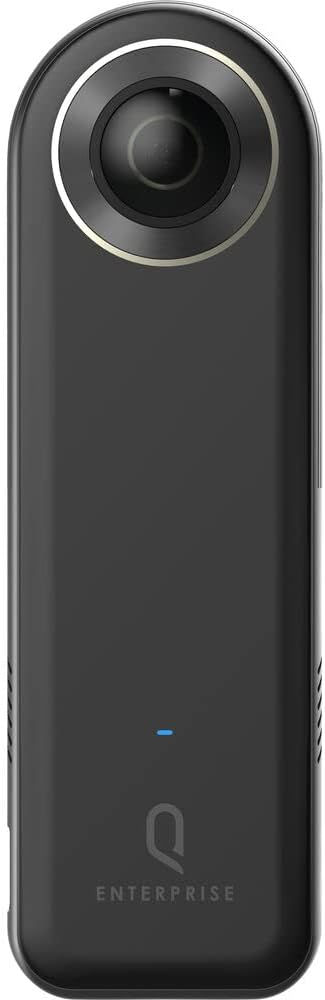 QooCam 8k |
| $1,949 - $1,999 | |
 VPix |
| $1,833 - $3,826 |
3. Select Virtual Tour Software
In addition to having the correct equipment, having good quality software is essential for learning how to make a virtual walk-through. There are a variety of software programs at every price point, and they help you create different types of tours.
Make sure you research your equipment and software options to ensure that all of your purchases work together effectively. Read through reviews, compare prices and features, and search for examples of photos taken with each type of camera to help you decide on the best fit for your needs.
To start, check out the following four top virtual tour software programs:
Software Options | ||||
|---|---|---|---|---|
Best For | Photographers and agents wanting the most convenient way to capture, edit, and share virtual tours | Real estate professionals wanting the most extensive software and equipment for virtual tours and 3D media | User-friendly VR Maker app to build interactive and branded virtual tours | Agents who want subscription-free software compatible with all types of equipment |
Key Features |
|
|
|
|
Pricing | $12 per active tour, plus individual pricing for services | Free, paid plans start at $9.99 per month | $5 - $95 per month | $12.99 per month or $15 per tour |
Learn More |
4. Plan the Shots for Your Virtual Tour
As you learn how to create a virtual tour, you’ll find that it requires more planning and preparation than still photos. Those who are successful in real estate know how to develop systems to improve their listing process and overall success.
Start by making a list of every room in the house that should be included in the virtual tour walk-through. Before the shoot, walk through the home, find the center of each room, and make sure your camera will be able to capture and highlight the features of each room from that vantage point.
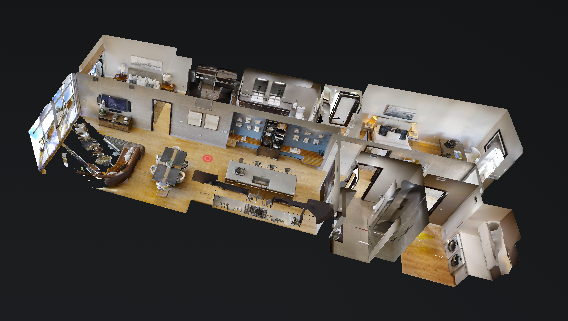
Matterport 3D dollhouse (Source: Matterport)
If the center doesn’t work, find a place where your camera will pick up the most detail and mark the spot with a piece of tape. Don’t forget that every space matters to a potential buyer, so it’s important to include rooms like bathrooms, walk-in closets, and mudrooms in your virtual tour. Creating a shot list ahead of time can help make sure you don’t leave anything out.
Download our free virtual tour shot checklist to get started:
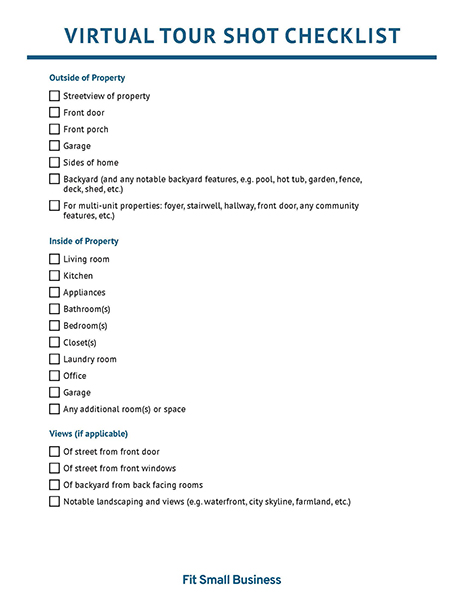
Thank you for downloading!
5. Clean & Stage Each Room
With your virtual tour plan in hand, make sure the home is physically prepared for the photo shoot. At a minimum, remove anything that stands in the way of the lens or anything that might be distracting or look like clutter. In addition, consider using additional home staging tips like depersonalizing, removing excess or mismatched furniture, or even adding a new coat of paint.
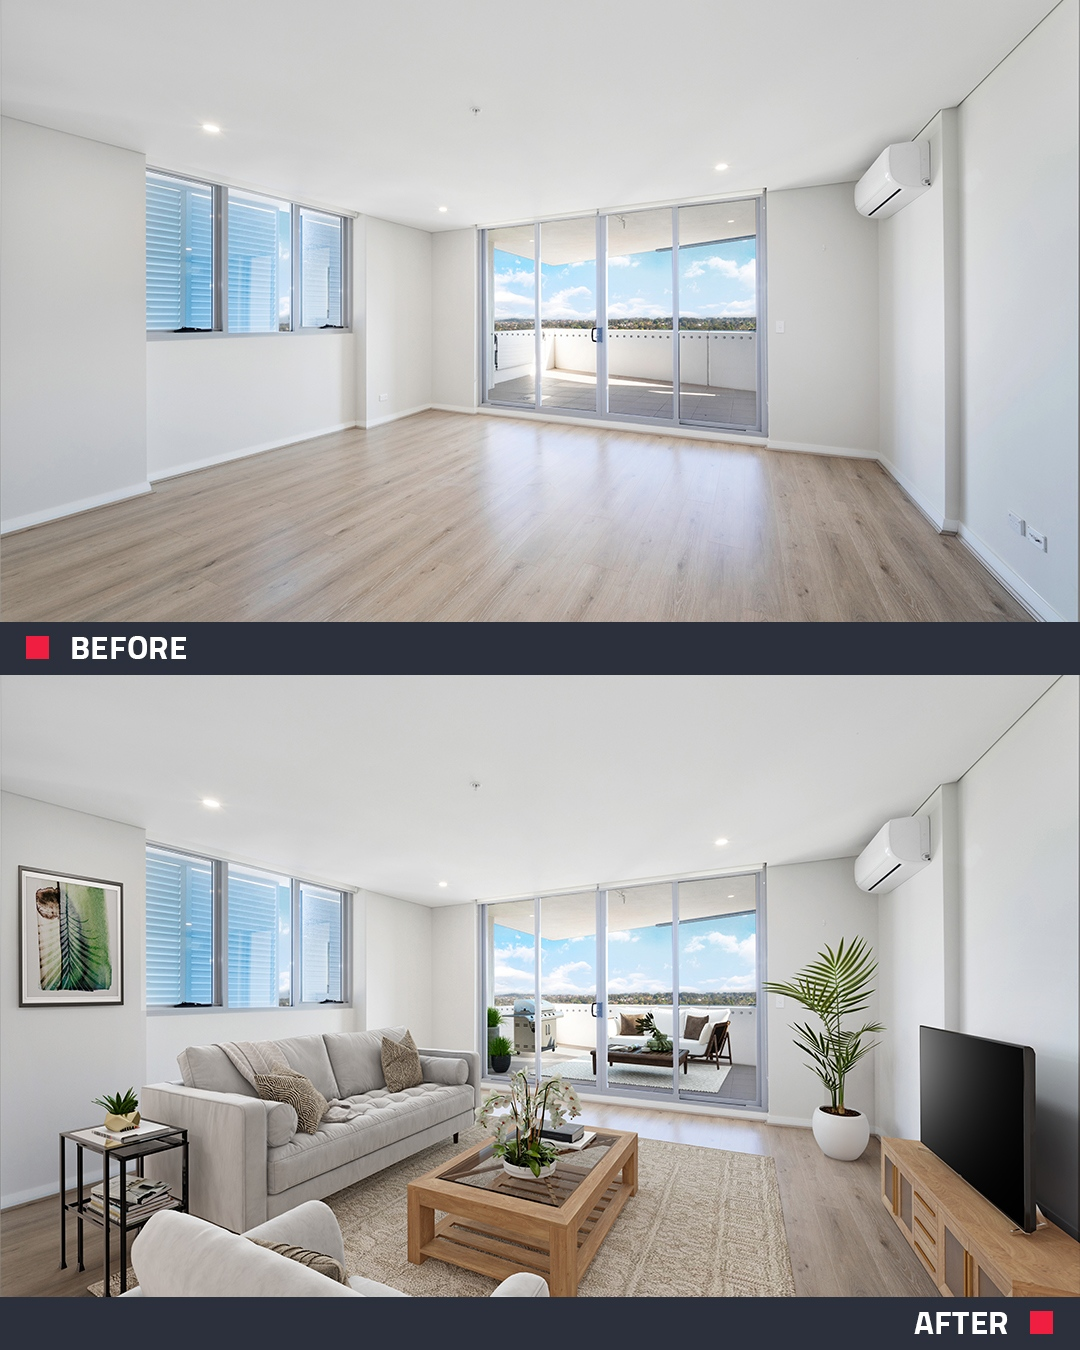
Living room before and after virtual staging with BoxBrownie (Source: Facebook)
For the best results, consider in-person home staging or using a virtual staging company. Staging a home has an enormous impact on the buyer’s perspective, especially in virtual home tours where they are likely to zoom in on photos and actively search around each room.
Top virtual staging companies, like BoxBrownie, create highly realistic images for an affordable price with an incredibly fast turnaround. Virtual staging with BoxBrownie enables you to produce the most efficient and effective strategy, driving maximum traffic to your listings.
6. Level the Tripod
As you learn how to make virtual walk-throughs, there are certain steps you must remember to take for every shot. Making sure your tripod is level will only take a few seconds, but it’s essential for any image, video, 360-degree, or panoramic photo you’ll take. In real estate photography, having clear lines and angles is absolutely essential. Don’t try to create panoramic or 360-degree images without a level place to put your camera.
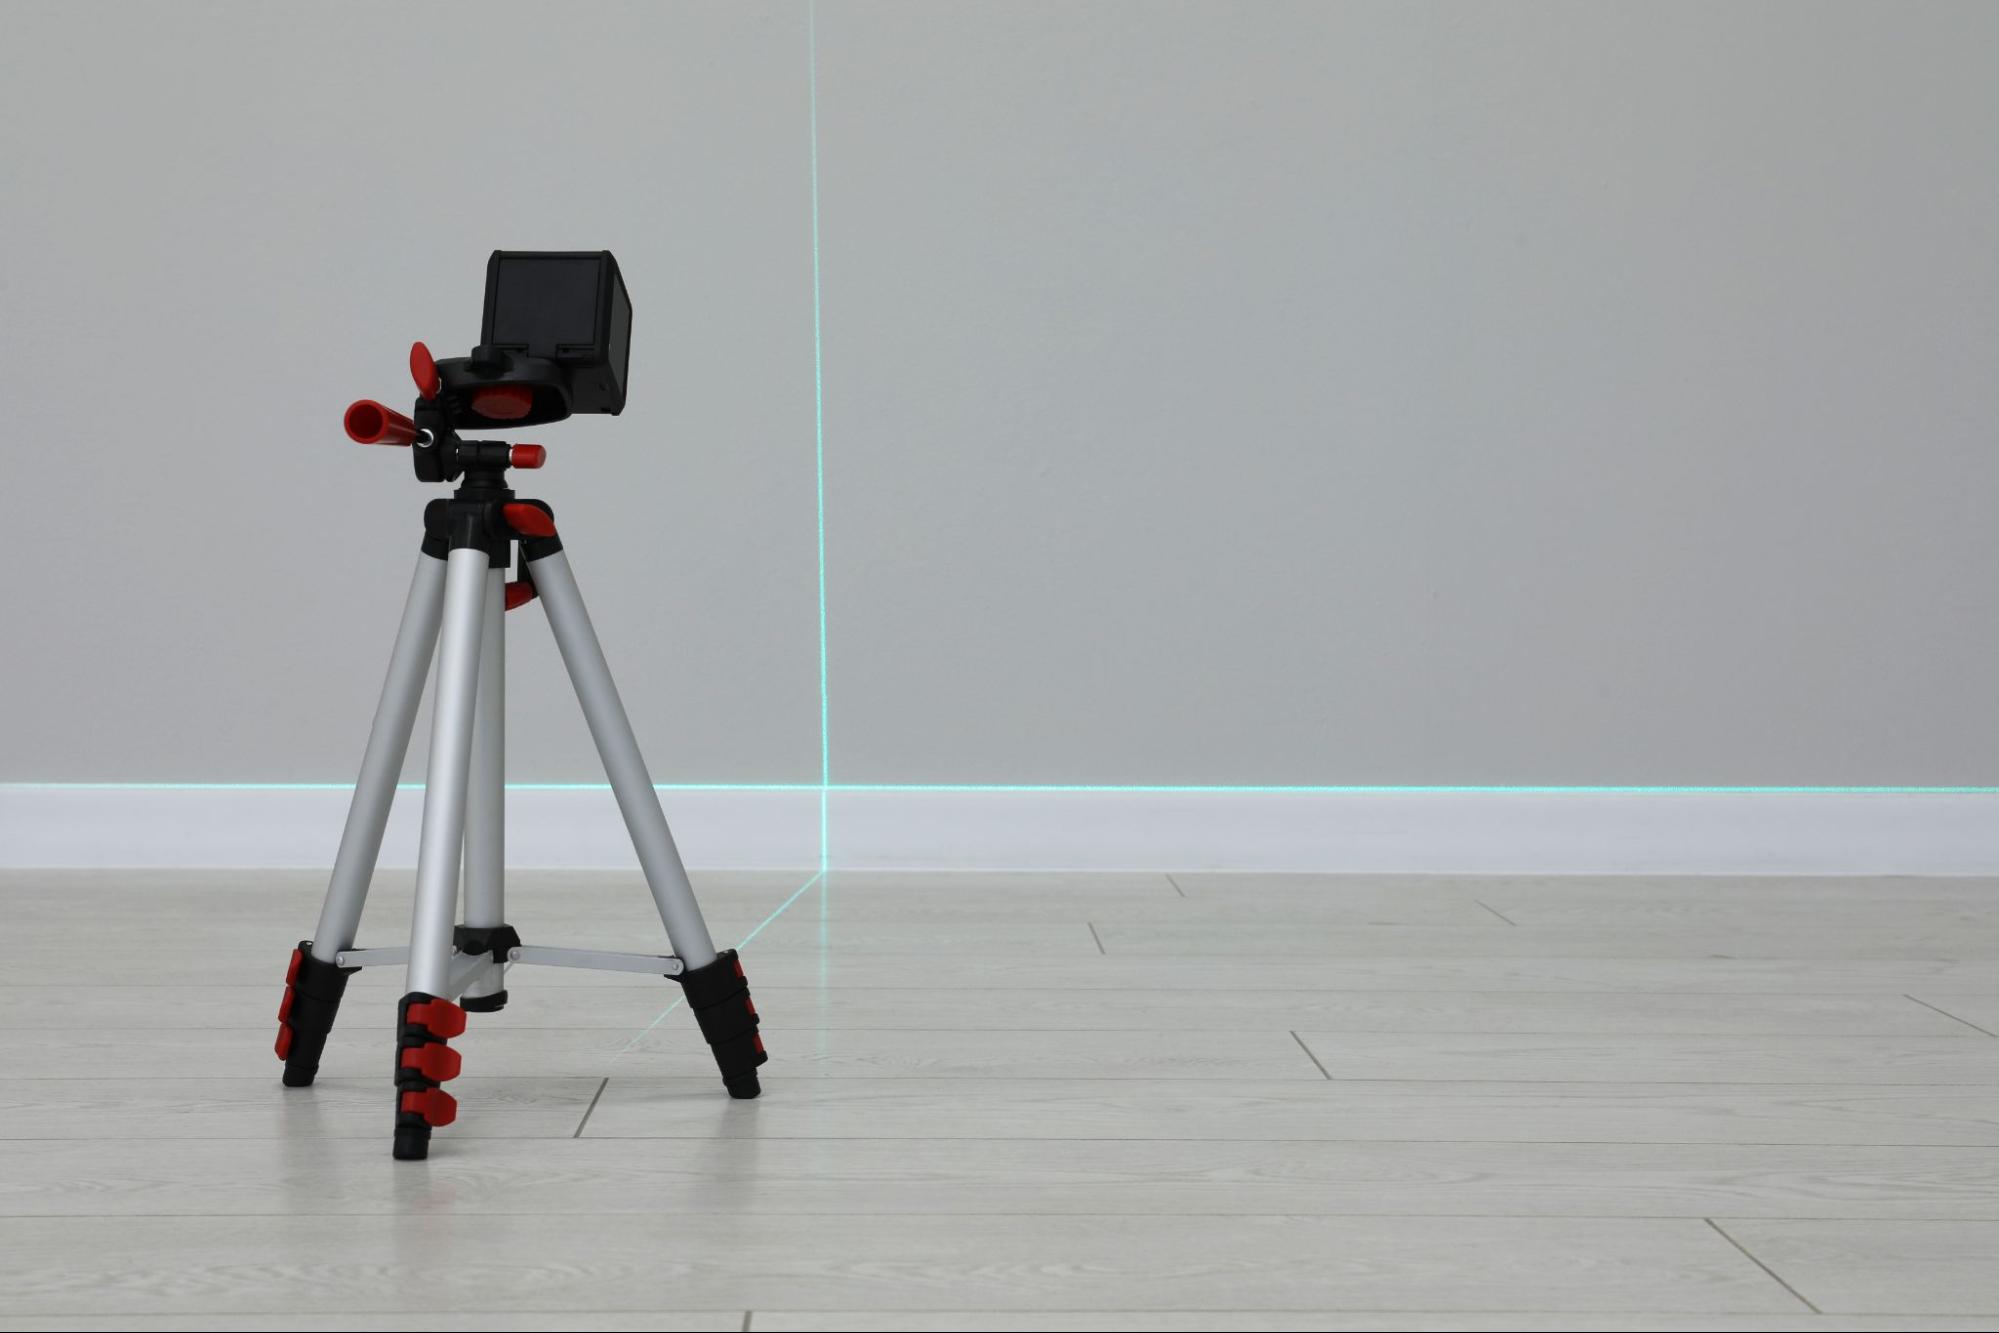
If your tripod does not come with a built-in bubble level, simply download a leveling tool on your smartphone, like Bubble Level for iPhone or iHandy Level. Level the tripod by adjusting the legs until the bubble is centered between the lines.
7. Take Test Shots
At the beginning of your shoot, test each shot on your image list. As you learn how to make a virtual tour that generates leads, you’ll notice specific details that need to be adjusted, like lighting, the camera angle, or oddly placed decor.

Real estate photoshoot with Matterport camera (Source: Mantle Realty)
If you notice something distracting in the shot, move the camera or stage the items in the room accordingly. Keep an eye on any mirrors, glass, or windows, making sure you and your camera do not appear as a reflection in the pictures. If you do, pick a different place to stand and operate the camera remotely.
8. Take All Photos on Your Image Shot List
With a thorough shot list and the correct camera settings, you’ll be ready to move through each room on the property to take pictures. Find the spot you planned in each room, set up your tripod, and take pictures. Check each image on the camera screen before moving the tripod, retake shots as needed, and confirm you have all the images you need before moving on to the next room. It’s better to have too many photos than too few.
9. Compose Your Virtual Tour
Once you have all of the correct shots of the property, it’s time to create the virtual tour with your software. Regardless of what equipment and tools you need, the process of how to make a 3D tour will generally follow these three steps:
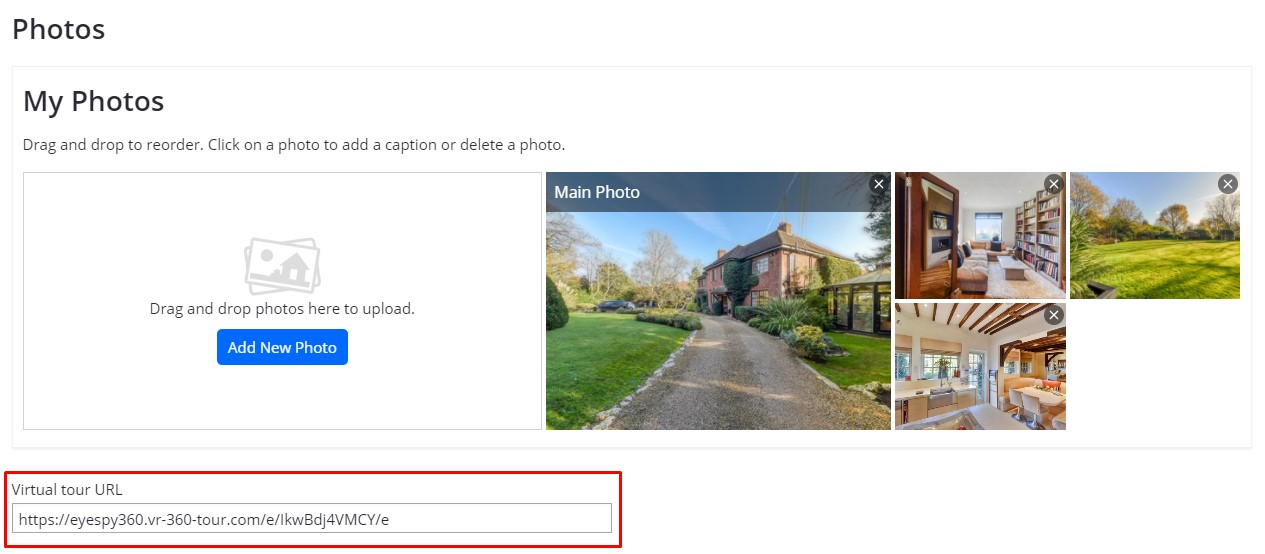
Uploading images to virtual tour software (Source: EyeSpy360)
Start by uploading your images into your software program. If it’s your first time creating a virtual tour, the software may teach you how to make a virtual tour through step-by-step prompts. Go through the steps of adding static or panoramic images, and the software will stitch static images together for 3D virtual tours and assemble the panoramic photos for 360-degree tours.
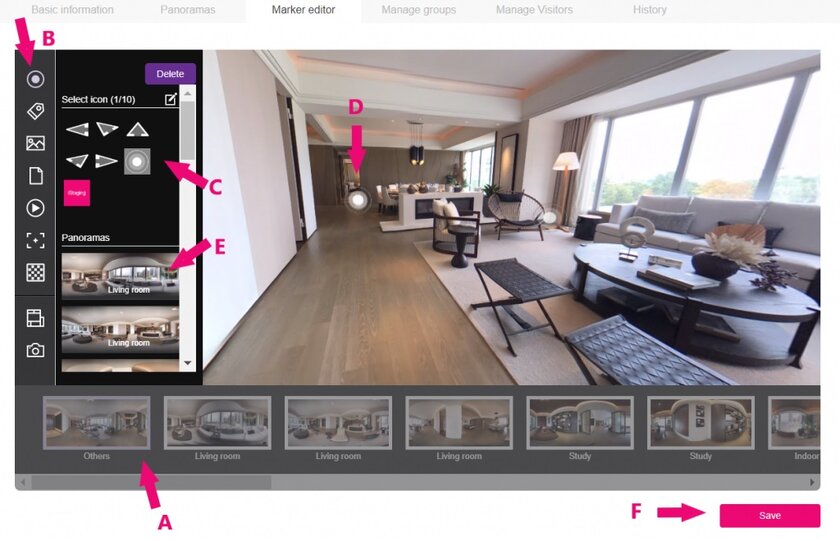
Virtual tour creator (Source: iStaging)
Most software programs include additional features to improve your tour and enhance the viewer’s experience. These can include audio descriptions, interactive links (also called hotspots), music, or text. Depending on your software choice, click on settings or the edit button to get a choice of extra features to add to your virtual tour. Viewers will be able to back up, zoom, or change directions automatically with their mouse when the virtual tour is complete.
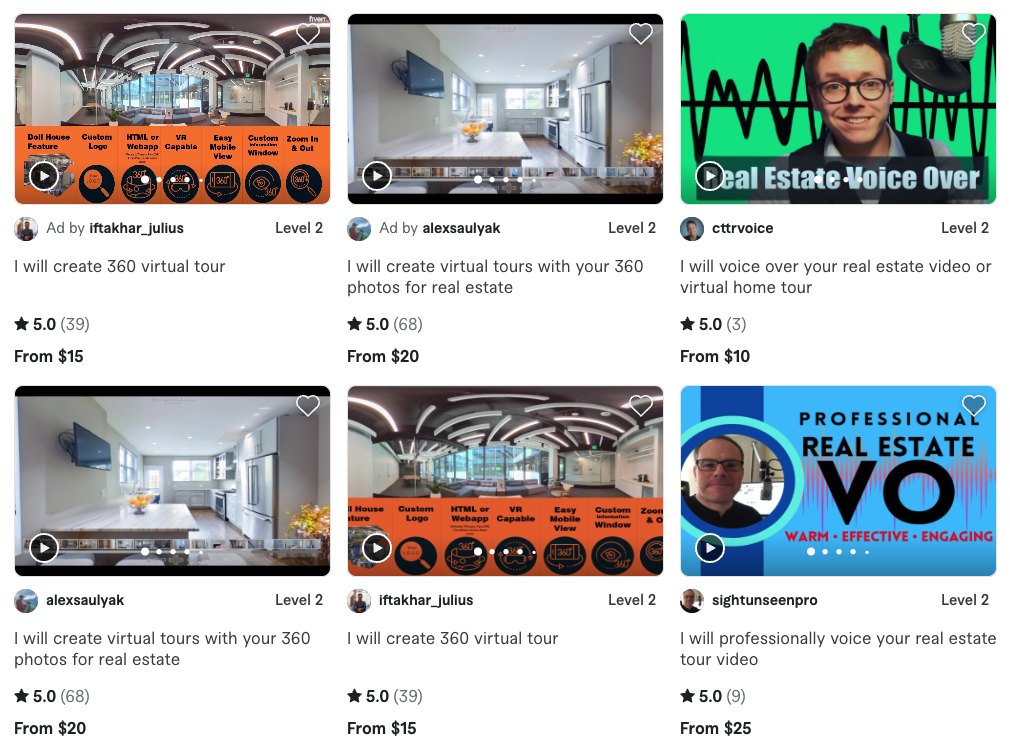
Virtual tour freelancers (Source: Fiverr)
Virtual tour software providers have made the process very simple, but that doesn’t mean every agent has the knack for editing videos or learning high-tech software programs. Many new real estate agents attempt to do everything themselves, but there are many cases when outsourcing is the most efficient way to create a virtual reality tour, 3D tour, or floor plan.
It’s easy to find a professional freelancer to help make a virtual tour on Fiverr. Just search for a virtual tour freelancer and browse through hundreds of profiles, examples, and reviews. Before beginning your project, you can even contact freelancers to ask questions and agree on a price. See who’s available on Fiverr today.
10. Share Your Virtual Tour
Once you’ve finished creating your virtual tour, take every opportunity to advertise it on your listing. Many virtual tour software programs provide a link or HTML code to embed the tour on websites, emails, or social media. In fact, it’s best to develop a system for sharing and promoting your tour and add that to your marketing or open house checklist.
Here are some of the best places to share your tour for maximum reach:
-
- On your IDX website
- Single-property websites
- Zillow listing
- Local MLS
- Email campaign
- Social media
- Real estate newsletter
Virtual tour with real estate logo (Source: Ricoh360 Tours)
Statistics & Benefits of Creating a Virtual Tour
Although there are many tools on the market to make the process of creating a virtual tour easier, the reality is that it requires additional time, money, and attention to complete. It’s important for you to evaluate whether or not this is a crucial element of your real estate listing marketing plan.
However, there are a few major benefits to creating and publishing VR tours:
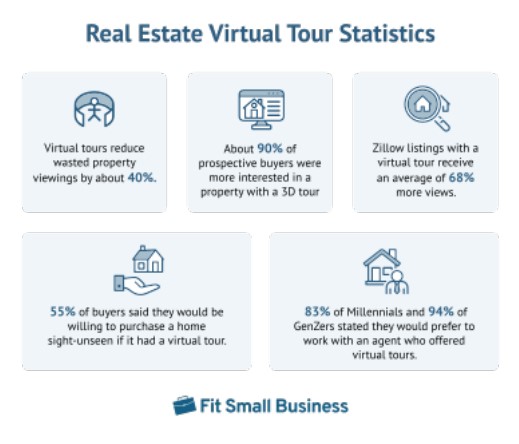
- Fewer wasted appointments: Although it’s great to have a large pool of interested buyers, it’s extremely frustrating when you spend time scheduling and managing showing appointments for buyers who aren’t interested in purchasing the listing. Virtual tours help many buyers self-eliminate, and studies show that they can reduce wasted viewings by about 40%.
- Appeal to a wider audience: You may be surprised at the number of potential buyers who are moving from out of state or are unable to visit properties for other reasons. Since virtual tours provide a more realistic view of the home, you may receive offers without even having to schedule a showing. In fact, almost 90% of prospective buyers stated they are more interested in a property with a 3D tour that allows them to take digital measurements of rooms. Additionally, 55% of buyers said they would be willing to purchase a home sight unseen if it had a virtual tour.
- Give your listing a competitive edge: Zillow listings with a virtual tour receive an average of 68% more views. If you want to attract the largest number of potential buyers, virtual tours are an incredible strategy.
- Generate more listing leads: In a study by Matterport, 83% of Millennials and 94% of GenZers stated they would prefer to work with an agent who offered virtual tours.
Bottom Line
Virtual tours provide potential buyers with a unique, fun, and engaging tool to view a property online. There are a few different types of virtual tours that can help your real estate listings generate significantly more interest and increase the sale price. With the right equipment, software, and strategy, learning how to make a virtual tour can be relatively simple and can make a big impact on your business.