With the rise of environmental concerns and the growing demand for sustainable living, eco-friendly solutions in rental properties are sought after now more than ever. Not only can they help protect the environment, but they can also increase the value of your property and attract tenants. I have compiled 13 sustainable home ideas for landlords to upgrade their properties by boosting energy efficiency, reducing water usage, and cultivating greener surroundings.
Upgrade your property with these sustainable home ideas for landlords.
Energy-efficient Products
1. Energy Star-certified Appliances
Cost: $100 to $500
Keep your eyes peeled for the Energy Star label when shopping for appliances. This label means they are energy-efficient and can significantly reduce energy costs. Energy-efficient appliances like refrigerators, washing machines, and dishwashers are designed to save water and energy. They have a longer lifespan and consume less energy than traditional models. By investing in this eco-rental solution, we can protect the environment and lower tenants’ utility bills. It’s a win-win!
Look for the Energy Star label when shopping for appliances. (Source: Energy Star)
How to install an energy-efficient refrigerator:
- Measure the available space to ensure a proper fit for the new refrigerator. Prioritize a location away from heat sources and direct sunlight to enhance efficiency.
- Purchase an energy-efficient refrigerator that fits your space. You can look for the ENERGY STAR label to spot these.
- Once in position, level the appliance using adjustable feet to ensure proper door sealing.
- Plug the refrigerator into a dedicated electrical outlet, preferably with a ground fault circuit interrupter (GFCI).
- Allow the refrigerator to stabilize for a few hours before loading it with food.
- Keep the condenser coils clean and well-ventilated for optimal heat exchange.
- Set the temperature to recommended levels and utilize energy-saving features such as power-saving mode or vacation settings.
- Regularly clean door gaskets and ensure the door seals are tight to minimize energy loss.
2. LED Light Bulbs
Cost: $10 to $30
Light-emitting diode (LED) bulbs not only use less energy and last longer than traditional bulbs but also make a big difference in a property’s overall energy use. LED lights can cut energy use by up to 25%, saving property owners around $225 per year. It’s a smart and budget-friendly choice for anyone looking to save energy and money.
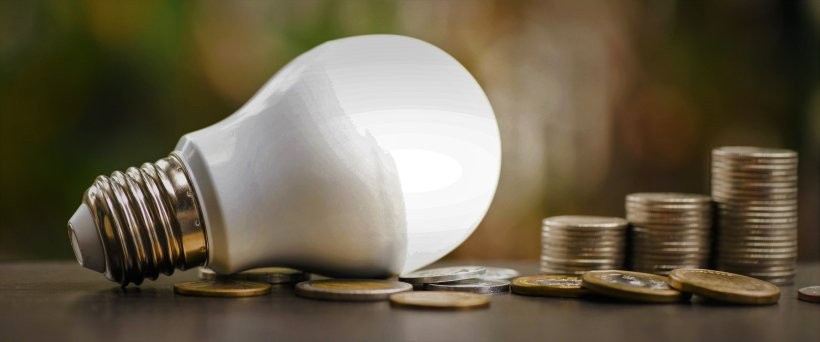
Save energy and money with LED light bulbs. (Source: Energy.gov)
How to install LED light bulbs:
- Switch off the power to the light fixture.
- Take out the old bulb by turning it counterclockwise for screw-in bulbs or pushing and turning counterclockwise for pin-based ones.
- Pick the right LED bulb by checking the package for size, shape, and wattage information. You can also match the base of the new bulb with the old one.
- Put the LED bulb into the fixture and turn it clockwise until it’s snug—don’t overtighten. For pin-based bulbs, push and turn clockwise until it locks.
- Turn the power back on and test the new LED bulb.
3. Smart Lighting System
Cost: $40 to $100
A smart lighting system is an ingenious and sustainable home idea for landlords. Beyond enhancing room lighting, it adjusts light levels based on room occupancy and activity, ensuring optimal illumination and improved energy efficiency. Automatically turning off or dimming lights in unoccupied rooms adds significant cost savings.
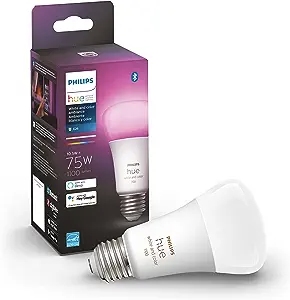
Try the Philips Hue Smart LED Bulb for a smart lighting system. (Source: Amazon)
How to set up a smart lighting system:
- Swap out your traditional light bulbs for smart ones.
- Download the app, then either create an account or log in.
- Turn on the light fixtures manually.
- Connect the smart light bulbs and hub to the app.
- Follow the instructions in the app to begin the automation process.
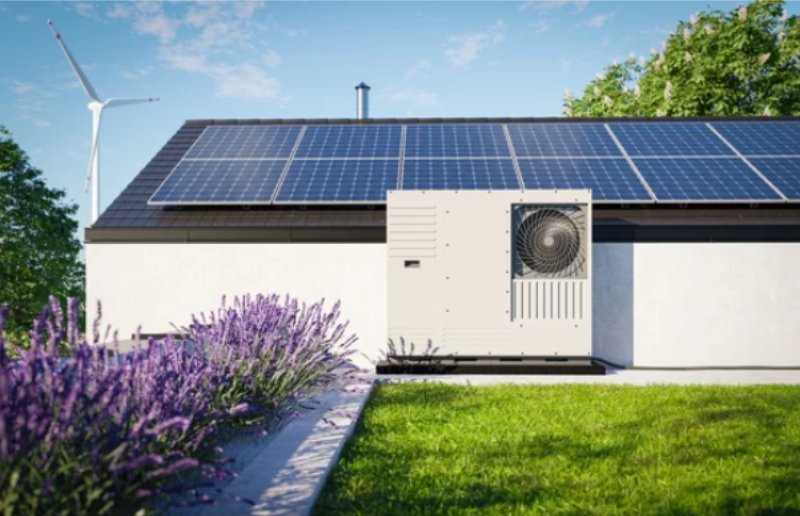
4. Solar Panels
Cost: $4,500 to $36,000
Solar panels offer a dual advantage by significantly reducing electricity costs and appealing to environmentally conscious tenants. Beyond financial benefits, panels contribute to a reduced carbon footprint, aligning with the demand for eco-friendly housing. This sustainable choice fosters a greener living environment and can increase property value and qualify for tax incentives.
Homeowners can take advantage of federal solar tax incentives that can cover nearly one-third of the cost of a solar system through a 30% tax credit. Some states, like Arizona, also provide additional incentives, such as exemptions from sales tax on solar purchases. This upgrade can help homeowners save a lot of money on their solar energy investments. However, if a full-home installation is over your budget, you can start with solar-powered outdoor lighting or water heaters to gradually incorporate solar energy solutions.
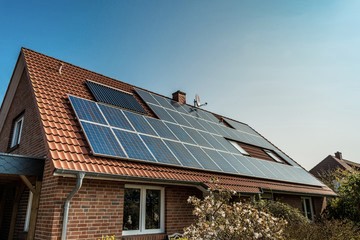
Install solar panels for an eco-friendly home improvement project.
How to install solar panels:
- Evaluate your energy needs and determine the feasibility of solar panel installation based on your location, roof condition, and local regulations. Calculate the number of solar panels required to meet your energy goals.
- Check local regulations and obtain the necessary permits for solar panel installation. Ensure compliance with homeowner association rules, if applicable.
- Inspect your roof to ensure it can support the weight of solar panels. Reinforce the roof structure if necessary.
- Install a racking system on the roof to support the solar panels. This involves attaching mounts securely to the roof.
- Place the solar panels on the racking system and secure them in place. Connect the panels using electrical wiring.
- Install inverters to convert the direct current (DC) generated by the solar panels into usable alternating current (AC) for your home.
- Connect the solar panels to your home’s electrical system. Install a bi-directional meter to measure the energy produced and fed back into the grid.
- Test the system to ensure it’s generating power correctly. Schedule an inspection with local authorities to verify compliance with regulations.
- Coordinate with your utility company to connect your solar panel system to the grid, if applicable.
- Set up a monitoring system to track the performance of your solar panels. Regularly clean and maintain the panels to maximize efficiency.
5. Smart Thermostat
Cost: $100 to $400
Another sustainable home improvement idea for landlords is utilizing smart thermostats. With 50% of a home’s energy consumption from heating and cooling, a smart thermostat becomes a game-changer in reducing energy costs. These intelligent devices are programmed based on occupancy and automatically shut down during idle periods.
Lowering the thermostat by 10% to 15% for eight hours can save up to 10% annually on heating and cooling bills. This simple adjustment not only proves cost-effective but also presents a noteworthy return on investment (ROI) in energy efficiency.
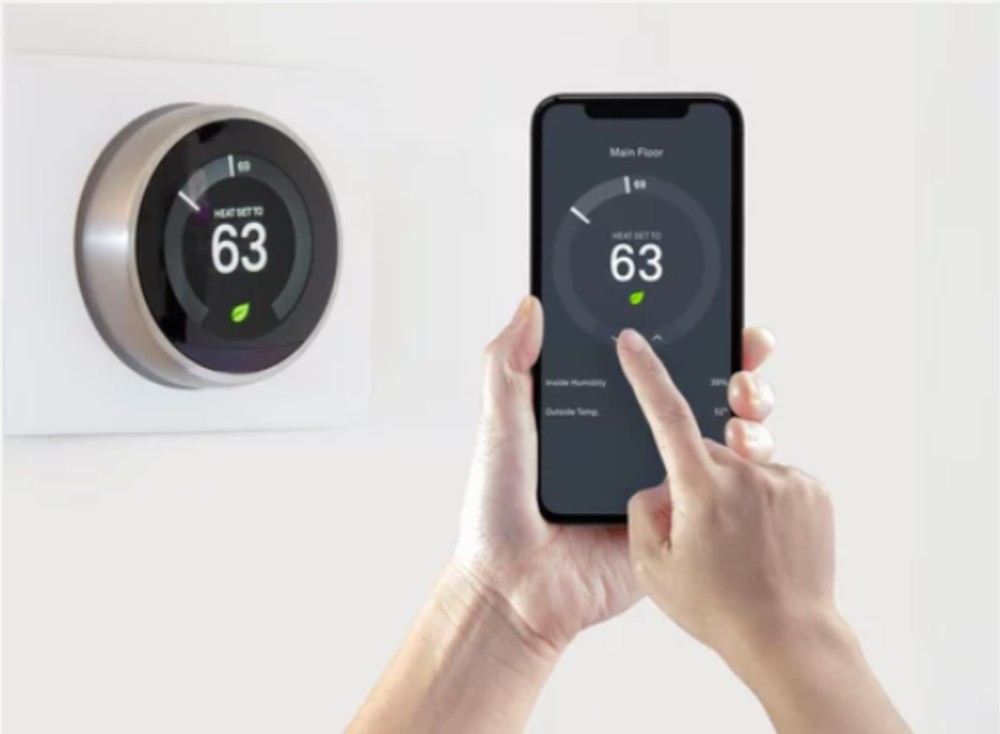
Program your smart thermostat through your phone to reduce energy costs.
How to install a smart thermostat:
- Ensure the heating, ventilation, and air conditioning (HVAC) system is switched off at the breaker panel.
- Select an optimal location for your smart thermostat, avoiding direct sunlight, grills, or other sources of heating and cooling. Place it approximately four to six feet above the ground, out of reach for children and pets.
- Connect the wires to the terminals and affix the thermostat to the backplate.
- Restore power to the HVAC system at the circuit breaker box.
- Pair the thermostat with Wi-Fi and complete the setup using the designated app.
6. Green Roofing Materials
Cost: $13,000 to $50,000
The impact of your home’s roof on energy costs is substantial, given its expansive exposure to prolonged sunlight, leading to increased heating. Opting for eco-friendly roofing materials like slate, terracotta, or white tiles, or even a living roof, can effectively counterbalance this effect on your energy bill. Beyond their aesthetic appeal, these environmentally conscious roofing choices play a crucial role in improving energy efficiency, offering a cost-effective and sustainable home idea for landlords.
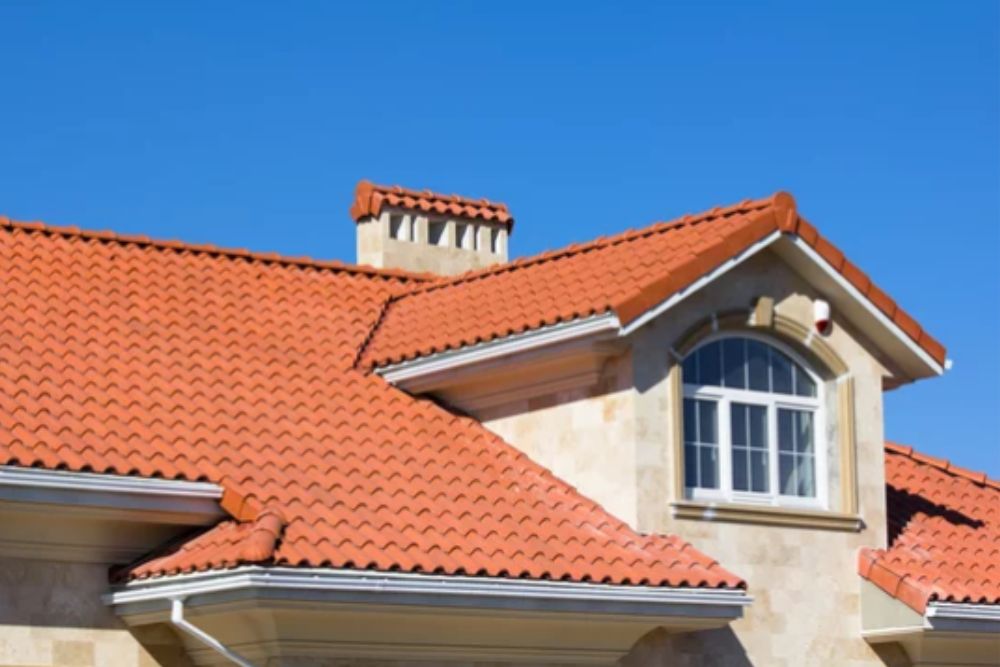
Opt for roofing materials like terracotta for an eco-friendly remodeling of your property.
How to install an eco-friendly terracotta roof:
- Assess your property’s structure and confirm your building can support terracotta tiles.
- Collect all necessary materials, including terracotta tiles, waterproof underlayment, corrosion-resistant fasteners, drip edge flashing, gutters, and battens. Ensure you have the required tools, such as a hammer, saw, and any other equipment specified by the manufacturer.
- Clean the roof surface thoroughly, remove debris, and repair damaged or rotted sections.
- Professional installers typically mount a waterproof underlayment on the roof to protect against moisture. Secure it to the roof deck using appropriate fasteners.
- Use a chalk line to guide tile placement.
- Starting at the bottom corner of the roof, install the first row of terracotta tiles. Ensure each tile is properly aligned and securely fastened to the roof deck.
- Properly overlap each tile with the next to prevent water damage. Follow the manufacturer’s instructions for correct tile placement and overlapping to ensure maximum water resistance.
- Use corrosion-resistant fasteners to secure the tiles and incorporate drip edge flashing to channel water away from vulnerable areas. This is crucial for preventing water damage and ensuring the longevity of the installation.
- Carefully place gutters along the roof’s edges to collect and divert water efficiently.
- For roofs with steep slopes, install battens to help secure the terracotta tiles in place. This additional support is essential for stability on inclining surfaces.
- Periodically inspect and maintain the terracotta green roof for sustained effectiveness.
7. Energy-efficient Windows
Cost: $150 to $4,000
Another eco-friendly home improvement idea to enhance your property’s sustainability is to install energy-efficient windows. Choose windows designed to keep your home warm in the winter and cool in the summer.
Energy Star-certified options may cost more initially, but they can save you money in the long run. According to Energy Star data, replacing single-pane windows can save you up to $583 a year, while double-pane windows can save up to $197 a year. When shopping for energy-efficient windows, it’s important to consider factors such as the U-factor (rate of non-solar heat flow), solar heat gain coefficient, and the climate you live in. With the right windows, you can make your home more eco-friendly without sacrificing comfort or style.
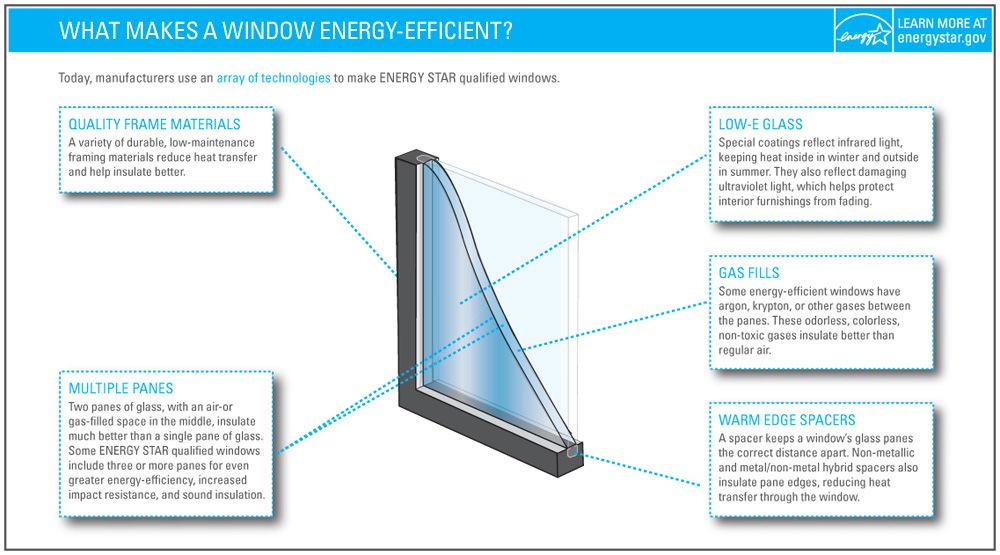
Anatomy of an energy-efficient window (Source: Energy Star)
How to install energy-efficient windows:
- Measure and order the right windows. Choose energy-efficient windows with low-emissivity (Low-E) glass and insulating gas between panes.
- Gather the tools and materials needed for the installation, including a screwdriver, pry bar, caulk gun, shims, tape measure, and a level.
- Use a pry bar and screwdriver to remove the existing window sashes, trim, and any hardware. Carefully detach the old window from the frame.
- Inspect and prepare the window opening. Repair and replace damaged areas, and clean the opening thoroughly.
- Apply self-adhesive flashing tape to the sill of the window opening. This helps prevent water infiltration and improves the window’s weather resistance.
- Position the new window in the opening. Use shims to level and square the window. Check for even gaps on all sides.
- Once the window is correctly positioned, secure it by screwing it into place through the predrilled holes in the window frame.
- Apply expanding foam or fiberglass insulation around the window frame to fill gaps and improve insulation. Use caulk to seal any remaining openings for airtightness.
- Install exterior trim around the window to provide a finished look. Ensure the trim is sealed and caulked to prevent water infiltration.
- Apply interior trim to cover gaps between the window frame and the wall. Caulk and paint the trim as needed for a polished appearance.
- Open and close the window to ensure smooth operation. Check the locks and any additional features.
- Clean up the work area and responsibly dispose of debris or old materials.
Always refer to the manufacturer’s guidelines for the specific windows you install. If you are unsure about the installation process or dealing with certain window features, consider hiring a professional installer to ensure proper application and effectiveness.
8. Eco-friendly Insulation Materials
Cost: $15 to $30 per square meter
Installing insulation in your property’s walls, ceilings, and floors can help regulate indoor temperature, reducing the need for artificial heating or cooling. Eco-friendly insulation materials, such as hemp, sheep’s wool, and cotton, reduce tenant energy bills and minimize non-renewable fossil fuels for cooling or heating homes. This is a great eco-friendly home renovation practice as it reduces carbon footprint, prevents harmful emissions, and conserves natural resources.
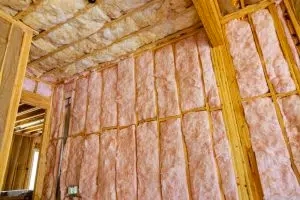
Use eco-friendly materials to insulate a property to save energy costs and increase sustainability of your property. (Source: Sustainable Business Toolkit)
How to install eco-friendly insulation in your property:
- Choose the type of insulation material you will use. Consider factors such as the installation requirements, property design, climate, and health and safety concerns. Different materials have unique properties that influence their effectiveness. Ensure your chosen material is non-toxic and does not off-gas harmful chemicals.
- Wear your protective gear before you start installing.
- Prepare the area by removing any old insulation or debris and cleaning the space to be insulated.
- Cut or blow the insulation material to fit the desired space. Be sure to follow the manufacturer’s installation instructions carefully.
- Seal gaps or cracks using caulk or foam to prevent air leakage.
- Install weatherstripping around doors and windows to improve energy efficiency further.
Incorporating Water-saving Features
9. Low-flow Fixtures
Cost: $30 to $40
Sustainable home ideas for landlords include encouraging water conservation in your property by using low-flow fixtures. These fixtures help to reduce water usage without affecting your quality of life. You can easily install them in the form of low-flow faucets, toilets, showerheads, and drip irrigation systems. These water-saving devices can significantly minimize water consumption and lead to long-term savings on energy costs.
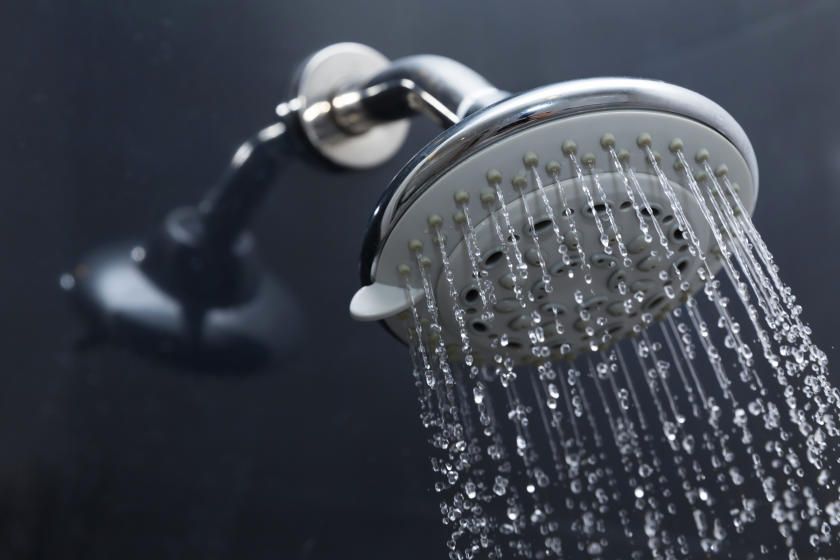
Install low-flow fixtures like faucets, toilets, and showerheads for a sustainable home improvement. (Source: True Value)
How to install low-flow showerheads:
- Remove the old showerhead using an adjustable wrench or pliers.
- Wrap a strip of white Teflon pipe tape around the threads of the shower fixture pipe to ensure a water-tight seal.
- Hand-screw the new showerhead and use a wrench to tighten it. Make sure not to over-tighten.
- Turn on the shower to check for leaks; tighten the nut if needed.
- If problems persist, unscrew, reapply the tape, and firmly reattach the new showerhead.
10. Tankless Water Heater
Cost: $500 to $2,300
Switching to a tankless water heater is a water-saving and sustainable home improvement idea as it heats only the precise amount of water required at any given moment. In contrast, traditional tank water heaters heat and maintain a water reservoir, regardless of your actual usage needs, leading to unnecessary energy consumption. A tankless system eliminates the constant reheating of stored water, significantly reducing both water and energy wastage. Also, this contributes to a more efficient and eco-friendly household.
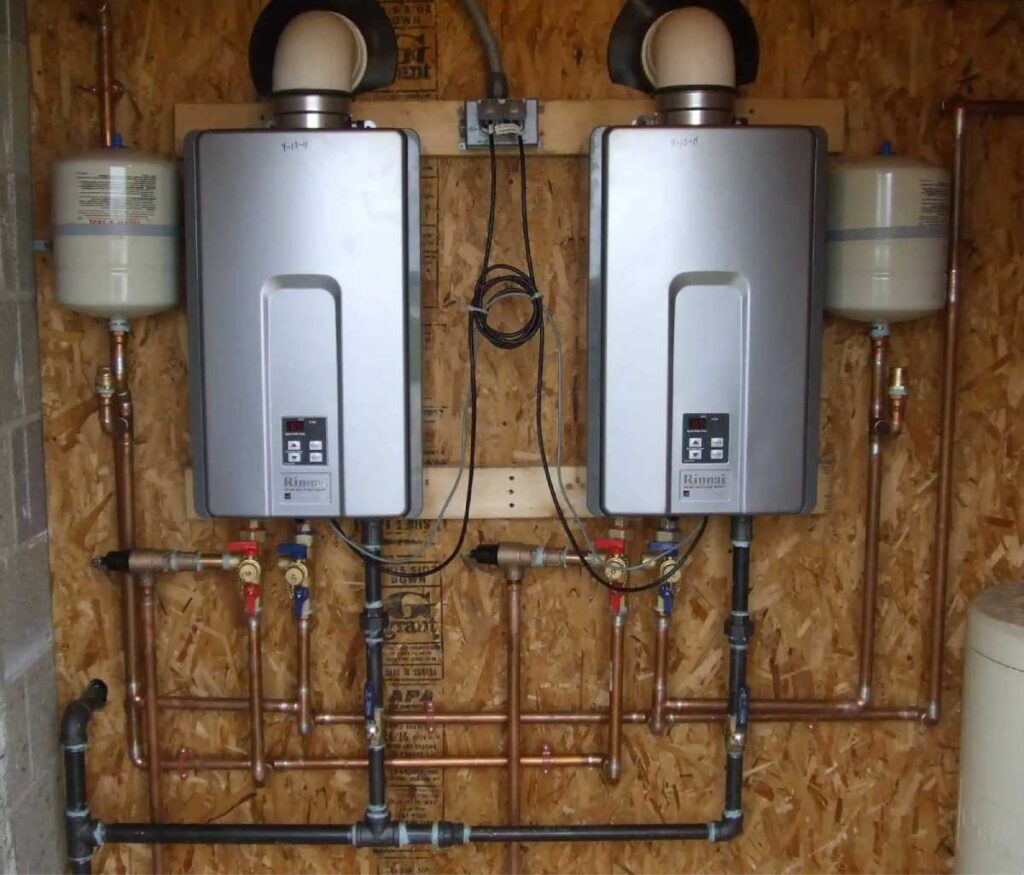
Consider switching to a tankless water heater for an eco-friendly home renovation. (Source: McHales)
How to install a tankless electric water heater:
- Switch off the circuit breaker and water supply.
- Drain your old heater using a hose and container.
- Unscrew connecting pipes and remove old wiring and brackets without causing damage.
- Remove the screws using a screwdriver and detach the front cover of the new tankless unit. Unplug any connected cables before fully removing the cover.
- Mount the tankless water heater on a wall using screws and the provided mount. Ensure it is easily accessible while avoiding cluttered areas.
- Connect pipes for hot water distribution, referring to the installation diagram if available. Use stainless steel, copper, or PVC pipes for durability and flexibility.
- Install flow valves to control the water supply to the heater during repairs. Optionally, install pressure valves as required by local plumbing regulations.
- Open every hot water outlet in your home to remove air from the system. Keep outlets open for a few minutes to complete the bleeding process.
- Thoroughly inspect and verify the correct wiring of electrical connections. Reattach the front cover with screws, ensuring proper positioning of cables.
- After the installation, turn on the circuit breaker to activate the water heater.
- Adjust temperature settings to a safe level, avoiding potential burns.
- Test all hot water outlets to ensure proper temperature and quick heating. Adjust settings if needed.
Cultivating Greener Surroundings
11. Sustainable Landscaping Practices
Cost: $2,000 to $13,000
Make your property more eco-friendly by employing sustainable landscaping practices. Planting deciduous trees around your home can increase sun exposure during winter months and enhance the natural warming of your property. Alternatively, it can provide shade and keep the property cool during hotter months, reducing energy consumption.
Additionally, planting native plants and grasses promotes biodiversity, supports local wildlife, and improves soil quality. Using compost or other natural fertilizers instead of chemical-based ones can also reduce the need for pesticides and fertilizers, which helps maintain a healthy lawn without harming the environment. These small changes can significantly impact the sustainability of your home and the surrounding environment.
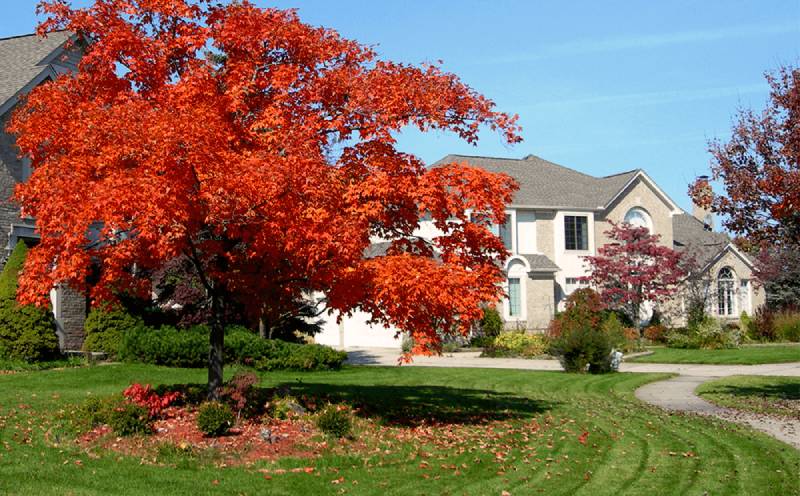
Consider planting deciduous trees around your home as a sustainable landscaping home idea for landlords. (Source: Dammann’s Garden Company)
How to plant deciduous trees around your home:
- Choose the right tree species for your climate and space.
- Pick a well-draining, sunny location and prepare the soil.
- Dig a hole twice as wide as the root ball and as deep as the ball.
- Gently remove the tree from its container, prune the damaged roots, and place it in the hole.
- Backfill with soil and water to eliminate air pockets.
- Form a berm to create a watering basin and mulch around the tree.
- Water regularly and prune as needed for proper structure.
12. Recycling & Composting Facilities
Cost: $6 to $15
Having convenient recycling and composting facilities on your property can significantly reduce the amount of food waste sent to landfills, a major contributor to landfill waste and greenhouse gases. This is a simple yet effective way to make your property eco-friendly while educating tenants about sustainability. It can motivate tenants to be more environmentally conscious and positively impact the planet. Make sure to provide clearly marked recycling and composting areas and educate tenants on what can and cannot be recycled or composted.
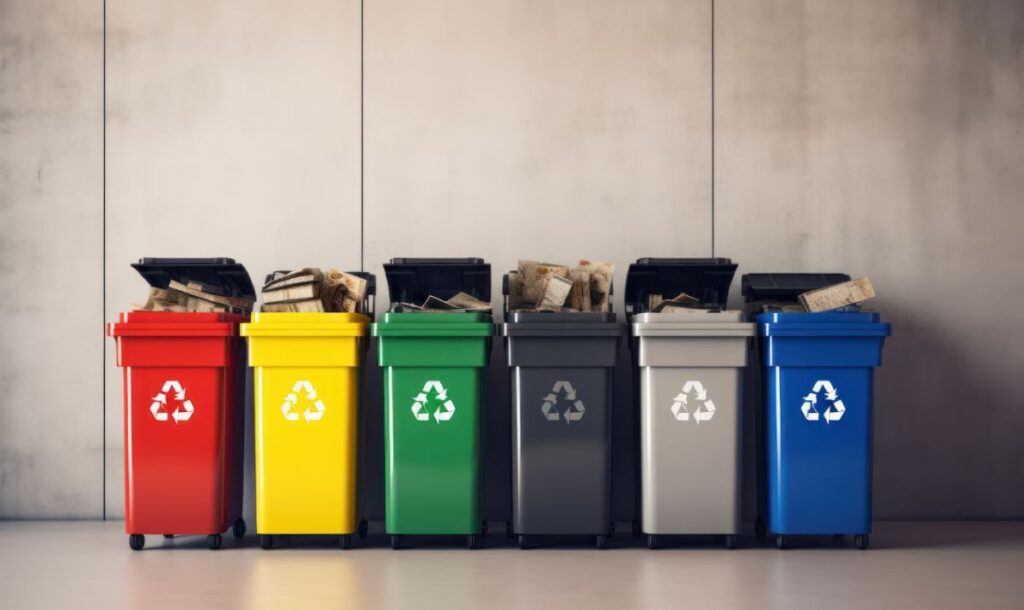
Set up recycling and composting facilities on your property to make it sustainable.
How to set up recycling and composting facilities:
- Find the most convenient location for the recycling and composting facilities, accessible to all tenants.
- Select appropriate containers for recycling and composting that are durable, easy to clean, and clearly labeled.
- Position the containers in their designated locations and put up signs indicating what can and cannot be recycled or composted.
- Educate your tenants on how to use the recycling and composting facilities. Provide information on what can and cannot be recycled or composted, highlighting the facilities’ benefits. You can also distribute educational materials and hold a meeting to discuss the program.
- Keep the recycling and composting facilities clean by emptying and cleaning the containers regularly. This will ensure that the facilities remain hygienic and functional.
13. Sustainable Transportation
Cost: $100 to $600
Transportation is still the biggest contributor to the total emissions in the U.S. in 2023. Thus, an eco-friendly home improvement idea is to add features that promote sustainable transportation options, such as providing designated bike storage areas, encouraging tenants to bike or walk instead of driving, and installing electric car charging stations. You can also inform your renters about public transportation stations near your property and encourage them to use them. These steps can help promote a healthier lifestyle for tenants while making eco-friendly living more accessible.
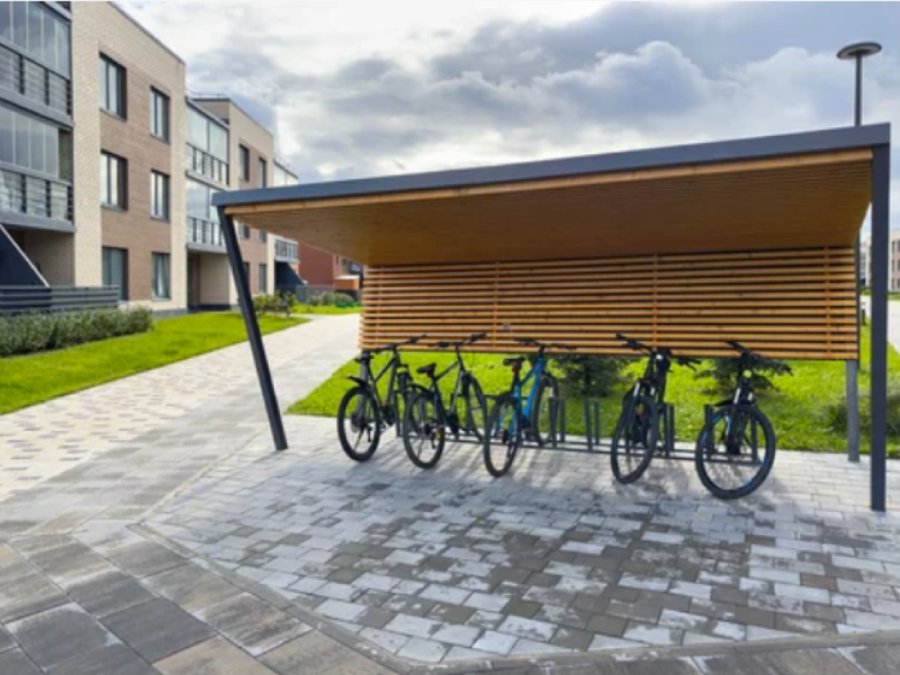
Install bicycle parking or storage areas to encourage sustainable transportation options.
How to install a bike storage area at home:
- Identify a suitable location for your bike storage. It could be a garage, shed, outdoor area, or a dedicated bike storage unit.
- Measure the available space to determine the dimensions of the bike storage unit you need. Consider the number of bikes you want to store.
- Choose a suitable bike storage solution based on your space and preferences. Options include wall-mounted racks, freestanding racks, ceiling-mounted hooks, or specialized bike sheds.
- Clear the chosen area of any obstacles or items that might interfere with the installation. Ensure the space is clean and ready for the bike storage unit.
- Install your chosen storage solution:
- For wall-mounted racks: Use a stud finder to locate solid points on the wall. Install the rack securely into the studs, ensuring it can support the weight of the bikes.
- For freestanding racks: Assemble the components according to the manufacturer’s instructions. Place the rack in the chosen location and ensure it is stable on a level surface.
- For ceiling-mounted hooks: Install them into ceiling joists using appropriate screws and anchors. Ensure the hooks are evenly spaced and at a height that allows easy bike placement and retrieval.
- For bike sheds: Follow the assembly instructions provided by the manufacturer. Ensure the shed is level and secure.
- Arrange the bikes in the storage unit to ensure easy access and retrieval. Consider organizing them by size or frequency of use.
- Use additional security measures, such as bike locks or cables, to secure the bikes within the storage unit, especially if it’s located in an outdoor or easily accessible area.
- If the storage is outdoors, consider adding a cover or protective tarp to shield bikes from the elements and prolong their lifespan.
Frequently Asked Questions (FAQs)
To make your rental stand out, focus on enhancing its appeal and functionality. Consider freshening up the interior with neutral yet inviting colors, ensuring a clean and well-maintained space. Upgrade key features such as modern appliances and energy-efficient lighting. Offering unique amenities like bike storage or a designated workspace can attract a broader range of tenants. Efficient communication and a streamlined application process also contribute to a positive impression. Ultimately, providing a well-cared-for, stylish, and functional rental will make it stand out in a competitive market.
Designing a green home involves prioritizing sustainability. Sustainable home ideas for landlords include opting for energy-efficient architecture, appliances, and lighting. Use eco-friendly materials, consider smart home technology and implement water-saving fixtures. Utilize landscaping for biodiversity and incorporate renewable energy sources like solar panels for a truly environmentally friendly design.
Eco-friendly building materials are sustainable and environmentally responsible options used in construction. These materials prioritize reduced environmental impact, often through efficient use of resources, recycling, or renewable sourcing. Examples include bamboo, reclaimed wood, recycled metal, and low-emission insulation. Choosing eco-friendly building materials helps minimize the carbon footprint of construction projects and contributes to a more sustainable and environmentally conscious approach to building design and development.
Bottom Line
Making your property more sustainable is a great way to invest in your property. Consider incorporating energy-efficient products, adding water-saving features, and optimizing your property for sustainability. These eco-friendly choices attract environmentally conscious tenants and lead to long-term savings on utility bills.
By investing in sustainability, you not only benefit your property but also play a crucial role in fostering a greener community. Explore various sustainable practices to make your property an eco-friendly and cost-effective haven for residents and the environment.