

Microsoft Advertising (formerly Bing Ads) is an affordable, easy-to-use platform for search and display ads. To get started, create an account, choose keywords, write your ad copy, and set your budget. Next, add your payment information and then publish your ads. Once your campaign starts running, monitor its performance and make adjustments to increase conversions and maximize your return on ad spend (ROAS).
Follow these steps to learn how to set up Microsoft Advertising campaigns (aka Bing Ads) to promote your small business:
- 1. Set Up a Microsoft Advertising Account
- 2. Choose Keyword Themes
- 3. Write Your Microsoft Ad
- 4. Set Your Budget
- 5. Add Payment Info & Go Live With Your Microsoft Ad
- 6. Monitor the Success of Your Campaigns
- Frequently Asked Questions (FAQs)
- Is there a free way to advertise with Bing?
- Which is better: Microsoft Ads or Google Ads?
- Is Bing ads the same as Microsoft ads?
- Bottom Line
1. Set Up a Microsoft Advertising Account
Go to the Microsoft Ads home page and click the green “Sign up now” button in the top right corner to sign up, or log in if you already have an account. When setting up your Microsoft Ad account, you’ll be asked to enter your email address, name, and birthdate and verify your email address with a one-time code.
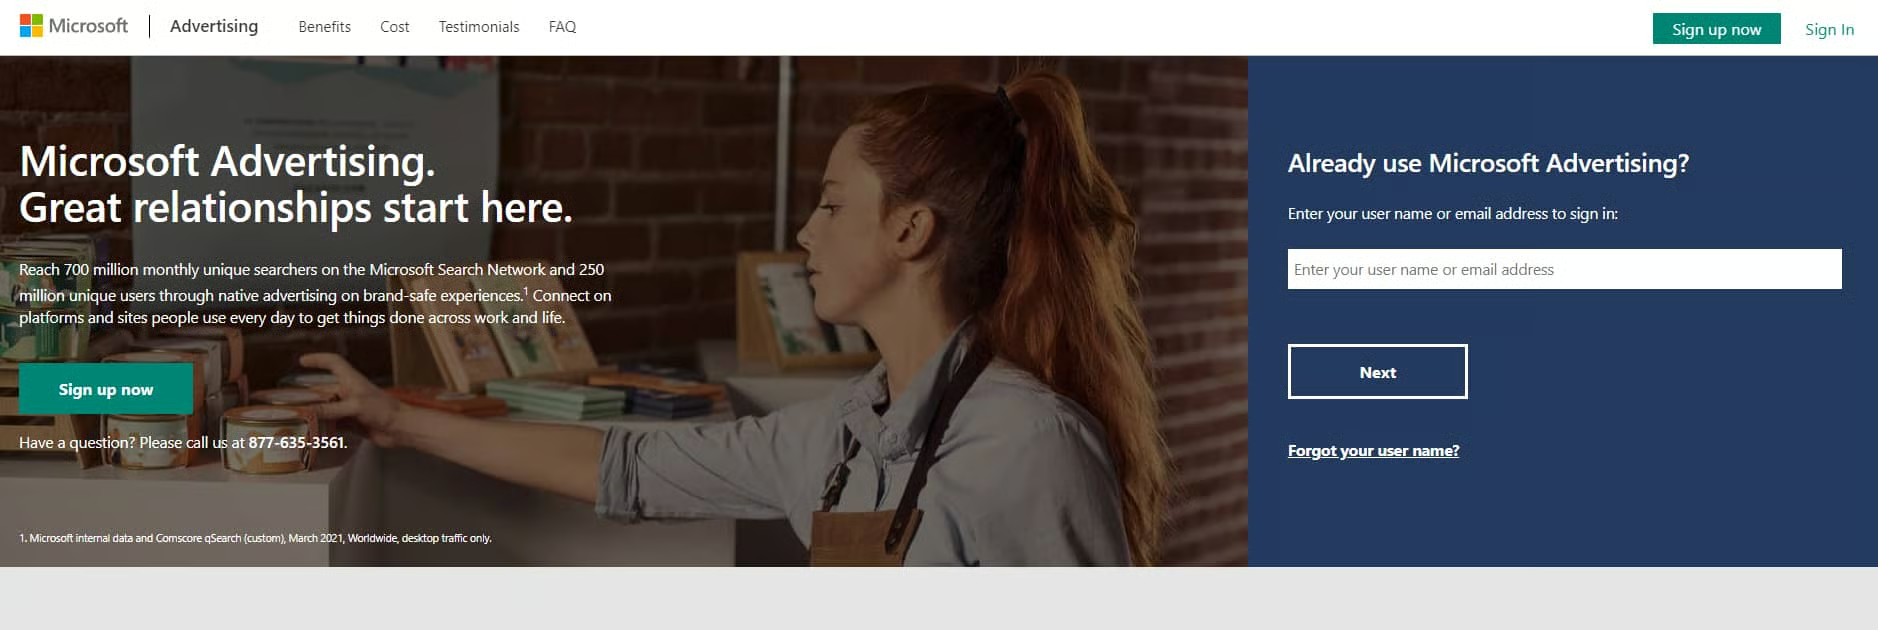
Sign up on the Microsoft Advertising home page (Source: Microsoft Advertising)
Next, answer a few questions about your business and goals. For example, if you have a brick-and-mortar shop, you may want to use Microsoft Ads to get more foot traffic, whereas online businesses are likely to want more website visits.
You can also choose to target a specific location and time zone for your ads. In fact, you can make it as broad (worldwide, country) as you’d like, or home in one or more local areas relative to your business’ physical location(s). This is a critical step as you don’t want to waste ad spend on building brand awareness with people outside your target area.
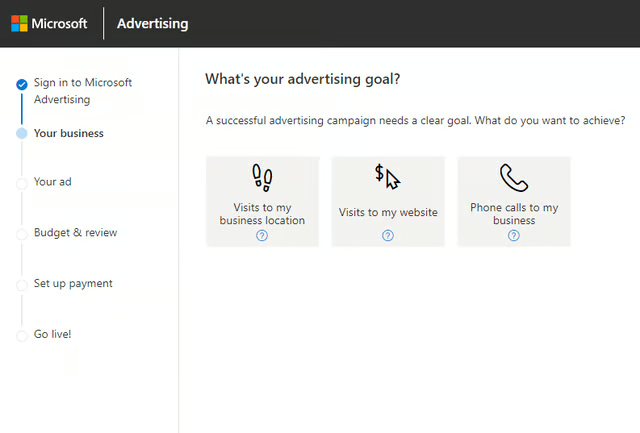
Set your advertising goals on Microsoft Advertising 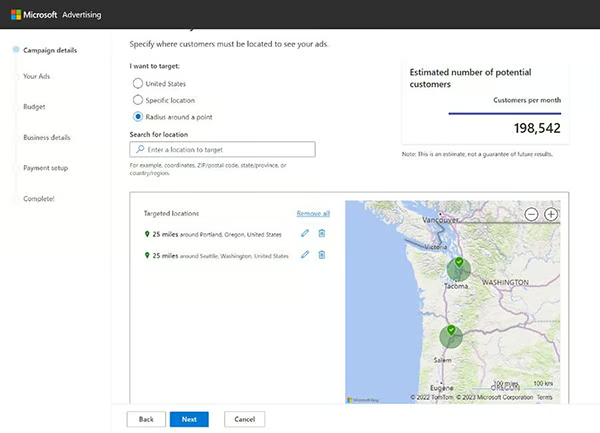
Specify the location(s) where your ads should be shown to users


2. Choose Keyword Themes
A Microsoft Ad keyword theme allows you to target audiences based on your products or services. So, if you have a cookie-shipping business, you may want to use keyword themes that relate to your brand, like cookies delivered, ship cookies, cookies by mail free shipping, fresh baked cookies online, and bakery online ordering.
Additionally, an essential step in helping you reach your intended audience is designating the right geographic location for your ads to run. It’s generally better to start with keywords that indicate high search intent relative to your business vs vague or overly broad keywords, as this can result in wasted ad spend.
For example, just using the word “cookies” is overly broad, and is likely to result in your ad being shown to people who aren’t looking for a company that ships cookies. On the other hand, a keyword theme of “buy cookies online” would be more relevant to your brand and representative of what ready-to-buy customers might type into an online search.
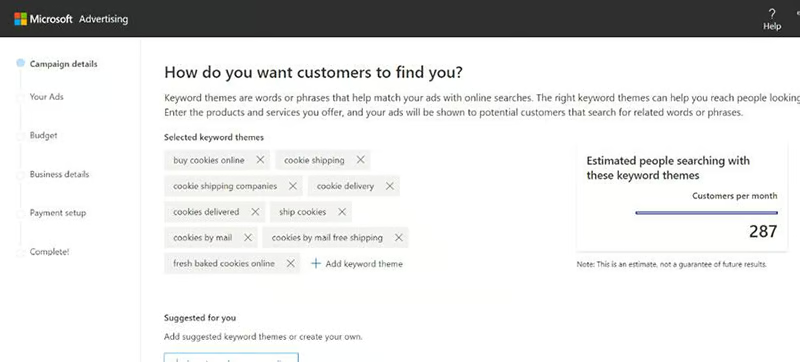
Add or remove keyword themes for your Microsoft Ad campaign
As you type in keywords, you’ll see an estimate of how many people search for these keywords each month, similar to what shows in the top right corner of the image above. You can use this to make sure your keywords have enough search volume to produce ad clicks and decide how much you’ll need to spend on ads to get the number of conversions you want. We’ll talk more about this in the budget section below.
3. Write Your Microsoft Ad
With keywords chosen, it’s time to compose the text for the ads that will be shown in search results on Bing/Edge. Microsoft Ads provides a form for you to fill out to create your first ad. It includes a character count below each field, so you know when you’re reaching the limit. You’ll want to incorporate highly relevant search keywords in your ad and a reason to click through, such as the promise of free shipping in the example below.
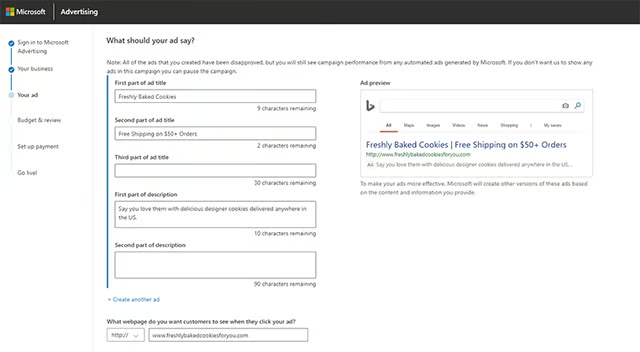
Craft your Microsoft ad copy by filling up the form 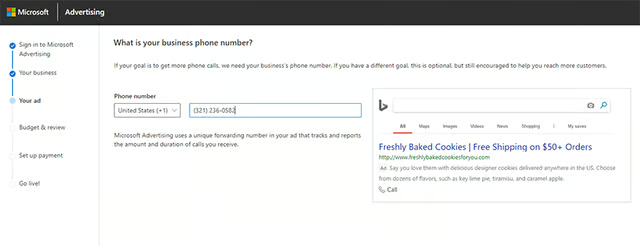
Input your business phone number to track calls produced from ad campaigns


Once you’ve written your ad, Microsoft prompts you to add your business phone number. It includes tracking info, so you can see in your dashboard later how many calls you go through your ad. If you don’t have a business phone or only want web-based leads, you won’t need to include this information.
4. Set Your Budget
Microsoft Ads estimates how well your ad will perform based on the advertising competition within your industry, including how many clicks to expect based on average click-through rates. You can set your advertising budget as high or low as you’d like. The amount you enter is how much you’ll spend daily—the monthly max is shown below the field.
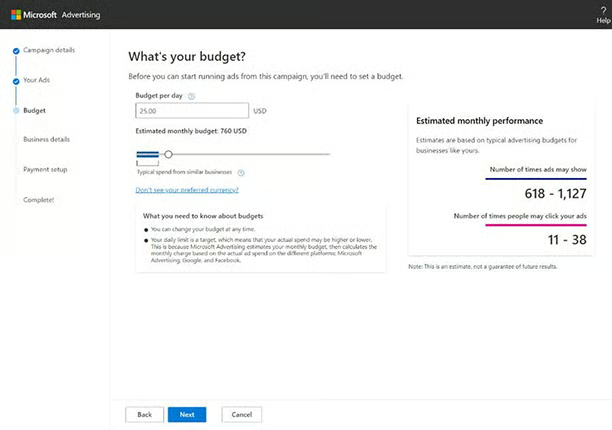
Input your daily budget for the campaign and assess its estimated performance
You can also use these figures to calculate how much you need to spend based on how many conversions you want to produce. For example, if your business averages 10 sales for every 100 ad clicks, and you want to produce 30 sales, your ad budget will need to be sufficient to generate at least 300 clicks per month.
Average Cost of Microsoft Advertising
There is no set cost for Microsoft Ads since it is a pay-per-click (PPC) advertising platform. The price for an ad is based on the demand. So, if your keyword is popular and has a high search volume, the starting bid will likely be higher than a keyword that isn’t used as often. A single click on an ad could cost pennies or dollars. Your cost-per-click (CPC) could be lower or higher for your industry too.
Average CPC for Microsoft Ads by Industry:
| Industry | Average CPC |
|---|---|
| B2B Services | $1.16 |
| B2C Services | $1.78 |
| Education | $2.79 |
| Home Services | $1.50 |
| Legal Services | $1.42 |
| Real Estate | $2.88 |
| Restaurants | $1.69 |
| Retail | $1.24 |
| Technology | $1.95 |
(Source: WordStream)
5. Add Payment Info & Go Live With Your Microsoft Ad
Next, add your business name and address information. On the next screen, you’ll fill out your payment information. You can only pay here by credit or debit card, and you can prepay or postpone. So, your card will either be charged before you spend advertising dollars on the platform or after clicks to your ads.
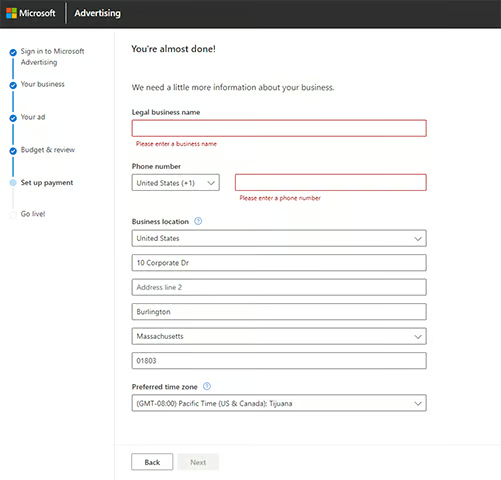
Input business and credit information to set up the payment for your ads 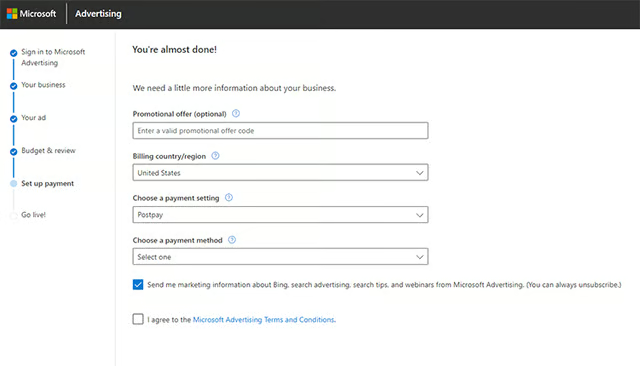
Input business and credit information to set up the payment for your ads


6. Monitor the Success of Your Campaigns
The Microsoft Ad manager allows you to tweak your campaigns, and you should do this as you gain insights from performance metrics. You can also increase or decrease your budget, pause campaigns, create new campaigns, and study the analytics of your ad campaigns to understand what works and what doesn’t.
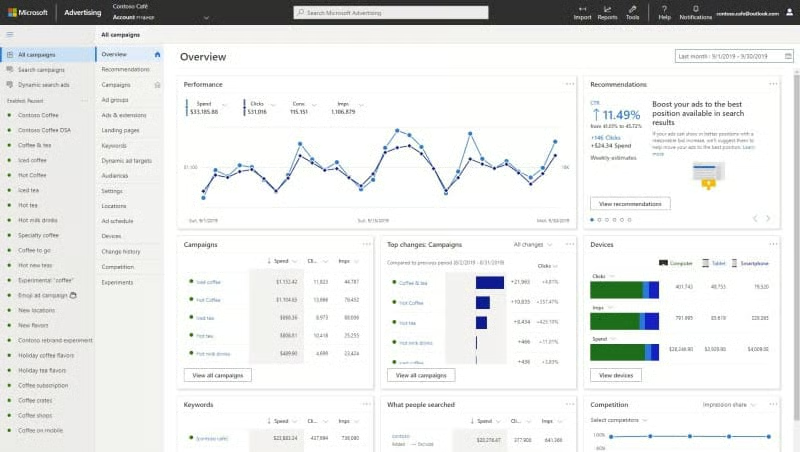
Monitor your campaigns on the Microsoft Ad campaign dashboard
Microsoft Advertising offers a free, no-commitment optimization consultation for advertisers and as of this writing, is also offering a free $500 ad voucher when you spend $250. In the consultation, a Microsoft Ads expert will assist in creating your account and familiarizing you with the product, tools, reports, and resources for advertising on Bing and the greater Microsoft network.
Frequently Asked Questions (FAQs)
Is there a free way to advertise with Bing?
You can promote your business for free on Bing using Bing Places for Business. Similar to Google Business Profiles, this is a free online business directory listing for local service-based businesses. Creating and managing your Bing Places for Business listing can help your site rank higher in Bing search results, both in search engine results and map placements.
Which is better: Microsoft Ads or Google Ads?
Determining whether Microsoft Advertising or Google Ads is better for your business depends mainly on your desired target audience. Google search stats show that Google is the undisputed leader in online searches, with Bing coming in a distant second. Google Ads can help you reach a wider audience, whereas Bing’s narrower audience allows you to reach people with higher incomes, more education, and an older age range.
Is Bing ads the same as Microsoft ads?
Yes. Bing Ads is the former name for what’s now known as Microsoft Advertising. The steps on how to advertise on Bing are the same ones discussed above. The Microsoft Advertising Network includes MSN, Yahoo, AOL, and Bing, and search and display ads can appear on those sites as well as third-party websites that are partnered with Microsoft.
Bottom Line
Microsoft Advertising (formerly Microsoft Bing Ads) lets businesses create a free account on its advertising platform, making it a helpful tool for national and local advertising. It’s easy to use, but does take time to set up and manage. If you lack the time or know-how—or simply want to improve your return on investment—turn to a top digital marketing agency like Lyfe Marketing for the expertise needed to get the results you want.