The setup for QuickBooks Workforce (formerly QuickBooks Payroll) direct deposit will require the input of your company’s basic information (such as business name, address, and employer identification number or EIN), your business bank account details, and your employees’ banking information (like account and routing numbers). In this guide, we’ll walk you through how to set up payroll direct deposit in Quickbooks Online and then highlight the differences in setting it up for QuickBooks Desktop Payroll.
Here are the four steps to set up QuickBooks Workforce Direct Deposit:
Step 1: Connect Your Business Bank Account
Step 2: Have Employees Authorize Direct Deposit
Step 3: Enter Employees’ Bank Account Details
Step 4: Send Your First Direct Deposit
Step 1: Connect Your Business Bank Account to QuickBooks Workforce
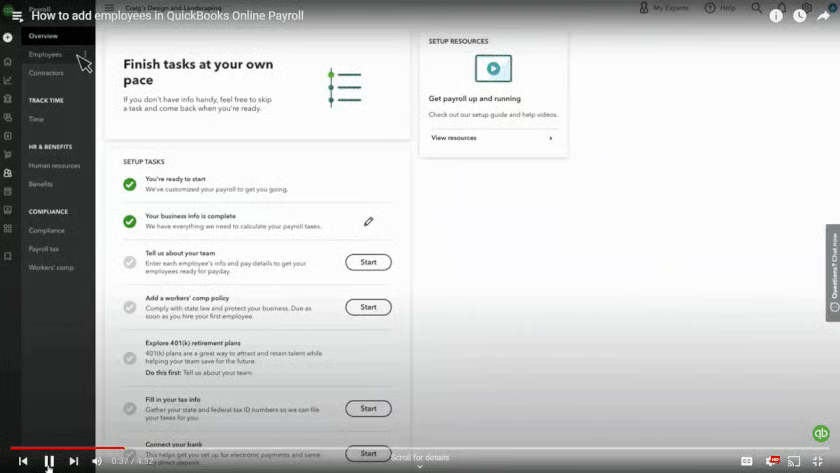
Note: For new QuickBooks Workforce users, you must complete the initial steps of your account setup (following the instructions on the Overview screen) before you can set up its direct deposit feature. Before you can enter your business bank account details, you have to input payroll tax information and data about your existing employees, such as name, address, and pay rate. For more details, check out our full-length guide on how to set up payroll in QuickBooks.
When you’re ready to set up your direct deposit in QuickBooks, you have two options. If you are in the process of setting up QuickBooks Workforce, just click the Start button located beside the Connect your bank task and then select Get Started. QuickBooks then leads you through the steps for inputting (or verifying) bank account details and other information needed to set up your account.
On the other hand, if your payroll account is already in use, and you’ve been processing paper checks, you can go directly to the system’s Settings and then click on Payroll Settings to get started.
Before moving forward, have all of your business and bank account information, including the principal officer information, ready for reference and easy verification.
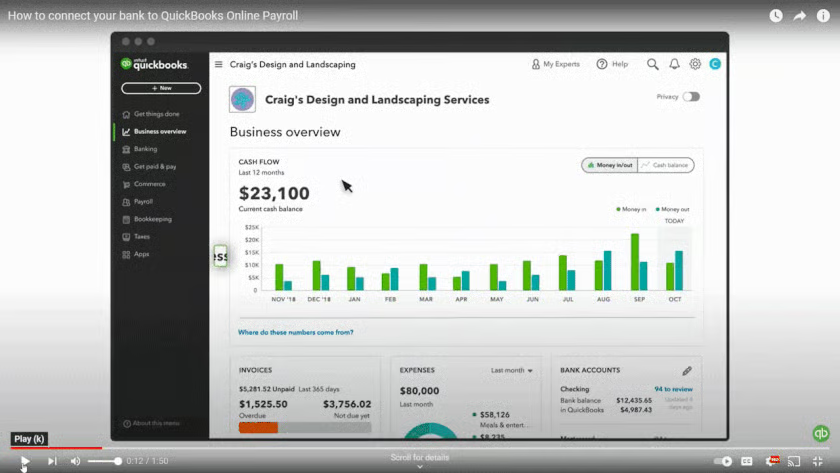
Depending on your view, there are two ways to get to the setup. (Source: QuickBooks demo on YouTube)
You will have to connect your business bank account to QuickBooks. The setup screen will walk you through what information you’ll need to include.

QuickBooks takes you step by step through the process of adding your account. (Source: QuickBooks demo on YouTube)
- Log in to your bank account online; this makes it easier for QuickBooks to connect to it.
- Input your business information, including your EIN. Click Next.
- Enter the information about your company’s principal officer—one legally in charge of the business bank account you want to use (the person who signs the checks). Aside from their full name, the system will require you to input their birth date, home address, and Social Security number.
- Input your account information into QuickBooks. It already has some bank information loaded, but if you do not see your bank in your choices, you can manually input the information.
- Click Accept and Submit, then Okay.
If you connected your bank account to QuickBooks Payroll manually…
It’s easiest to connect to QuickBooks by signing into your account online first and letting the platform handle the rest. In such a case, it can verify the account in moments, whereas manual connection can delay the verification by a few days. However, if you could not find your bank or preferred to input the information manually, then QuickBooks will need you to verify the connection.
If you connected manually because you’re worried about providing your login information online, keep in mind that QuickBooks Payroll uses a secure system for all of its processes to keep your data safe.
- To complete the setup of direct deposit in QuickBooks, the system will send a test deposit transaction of less than $1 into your account within two business days. You can call your bank and check your bank statement online to see if the test transaction pushed through. It will appear on the statement as either “Intuit: Verify Bank” or “QuickBooks: Verify Bank.” This transaction will disappear in a few days.
- You will receive an email requesting you to verify the test transaction. After you have confirmed the amount, you will receive another email stating that your account has been verified.
- If you don’t receive the email prompting you to verify the test transaction, you can log in to your QuickBooks Payroll account to complete the verification. There are several ways to do this.
- You can check your to-do list on the Overview screen and click Let’s Go on the Check Your Account for Small Deposit, then verify option. Select Verify your Account and then enter and confirm the amount of the test transaction from your bank account.
- If the verify account task doesn’t appear on your Overview screen, you can select Settings, and then Payroll Settings. Under Bank Accounts, select Company, and then click Verify Account. Then, enter and confirm the test amount.
- If you don’t see the option to verify your account, it means that the test amount hasn’t been debited. You’ll need to restart this step—Connect Your Business Bank Account. You can also contact QuickBooks’ payroll support team for assistance.
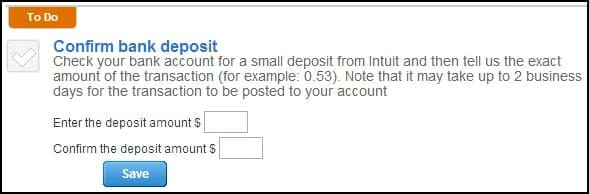
You don’t need to enter the dollar sign. If the test transaction amount is $0.53, you should enter 0.53 into the boxes.
The overall process of how to set up direct deposit in QuickBooks Online is generally the same for QuickBooks Desktop Payroll users. However, the system’s menu and/or button selections are just a little different, plus there are a few extra steps.
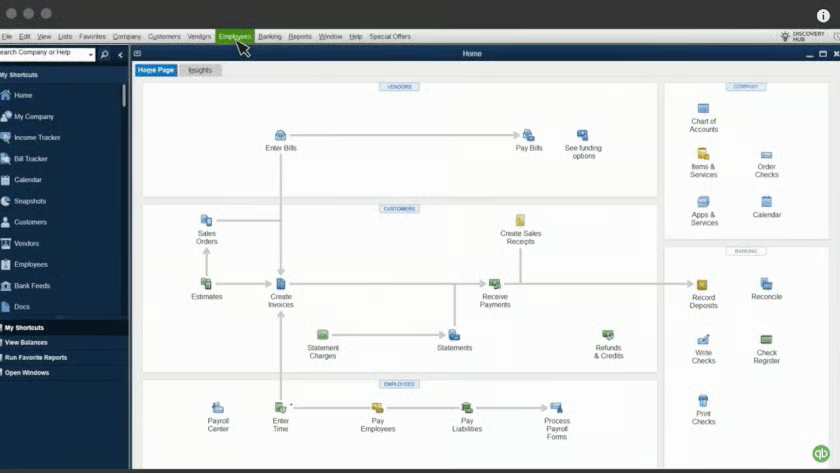
For example, to connect your business bank account, you go to the Employees menu, then My Payroll Service, and then Activate Direct Deposit. From there, you add your company, principal officer, and bank account information, just as you do with QuickBooks Online. However, you will need to manually add the information.
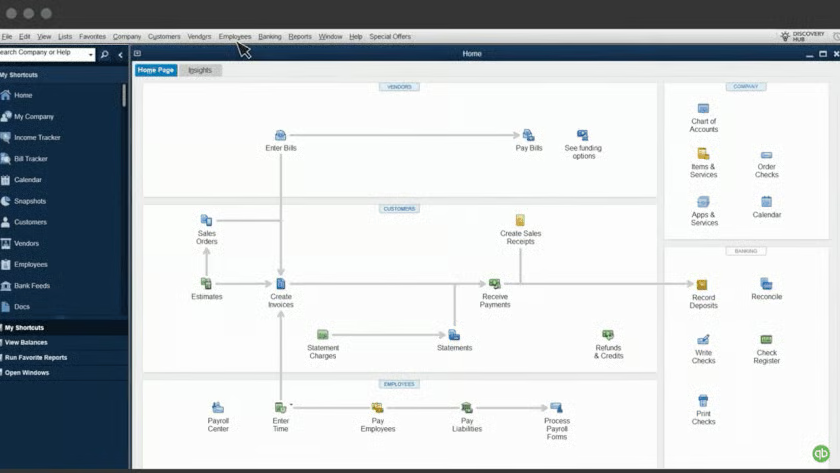
Getting to the direct deposit signup is a little different from QuickBooks Online. (Source: QuickBooks demo on YouTube)
This is where the process diverges from QuickBooks Online. You need to connect to your account through QuickBooks, which may require additional verification. You also need to select a PIN that will be used whenever you process payroll. Just like when manually entering account information with QuickBooks Online, QuickBooks Desktop will send a test deposit within two days, and you will need to verify the deposit in QuickBooks.
You don’t need to use decimal points when putting in the deposit amount for verification. (Source: QuickBooks demo on YouTube)
Step 2: Have Employees Authorize Direct Deposit for Their Pay
Connecting your bank account is only the first part of paying employees with direct deposit. Next, you need to set up their accounts. For that, you need two things:
- Their account information. That includes the account number and routing number of their bank account—or accounts, if they want to split their pay.
- Signed permission to pay them via direct deposit. Regardless of whether you’re a QuickBooks Online Payroll or QuickBooks Desktop Payroll user, you need to have each participating employee sign an authorization form for direct deposit. This is for your protection, as you’re not legally allowed to send a paycheck to an employee’s bank account unless they give you their approval.
QuickBooks has a form that you can print and use, but you can also use your own direct deposit form. In addition to signing the document, have each employee attach a voided check for each of the bank accounts in which they want their paychecks deposited.
To access the direct deposit authorization form within QuickBooks Workforce, go to the Taxes menu and click Payroll Tax. Then, select Filings and Employee Setup. Next to Authorization for Direct Deposit, you’ll select Bank Verification. Select View and print enough copies for employees who prefer to receive their pay through direct deposits.
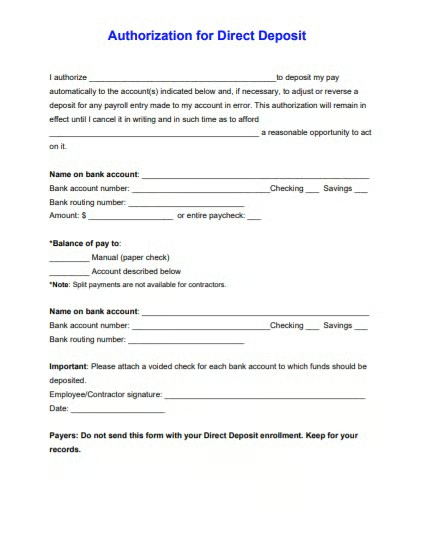
Keep the signed authorization forms in your employee records. QuickBooks Workforce doesn’t need a copy of it. (Source: QuickBooks)
Step 3: Enter Employees’ Bank Account Details
You can enter employee information in one of three ways—add it when you add a new employee, update it before running payroll for an existing employee, or have the employee add their own information. Regardless of how you do it, be sure you have a consent form and that you double-check the numbers. Putting in the wrong numbers can delay your employee getting paid on time.
Add for New Employee
QuickBooks Payroll will let you download employee information from other payroll services or spreadsheets. Here, we show you how to do an individual employee.
It’s best to add employee bank information from their check stub. (Source: QuickBooks demo on YouTube)
- Go to Payroll, then Add Employee. Make sure that Self-Setup is off.
- Add employee information as necessary. There are some sections you don’t need to fill, but you do need to add the name, Social Security number, contact information, and pay schedule.
- Where it asks How Would You Like to Pay (employee), select Direct Deposit and input the account and bank routing information.
Update for Existing Employee
If you have an employee already on the payroll, the easiest way to change it is from Payroll.
You can add account information from the employee information section or from payroll. (Source: QuickBooks demo on YouTube)
Click on Payroll, then the employee’s name. It will take you directly to How Do You Want to Pay. Put in the employee’s account and bank routing number. Click Done and Save.
Use Employee Self-setup
Click on Self-Setup, and QuickBooks will invite the employee to input their information. (Note: when Self-Setup is activated, you cannot make changes to some personal information. You can deactivate this at any time.)

Self-Setup lets your employees input their personal and banking information. (Source: QuickBooks demo on YouTube)
In setting up each employee’s QuickBooks direct deposit details, you open each staff record through the Employee Center.
- Click on Employee Center.
- Double-click on the name of the employee.
- Click on the Payroll Info tab, then the Direct Deposit button.
- Select Use Direct Deposit and then enter the bank account information for where the money should be deposited. As always, double-check that the numbers match what your employee gave you, and be sure you have a signed consent form.
Step 4: Send Your First QuickBooks Direct Deposit
After your business bank information has been confirmed and all of your employees’ data has been entered into QuickBooks Workforce, you can start sending electronic payroll deposits. You can enjoy same- or next-day deposits, depending on your chosen plan.
Although a payroll service provider can make paying your employees much easier, you still need to know the basics. Check out our tips on how to get the best payroll training to help.
What Sets QuickBooks Workforce Direct Deposit Apart
While many payroll software providers offer a direct deposit feature, most usually have a standard two- to four-day processing period. This means that you have to initiate the payment two to four days before the employee will actually receive it. With QuickBooks Workforce, you can send same- and next-day direct deposits at no extra cost, depending on the plan you choose—no prior approval needed.
However, QuickBooks may put you on a five-day direct deposit plan. If that is the case, you need to manually request a faster time, submitting six months of financial data. You may also need a five-day direct deposit plan if your payroll goes beyond your direct deposit limit, such as for holiday bonuses. Talk to your QuickBooks representative in these cases.
Bottom Line
By following four simple steps, you can easily set up your QuickBooks Workforce direct deposit. Just be sure to have all of your company and bank account information, including your employees’ bank account details, ready to prevent processing delays. Once you have successfully completed the setup process, you can start sending same- or next-day paychecks to employees.