


Invoicing is one of the many ways to get paid using Square, which has a free invoice generator—you just need to fill in the prompted information. This article will walk you through how to use Square’s invoicing app, an excellent feature for businesses that invoice clients or vendors.
If you don’t have a Square account, you can create one for free. The sign-up process takes just a few minutes, requiring no application or approval process.
If you want to see Square Invoices in action, check out our video walkthrough.
Below are 8 Square invoicing steps to provide you with more details:
- Step 1: Log in at Squareup.com
- Step 2: Start a New Invoice
- Step 3: Add Customer Information
- Step 4: Complete the Invoice Details
- Step 5: Add Items to the Invoice
- Step 6: Update Payment Options
- Step 7: Update Your Invoice Delivery Settings
- Step 8: Review & Send/Schedule
- Send a Square Invoice From Your Mobile Device
- Create a Square Invoice From an Estimate
- Square Invoice Templates & Examples to Get You Started
- Frequently Asked Questions (FAQs)
- Bottom Line
Step 1: Log in at Squareup.com
To start creating a Square invoice on your desktop, first, go to Squareup.com and log into your Square dashboard. Click “Sign In” at the top right of the page, enter your username and password, and hit “Sign In.”
Step 2: Start a New Invoice
Once you’re logged in, head to your main dashboard page. There are two ways to access the “Invoices” tab. You’ll find an “Invoice” option if you scroll down the left menu panel, which takes you to the Invoice dashboard. There’s also a “Send an Invoice” button on the upper right-hand section of the main dashboard.
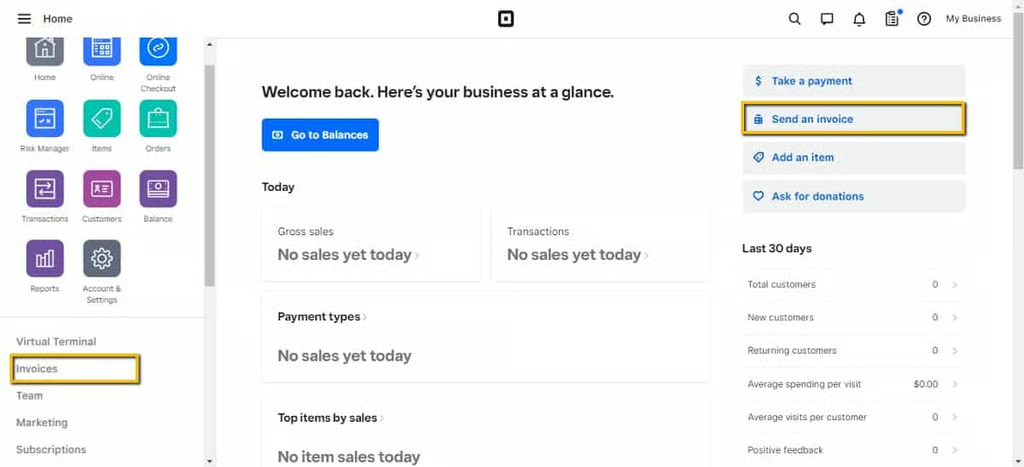
Square Main Dashboard 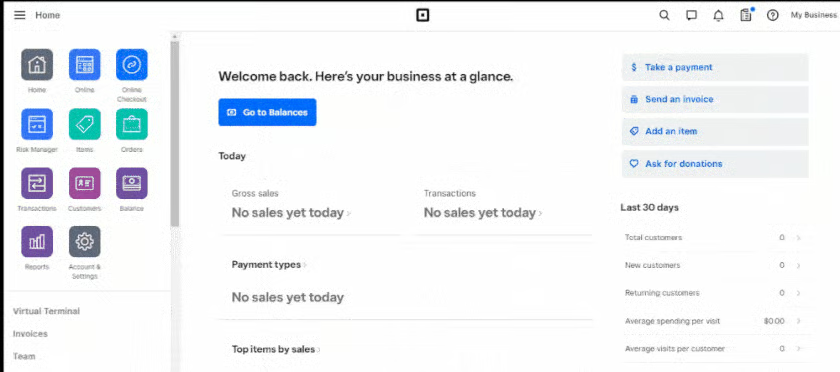
Click on the Invoice option from the left menu panel and then click on the “Send an Invoice” option. 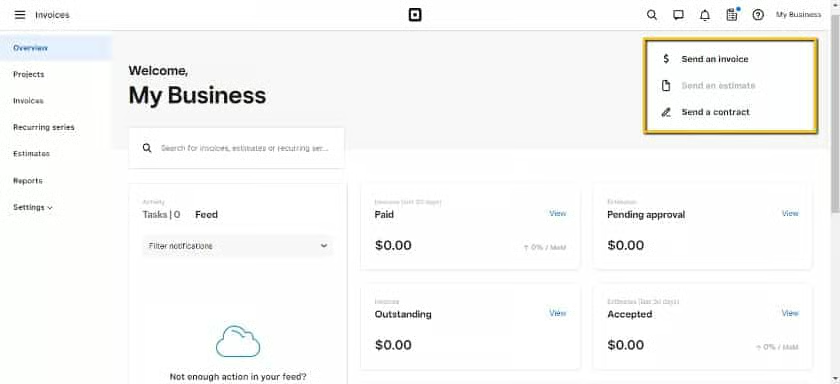
Square Invoices Dashboard 
Click on the “Send an Invoice” shortcut at the upper right hand section of the main dashboard.


Step 3: Add Customer Information
Add your customer’s information by typing in the name. The system will then show you a list of customers on record from a dropdown box to choose from. If you’re sending an invoice to a new customer, choose the “Create new customer” option from the dropdown.
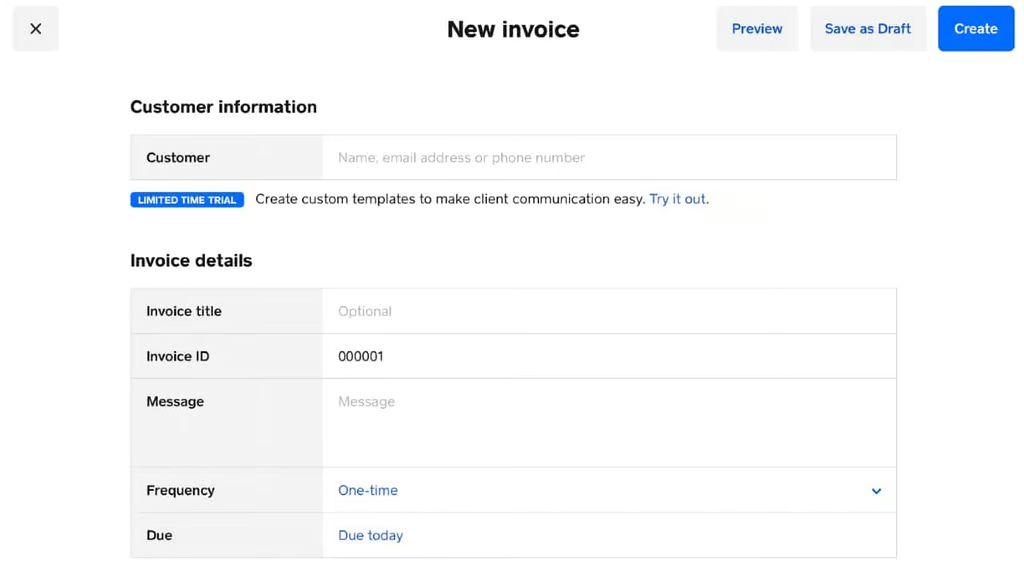
The new invoice page starts off with a customer information field that gives you access to your customer database. 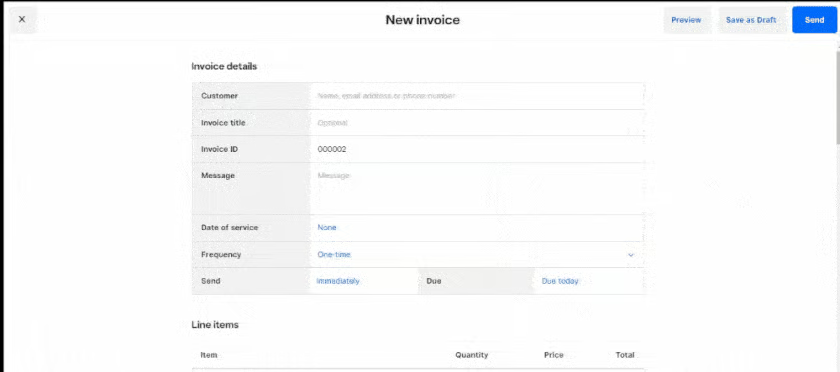
Fill in your new customer’s information in the popup window. It will ask for an email address and phone number, which you will need in order to send the invoice.


Step 4: Complete the Invoice Details
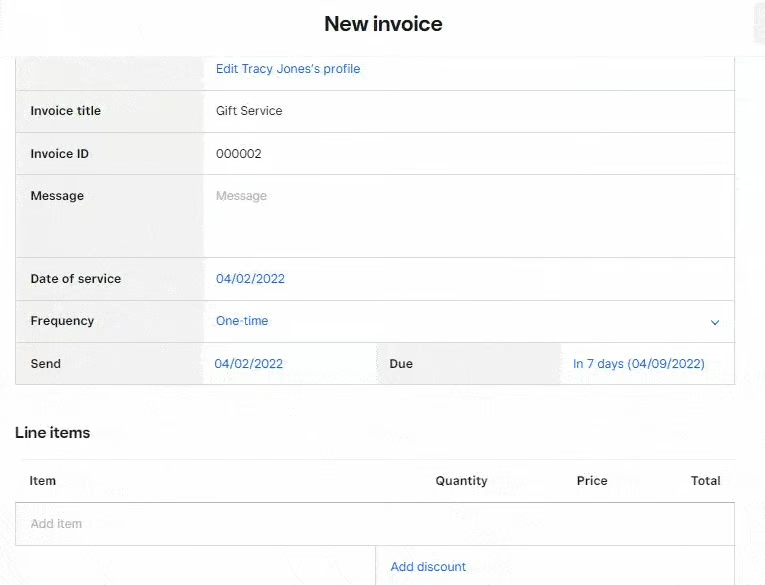
Once the customer information is added, you can continue entering your invoice details. You can input a unique name for this invoice and include a custom message for your customer. The date of service refers to when the product/service order is fulfilled. An invoice ID number automatically generates, but you can always customize this.
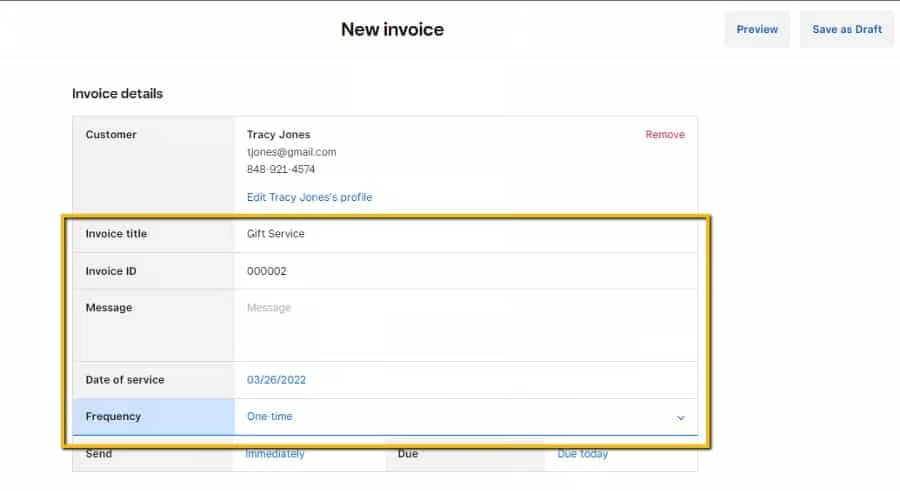
Under the “Frequency” section you get an option between “One-time” and “Recurring” frequencies. Choosing the latter will prompt you to provide more sending details.
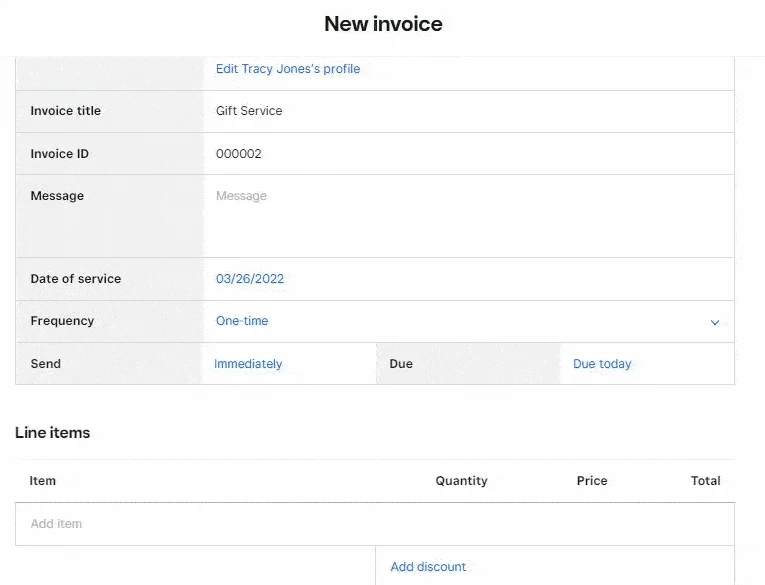
For single invoice transactions, set the frequency as “one-time.” This will prompt a calendar pop-up—you can choose when to send the invoice and when it is due. You can schedule several days in advance or select a custom date.
For recurring invoice transactions, use the “recurring” setting. Similar to the single invoice option, this setting prompts a pop-up calendar to select the start date. The “Repeat every” field lets you indicate the interval between invoices, expressed in the number of weeks, months, or years.
The “End date” field displays three different options:
- If you choose “On date,” the system will ask you for a specific date.
- If you choose “After,” the system will prompt you to specify the number of invoices you are to send for this subscription
- If you choose “Never,” the system will continue to send the invoice until you manually cancel the subscription.
Square will then prompt you to set when invoices are due. Finally, click on the box if you want to provide your customer an option to enroll for automatic payments through the invoice.
Creating and Adding Square Contracts on Your Invoice
Square Contracts is available from the Square invoicing platform (dashboard and Android mobile app). Contracts allow you to establish policies and payment terms, gain authorization to charge cards saved on file, and set expectations. You can create one from scratch or use one of Square’s contract templates to help get you started.
Features include:
- Create custom templates and clauses
- Duplicate, edit and reorder clauses
- Add custom fields to your templates
- E-signature and signed date function
- Customize with a business logo and color scheme
- Bulk send contracts to up to 20 recipients
To use Square Contracts:
- Go to Customers > Contracts on your Square dashboard or Click More > Contracts on the Square invoicing app
- On the Square Dashboard, select New contract to choose a standard or saved template, then click Create on the Square dashboard. If you use the Square invoicing app, select + to choose between standard or saved template, and then click Create
- Add your recipient’s name and contact information by typing it in the field or pulling from your client directory
- Fill out the standard and custom fields including contract name
- Attach your Square invoice and estimate (if available)
- Add the owner’s name
- Select Share to send via email or download via PDF
Visit Square to learn more about Square Contracts.
Step 5: Add Items to the Invoice
This section is the same for single and recurring invoices. You can add multiple products or services and specify the quantity. If the product or service isn’t listed in your library, you can create a new product from the invoice page. If you make a mistake, the “x” at the end of each row will remove the line item.
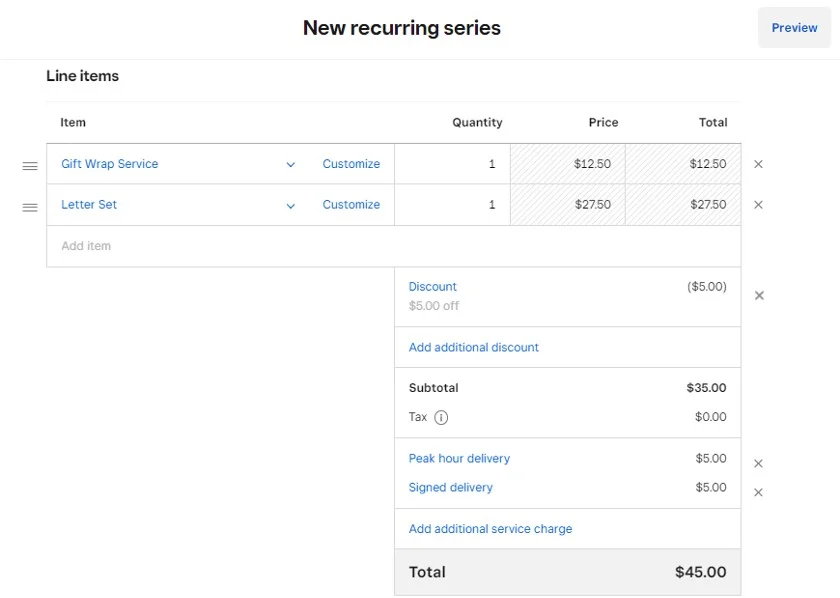
Once you have listed all your invoice items, you can add line adjustments. Square’s invoice lets you add multiple discounts and charges in a single transaction. As with the products/services, you can also enter new ones as you go.
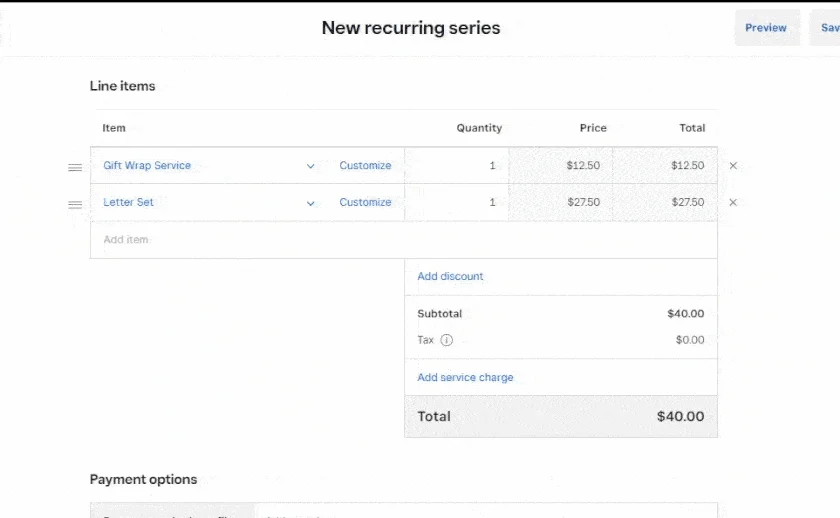
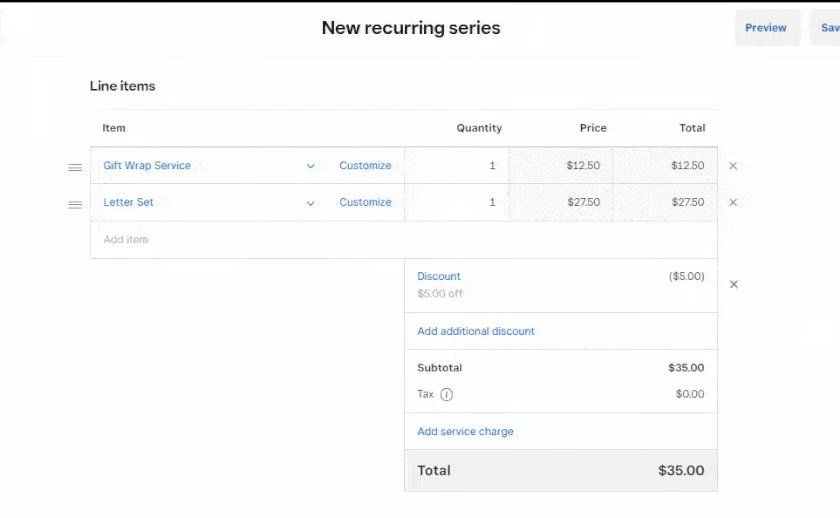
You can create a new discount or choose a discount type from the dropdown options. Adding a new discount is easy, just add the name and a dollar or percentage amount and click “Add.” The new discount type will be available in the dropdown for future invoices.
Similar to discounts, you can add multiple add-on charges from a dropdown and create a new add-on charge type if needed.
Step 6: Update Payment Options
You have complete control over the payment options that you want available on your invoice. If you like, you can add a card on file using Square’s included credit card authorization forms (though processing these card-on-file payments comes with higher fees).
You can also accept ACH bank transfers or gift card payments. You don’t have to choose just one payment option—the simplest process is to click all the payment method options and let customers choose how to pay when they receive the invoice.
You can also allow customers to add tips and request to have their card information stored for future automatic payments. Though again, the processing rates are higher for this.
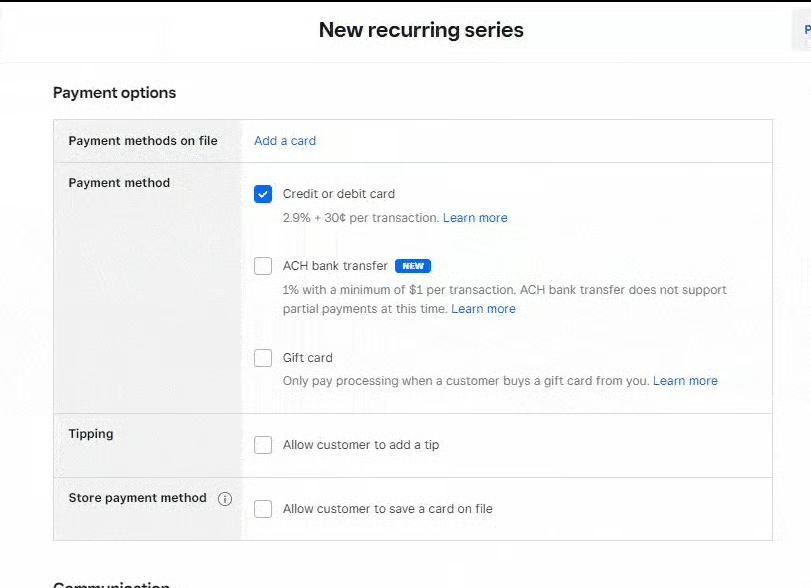
You can set payment method options that you want available in the invoice. You can also allow customers to add tips and request to have their card information stored for future automatic settlement of transactions.
Through our articles, you can learn more about Square’s processing fees and Square’s payment processing tools.
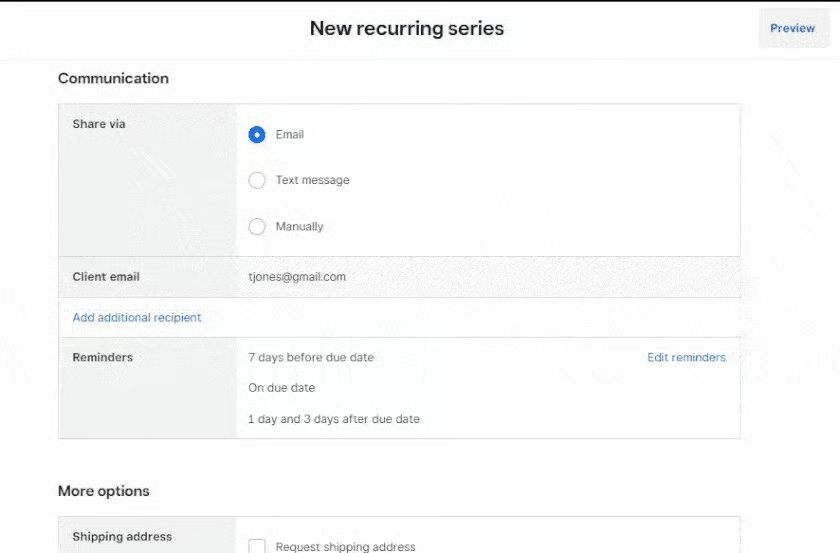
Step 7: Update Your Invoice Delivery Settings
The next step is to choose how you want the invoice delivered to your customers. This step also allows you to add, update, and customize invoice reminders.
Square has three options for sending invoices:
- Send your customer invoice through email, along with an option to add more recipients at customers’ request.
- Send your customer invoice via text messaging, which will send your invoice link to your customer’s registered phone number.
- A manual invoice delivery generates a custom link to your invoice that you can share in whatever way you prefer.
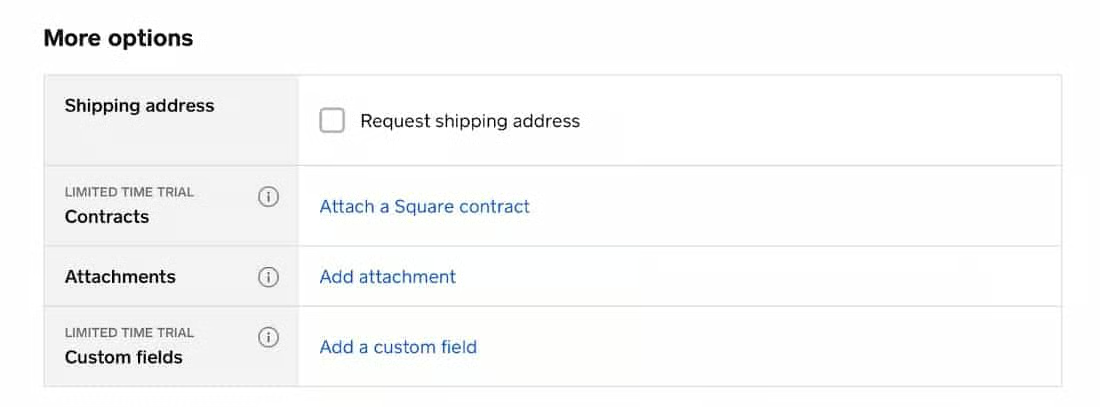
Finally, choose to add any extras like attachments and custom fields. This is ideal for adding contracts, estimates, order specs, and other customer purchase documents.
Step 8: Review & Send/Schedule
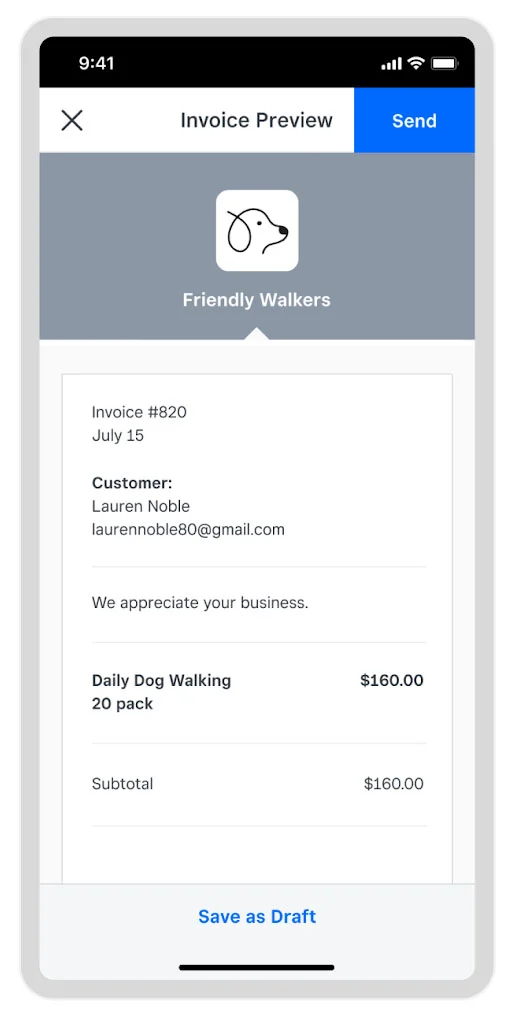
Once you’ve filled everything out, review the invoice by clicking “Preview” at the top and make sure your information is correct. You can hit the “Save as Draft” button at any time and return to it later, or proceed with sending the invoice.

Click on the “Preview” button to see how the invoice looks from the client’s point of view.

Click on the “Schedule” button to send out recurring invoices.
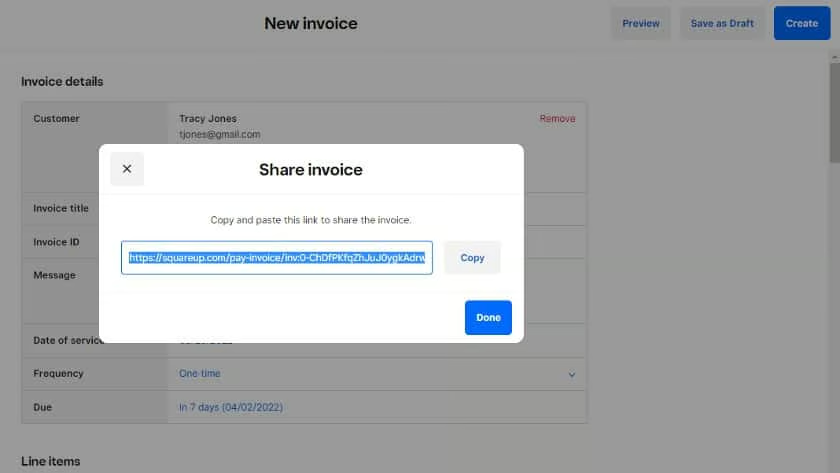
Click on the “Create” button to copy the link generated for a manual invoice, which can be shared via text messaging or on other platforms.
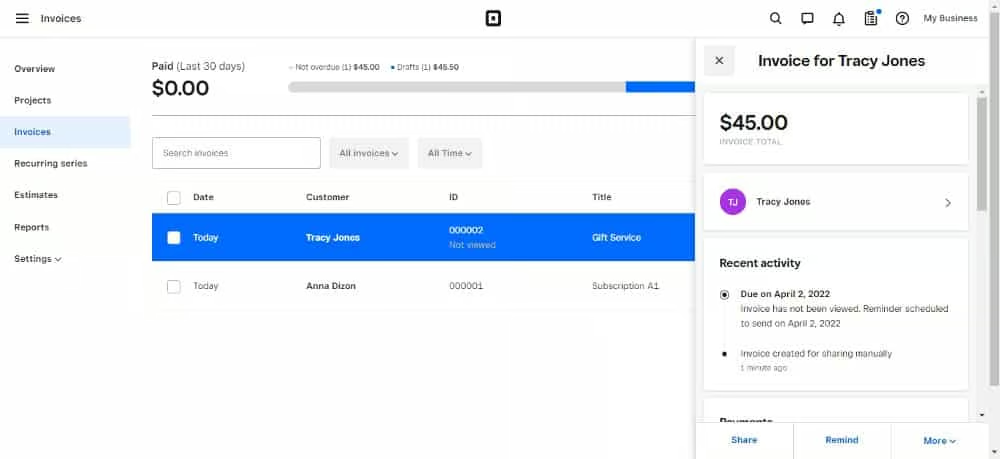
Once you have sent out or scheduled an invoice, this will be listed and viewed on your invoice dashboard. You can view and track the status and trigger reminders or make quick edits to the invoice from this page.
Send a Square Invoice From Your Mobile Device
If your business takes you on the go a lot, you may want to send an invoice through your mobile device. You can follow the same steps above to send a Square invoice through its mobile POS app.
Scroll through the images below to see how:
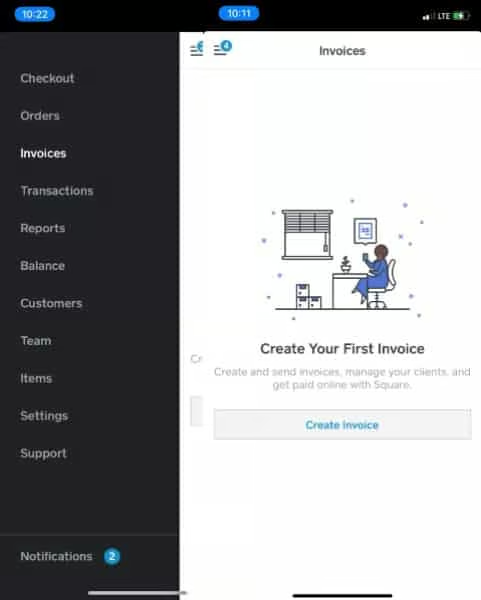
To get started, download the Square mobile POS app on your mobile device and sign in to your account. Once you’re logged in, click “Invoices” in the dropdown menu on the left. Here you’ll see a prompt to create your first invoice—click “Create Invoice.” 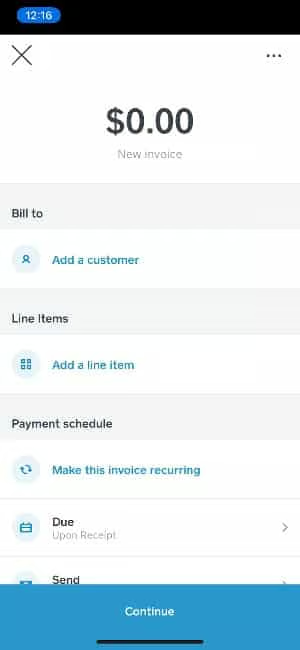
Next, fill out the information in the template to create your invoice. Just like invoicing through your Dashboard, you can manually enter an item name and amount or choose from your inventory library—though you won’t have the option to add a discount on the mobile app. You can also customize the payment schedule, choose accepted payment methods, and make the invoice recurring. After you’ve filled out the invoice information, click “Continue” to select communication preferences. 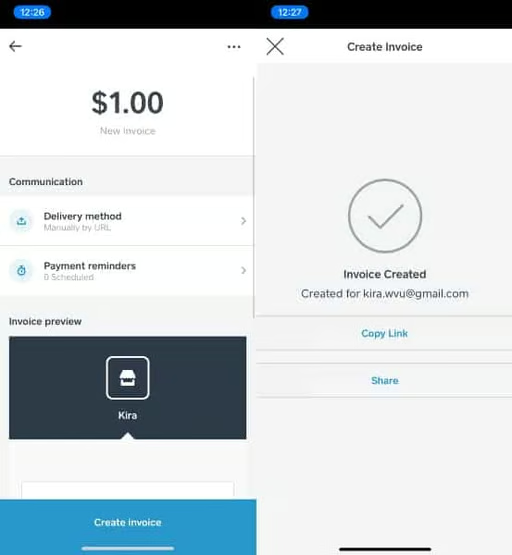
You can send the invoice via email or manually by sharing a URL link. You can also set up payment reminders here. Next, click “Create Invoice;” if you’ve chosen to share a URL, a screen will pop up; copy the link to share with your customer. Emailed invoices are sent automatically.


Learn more about the mobile app in our guide to Square POS.
Create a Square Invoice From an Estimate
This option requires upgrading to a Plus-level Square Invoices account at $20 per month; you can test drive the tools with a 30-day free trial. The account gives you tools for building estimates in the Square dashboard and sending those estimates with a set payment schedule. For example, a carpenter could send an estimate to a home repair client requesting a 10% deposit upfront and then schedule the rest of the payments at predetermined milestones.
The steps for creating an estimate are similar to creating an invoice:
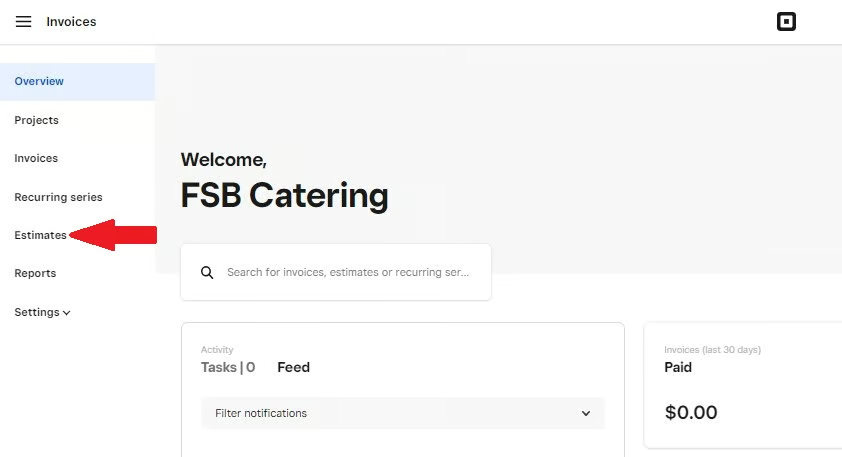
You create an estimate the same way you generate an invoice; only you click on the estimates option from the left screen menu. You simply follow similar steps from there, adding customer information, line items, and messages. 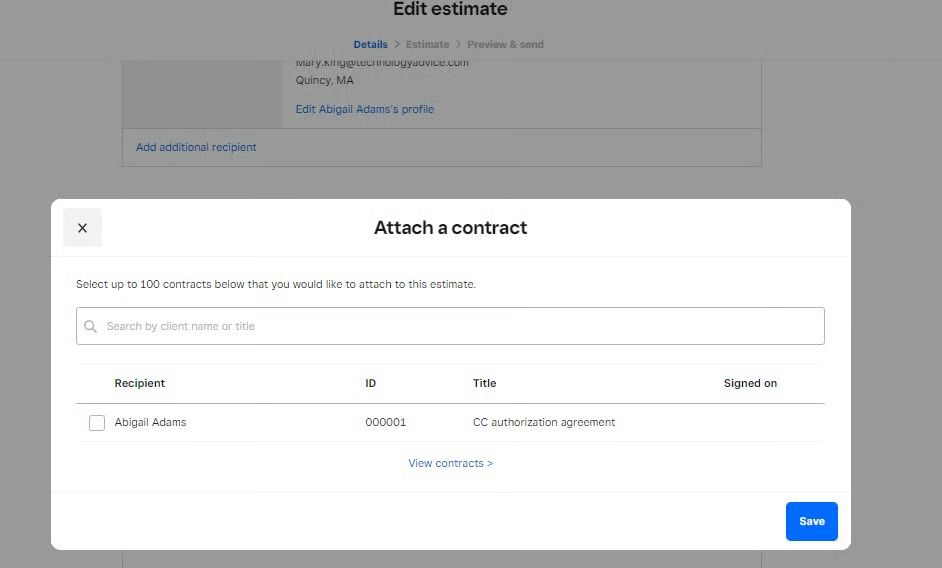
In the estimate generator, you can attach contracts like credit card authorization forms or detailed custom contracts created in the Square dashboard. 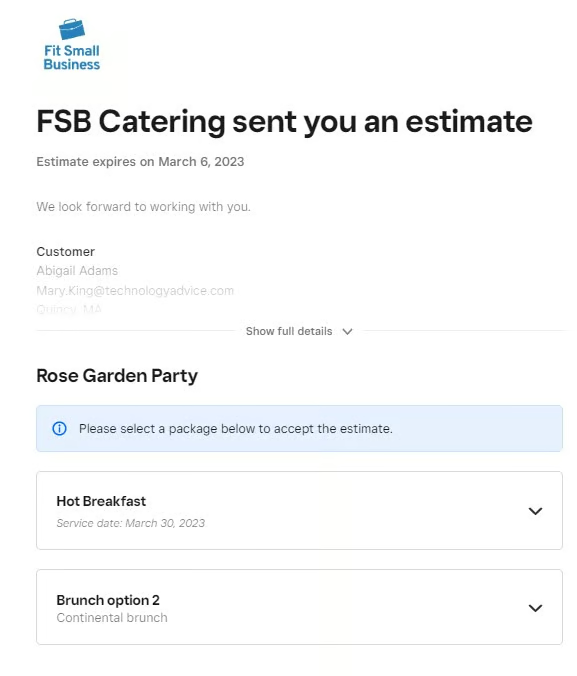
You can add up to nine package options on a single estimate. When the customer accepts one of the packages on your estimate, Square automatically generates an invoice using the estimate details. 
If you have set the invoice to request a deposit or input milestone payments, Square Invoices will handle all email or text communication to prompt your customer for payments.


Square Invoice Templates & Examples to Get You Started
Now that you know how to use Square invoicing, you can start creating custom templates that suit your business. Square also offers a variety of free invoice templates and sample invoices for different business types.
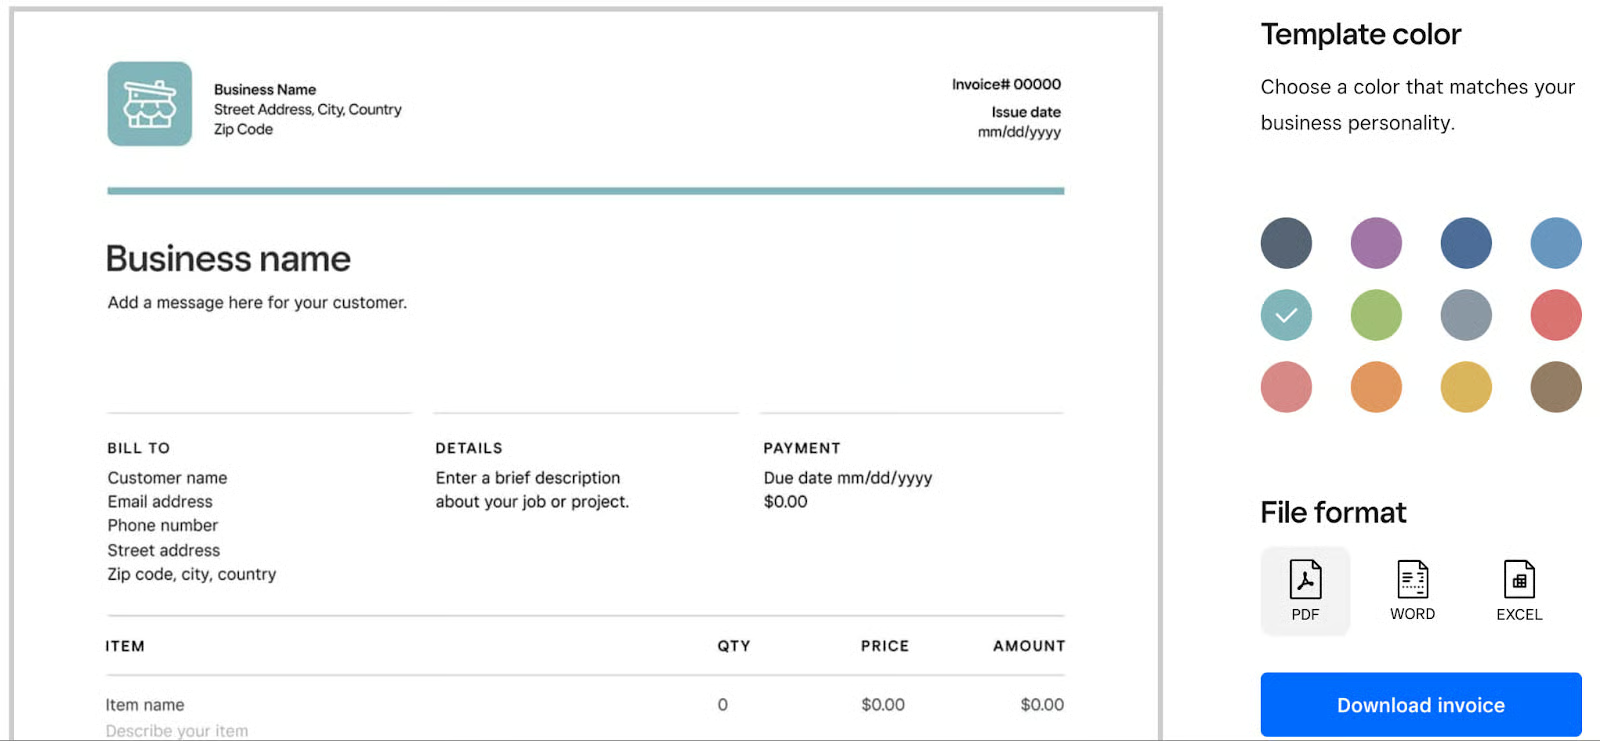
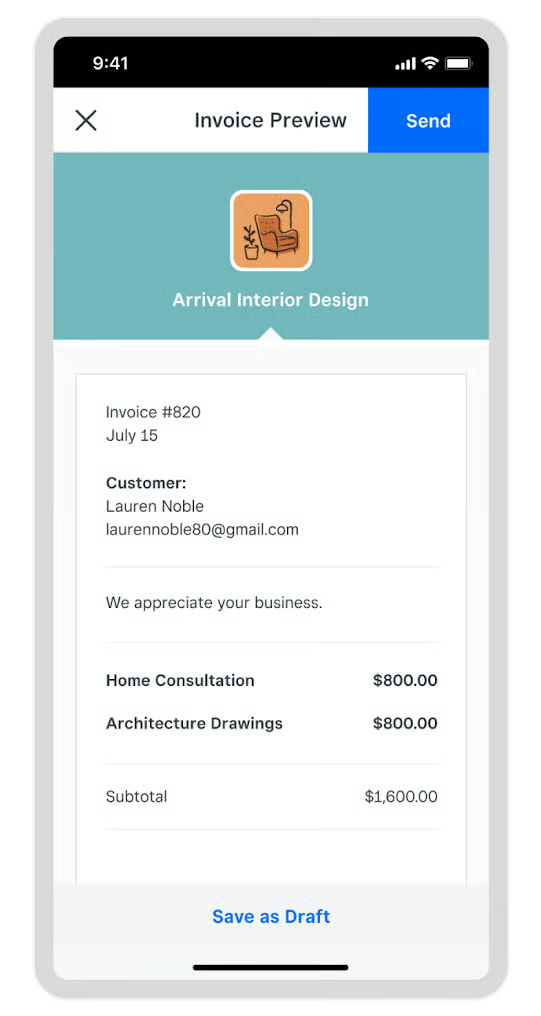
Here are a number of Square invoice examples for inspiration when creating your own. The designs are simple and easy to do, even on the Square mobile app.
Square Invoice Example for Freelancers
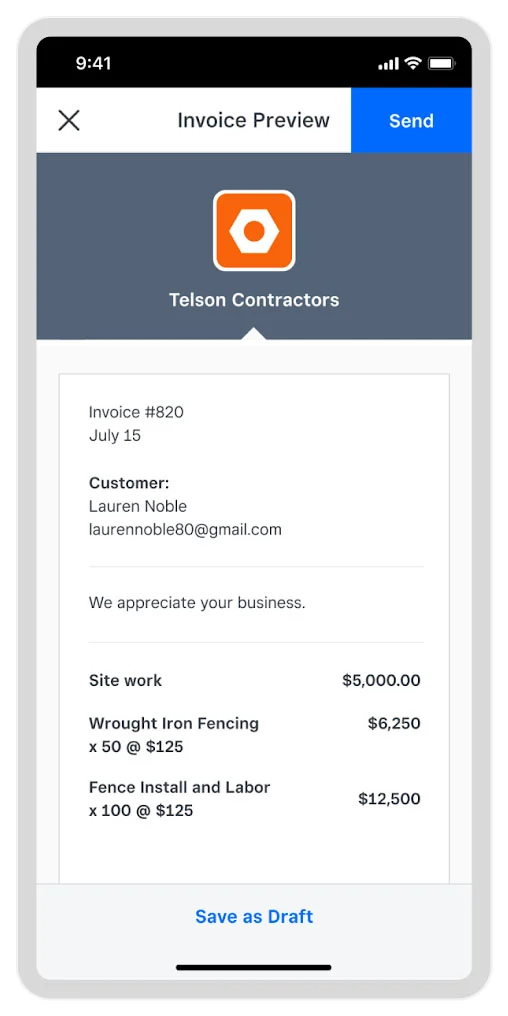
Square Invoice Example for Materials & Contract Work
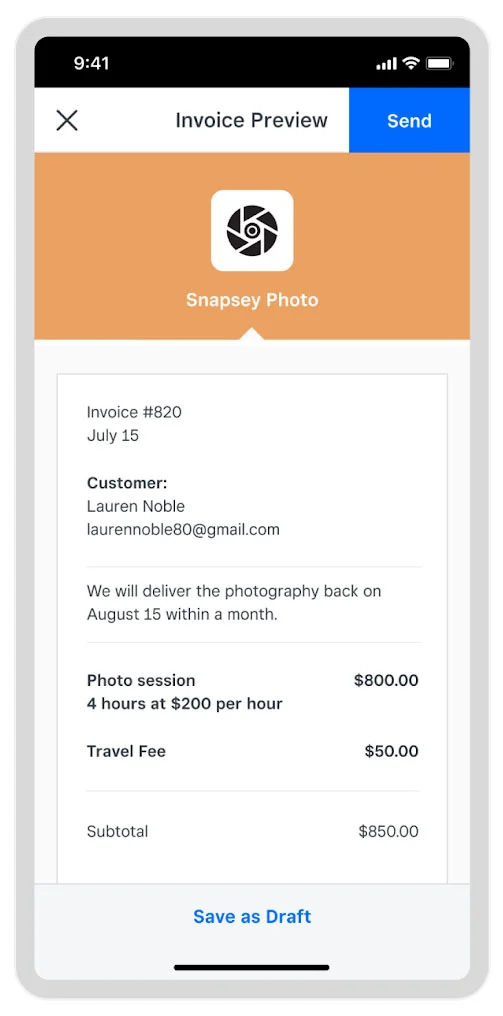
Square Invoice Example for Professional Services
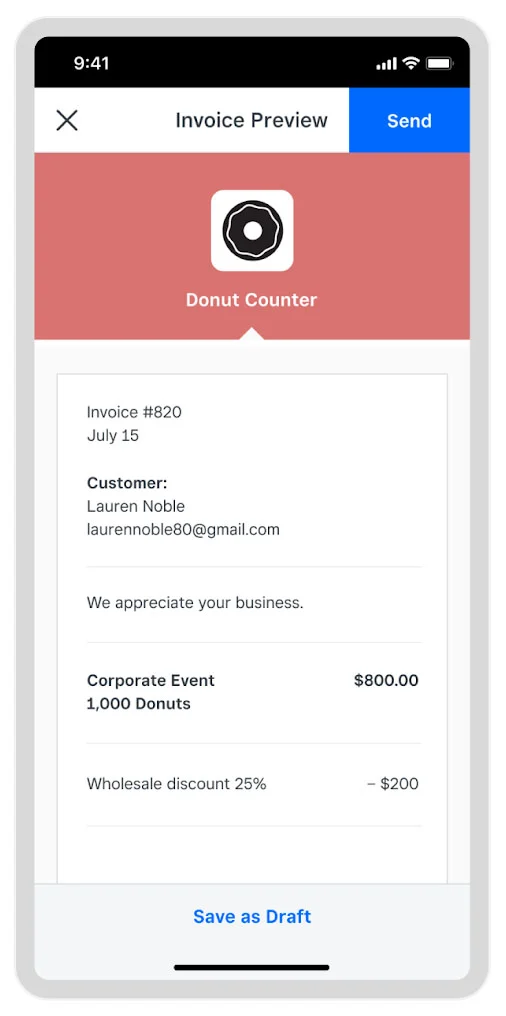
Square Invoice Example for Wholesale Sellers
Square Invoice Example for Flat-rate Services
Frequently Asked Questions (FAQs)
The following are questions people often ask about Square invoice:
How do I do an invoice on Square?
Issuing an invoice in Square is entirely done through Square Invoices, which you can access for free with a Square account. Use your Square dashboard or Square mobile app and navigate to the Square invoicing function to create, send, and track invoices.
How do clients pay with Square Invoices?
You can set a list of payment method options while creating your digital Square invoice—credit cards, ACH, Afterpay, CashApp, and even gift cards are all available options. Clients can click on the pay button embedded in the invoice to proceed with the payment at any time.
How do I do a test invoice on Square?
Square gives you access to a developer dashboard, where there’s a Sandbox Test Accounts section. Use the Default Test Account to initiate invoice payments using test credit cards and test payment tokens also available in the test account.
Bottom Line
Square Invoices is a low- to no-cost way for small businesses to invoice customers. All you pay to use the service is Square’s invoice fee of 2.9% + 30 cents on payments. If your customers pay by ACH, the fee is only 1%. Card-on-file payments come with a slightly higher fee of 3.5% + 15 cents. Square simply retains these fees from each transaction and deposits the remainder in your attached bank account.
Upgrading to a Plus level account for $20 per month unlocks additional tools for building estimates and custom contracts alongside auto-generated invoices. Square offers a 30-day free trial of these advanced features. Head over to Square to get started.