Monster is one of the biggest and oldest online job boards, attracting millions of job seekers every month in a wide variety of industries and across multiple countries. Before posting a job on Monster, you’ll need to create an account, fill out your company profile, and select a paid job ad. Monster doesn’t restrict the number of applicants you can get, and it automatically includes your job posting in emails to candidates whose skills match your job requirements. It also offers a four-day free trial.
Follow these simple steps for posting a job on Monster:
Step 1: Sign Up for an Account & Select Your Plan
Navigate to Monster’s sign-up page and click “Get Started for Free.” You’ll be redirected to a pricing page where you can select your plan option.
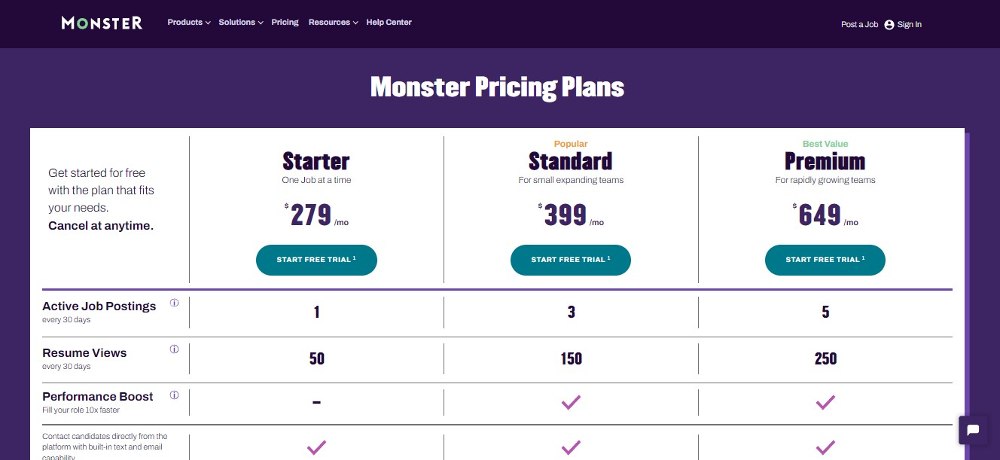
Monster is transparent with its pricing—see the table below for features included in its Starter, Standard, and Premium plans.
Plan Name | Monthly Cost | Features |
|---|---|---|
Starter | $279 |
|
Standard | $399 |
|
Premium | $649 |
|
For small businesses that are not hiring for multiple roles at once, the Starter plan will more than suffice. You have the option to rotate between jobs if you are hiring more than one, but you can only have one active job at a time.
Each of their three options also comes with a four-day free trial for new subscribers. During your trial, you can post a live job and get applicants.
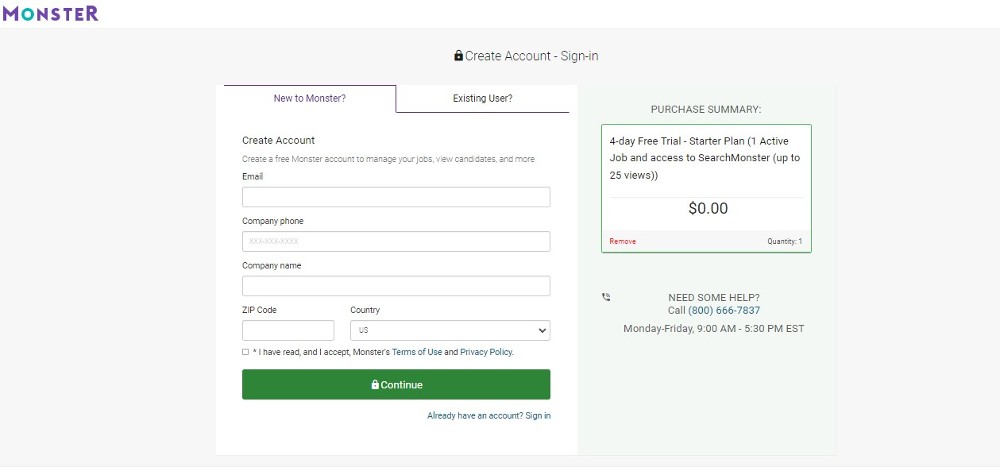
Once you’ve selected a plan, fill in your account details. Be aware that after your free trial ends, your card will be charged the monthly fee.
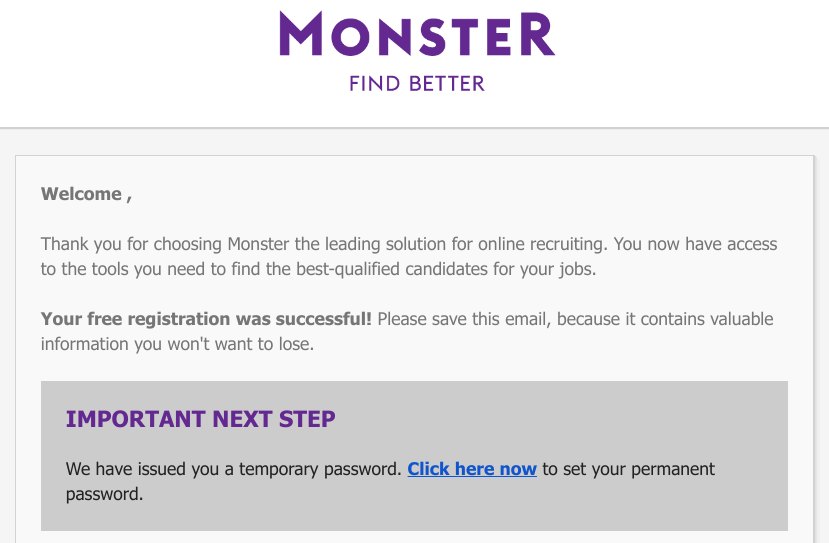
After you’ve signed up, you’ll get an email with a link to create your password. This is a one-time link, so make sure you find this message (you may need to look in spam).
Did You Know?
With robust resume search tools and templates, Monster is one of our picks for the best recruitment software.
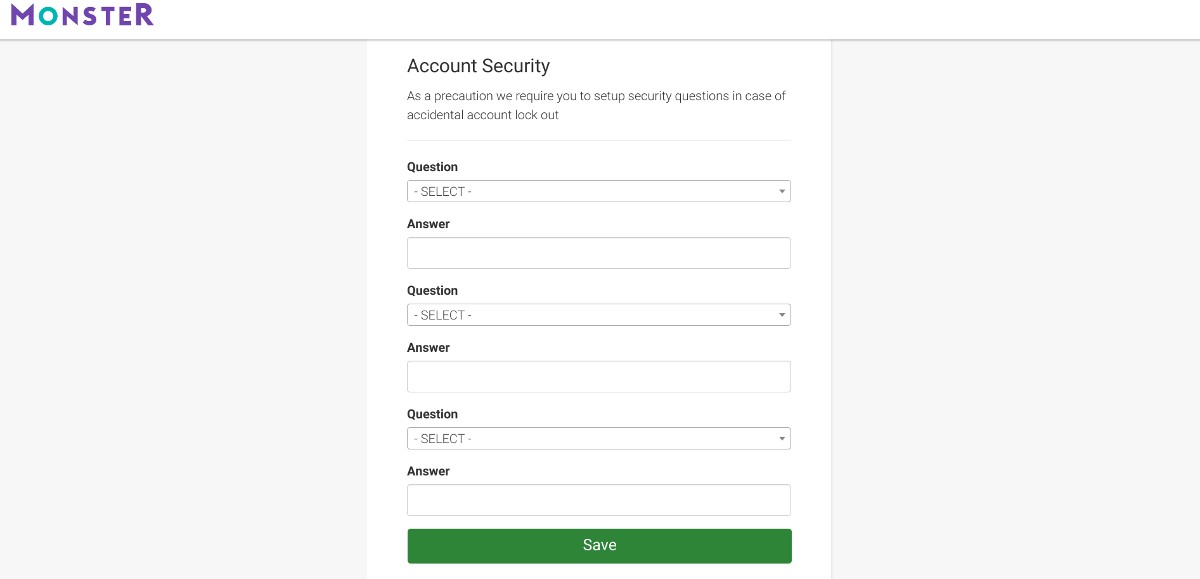
Step 2: Create Your Password & Security Questions
When you click the link in your email, you’ll be prompted to create a strong password. You’re likely creating a company Monster account where you’ll store at least one credit card, so make sure the password you choose is strong.
You’ll also need to create security questions. If you’re the owner, pick anything that works for you. However, if you’re an employee, you may want to check with HR to see if they prefer using standard security question answers (or they may get locked out if you leave and don’t let them know what your security question answers were).
Step 3: Complete Your Company Profile
To access your company profile from your dashboard, click on the gear icon in the top right corner and then select “My Company Profile” so you can add your details.
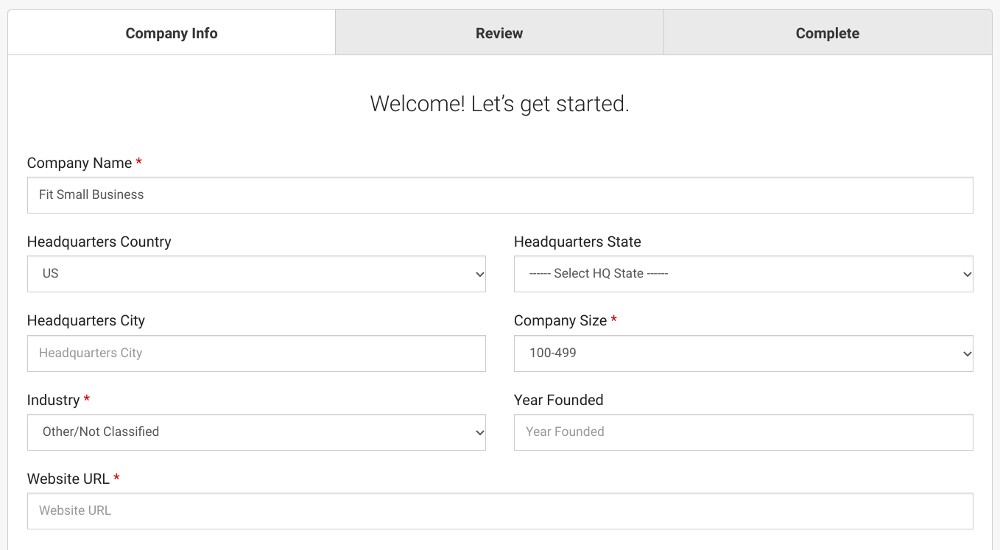
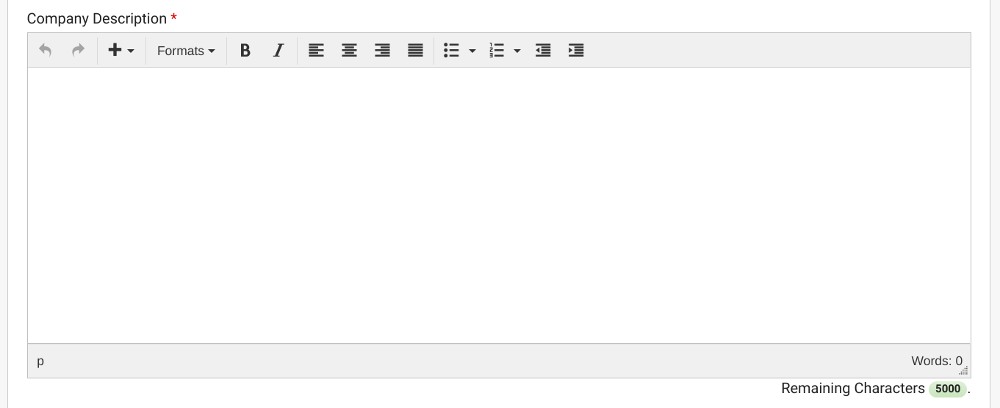
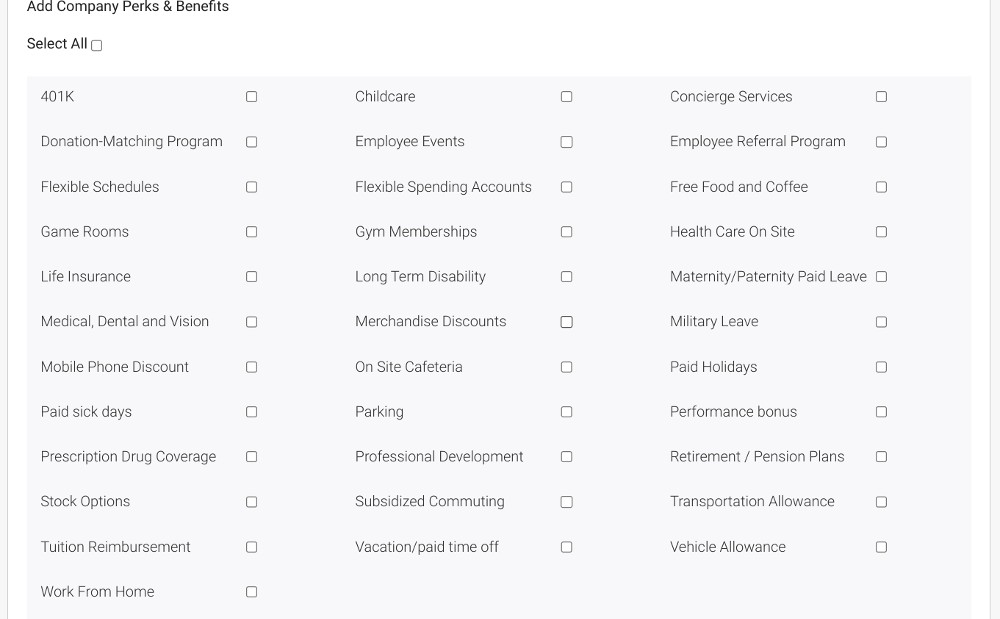
When you’re done, you’ll be able to review your company profile. Make sure you read it carefully to avoid any errors. Taking all of these steps is important to let candidates know you’re serious about hiring. It also gives you a chance to add some creativity to your company profile, giving candidates clues about your culture.
Step 4: Choose the Type of Job Ad & Pay
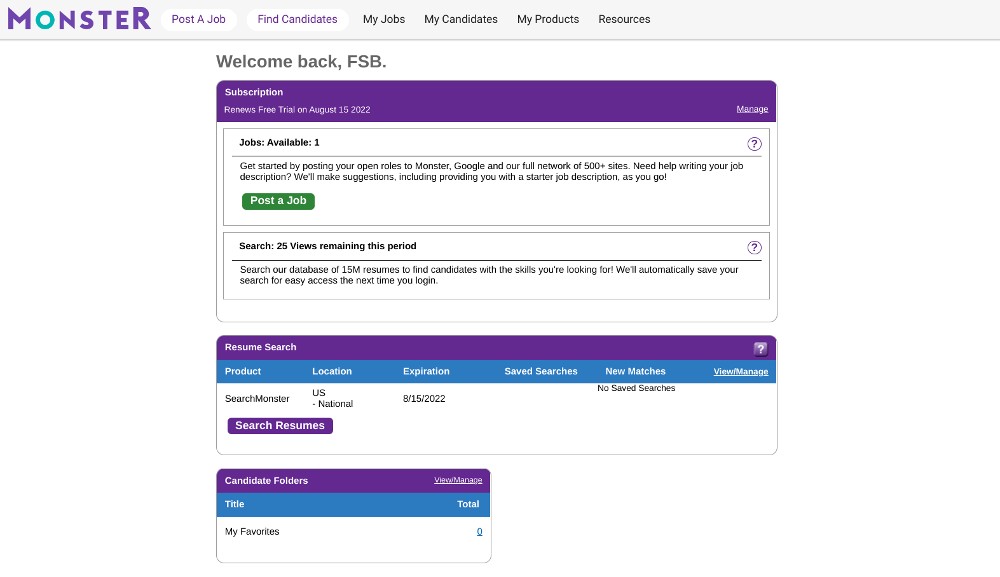
Go back to your main dashboard after completing your company profile. In the top navigation bar, click on “Post A Job” so you can review the pricing options if you didn’t select one during signup.
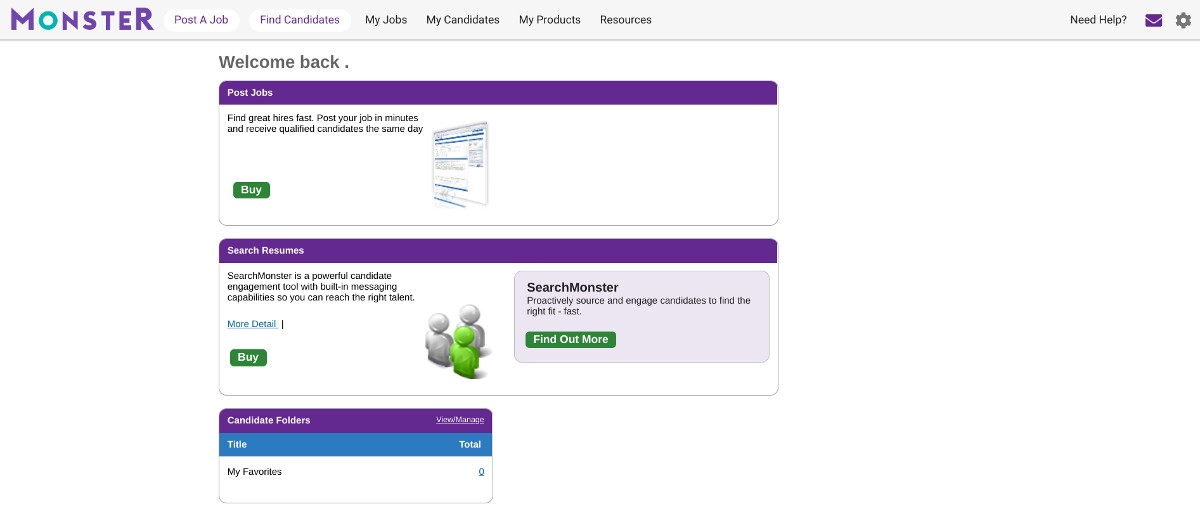
Once you’ve selected and paid for your plan, you’ll see your dashboard change:
Step 5: Create Your Job Ad
To post a new job, click on “Post A Job” at the top of your dashboard. This takes you to the job ad creation page.
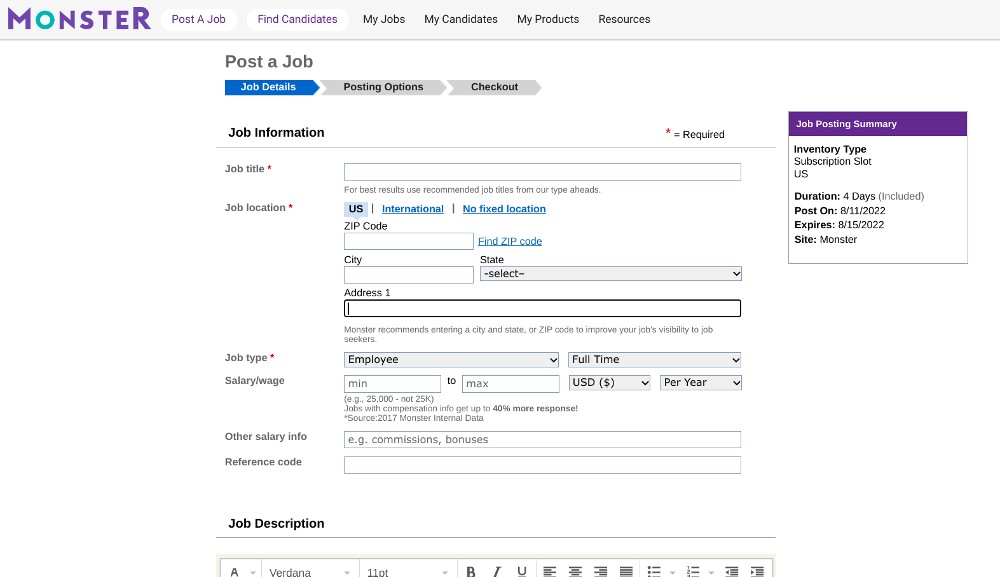
Fill out all the details required: job title, location, job and employee type, salary information, and job description. For job location, you can select “No Fixed Location” if your job is remote or you’re open to candidates in any location.
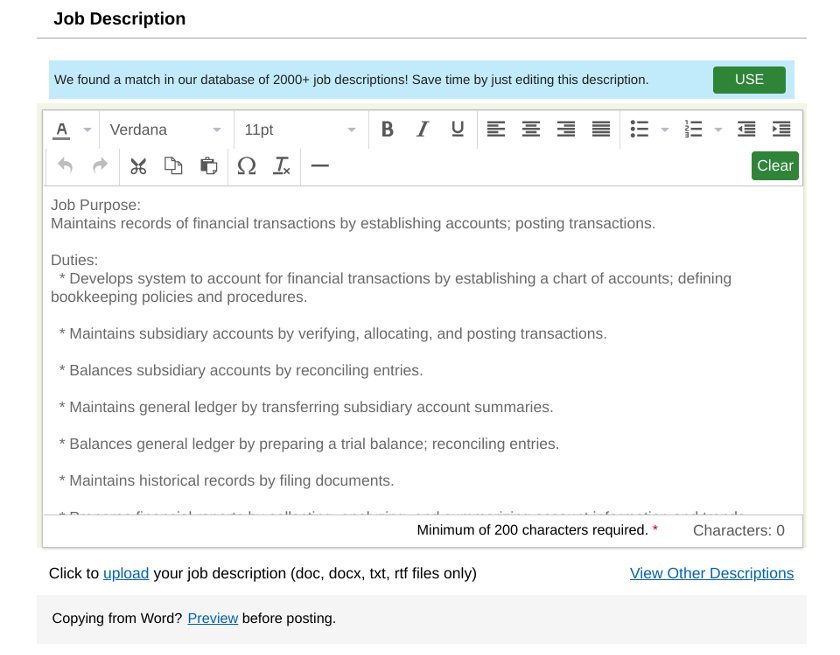
Monster offers hundreds of job description templates—use them, they’re your friend. If you haven’t been in the habit of writing a job description for each of your new positions, Monster’s template library can be a significant source of aid. You can see, based on the job title we entered, Monster even suggested a job description template for us.
Writing the job description is crucial. Every job ad should have a few sentences selling your company and answering this key question every candidate will have: Why would someone want to work for your company?
Your job ad will also need to provide clear details about what you expect the worker to do. Give a list of skills necessary for the job and some nice-to-haves.
Depending on the position, you may want to avoid requiring certain education levels, unless it’s required for a job like a doctor or a lawyer. Skills-based hiring often gives you better employees in the long run.
Step 6: Post Your Job & Manage Applicants
When your job ad looks ready to go, it’s time to post it. Monster also allows you to save this job to your library to use later, should you need to hire another employee in a similar position.
As you post jobs, your dashboard will display details about the applications you’ve received. You’ll also have the ability to quickly review new candidates who’ve applied since the last time you logged in.
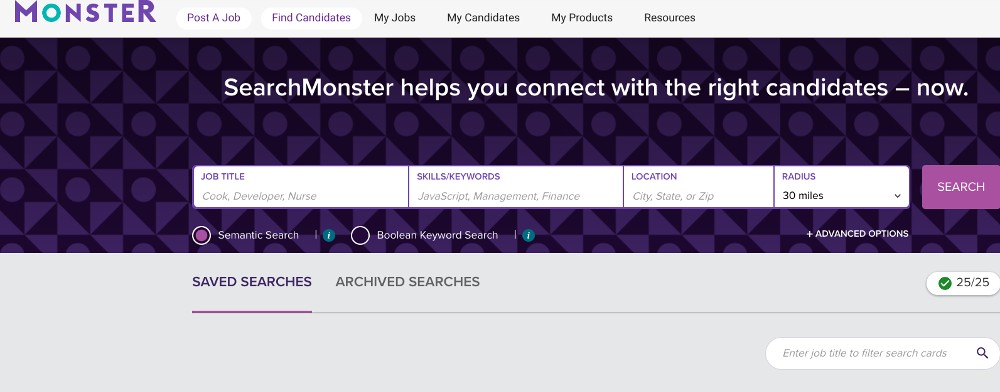
One way Monster helps you take a more proactive approach to hiring employees is by letting you search for candidates. On your dashboard navigation bar, click the “Find Candidates” tab.
![]()
This will let you search for candidates using keywords important to your job. Remember, if you’re choosing the Starter plan, you can only view 50 of these resumes per month (25 during your free trial), so choose wisely.
Your five most recent searches will also appear on your dashboard. This gives you one-click access to run a new search to find new candidates.
Monster also lets you manage your candidates directly from your dashboard. Click the “My Candidates” tab, and you’ll see a list of each candidate who’s applied for your job. You can view their details and their resume right from this screen. Note that viewing resumes in the My Candidates section does not count against the 50 views you get in candidate search.
When you’ve found the right hire, use your navigation bar and click on the “My Jobs” tab. This takes you to your job ad dashboard where you can manage each position. It also lets you manage your applicants and send an automatic rejection to any candidates you decide to pass up on.
When you’ve hired someone, make sure you deactivate the job ad. If you continue using Monster, don’t delete this job as it will be saved here for future use, should you ever need to hire more candidates in a similar role.
Alternatives to Monster
Best for: Small businesses with niche job openings or growing businesses planning to scale | Best for: Businesses wanting access to a wide network of qualified professionals | Best for: Recruiting for degreed positions, regular hiring, and tracking from hiring to onboarding |
Monthly fees starting at: $299 | Monthly fees starting at: $0 | Monthly fees starting at: $349 |
Looking for more options? Check out the best job posting sites for more alternatives to Monster. Or, learn about social recruiting and how to post on sites like Facebook.
Bottom Line
Finding employees you love doesn’t have to be hard. Using Monster to post your job ad, you immediately gain access to millions of potential candidates. Get your job ad up today and start receiving applications immediately.