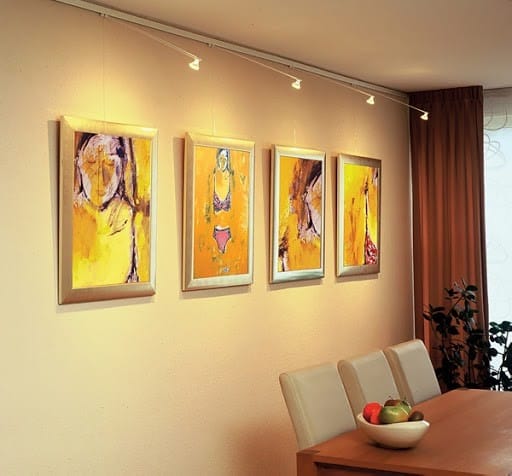
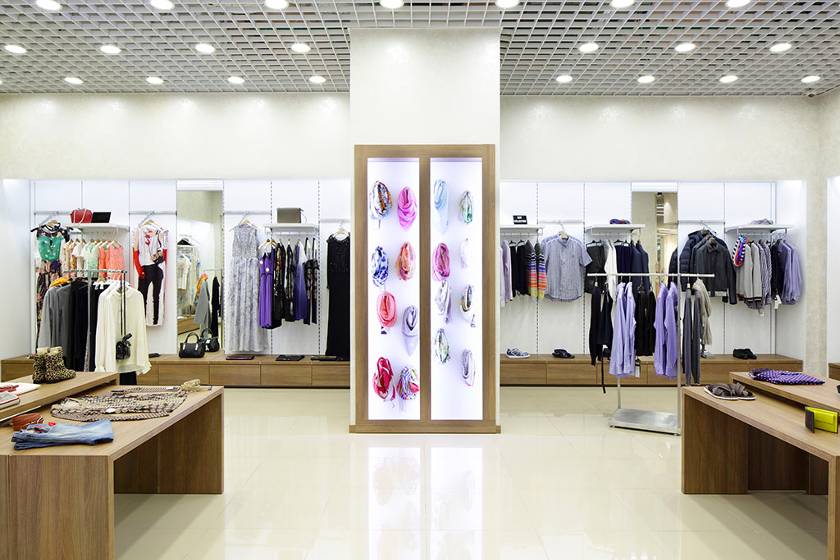
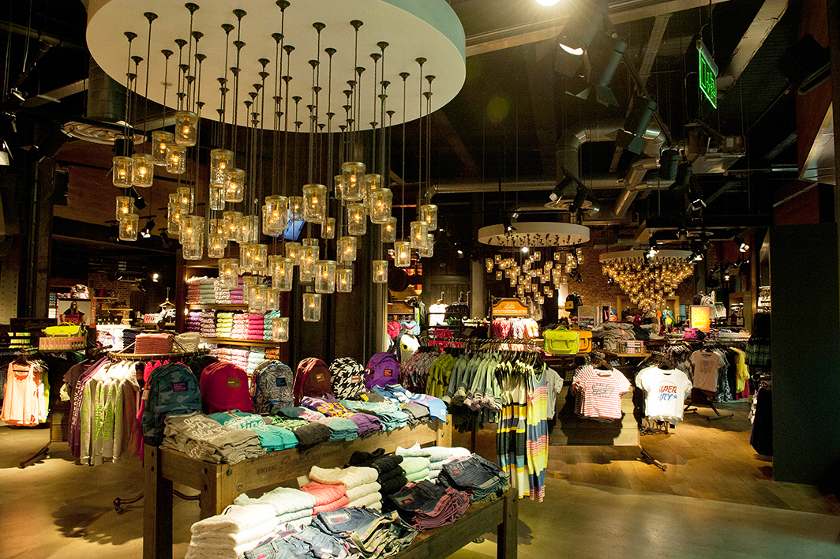
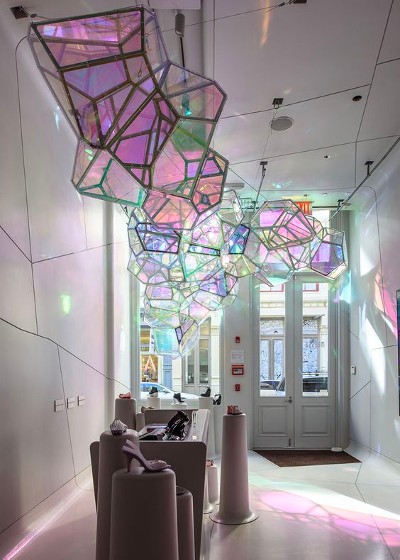
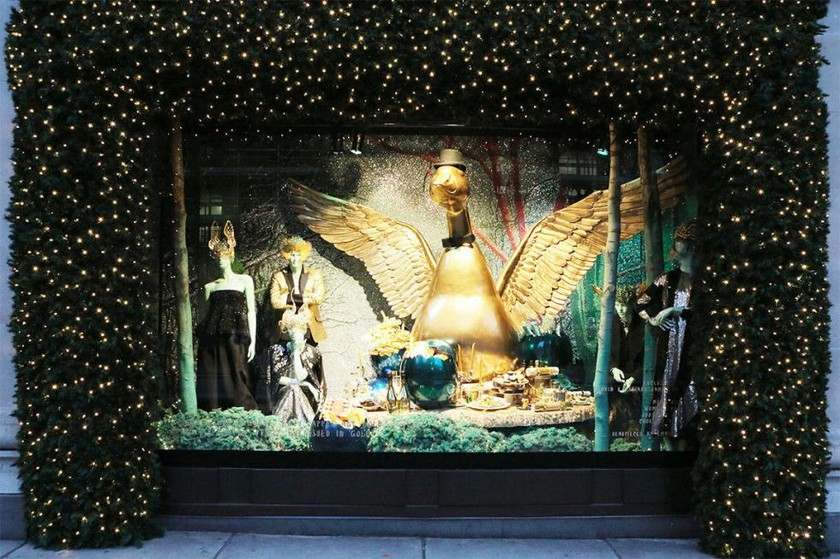
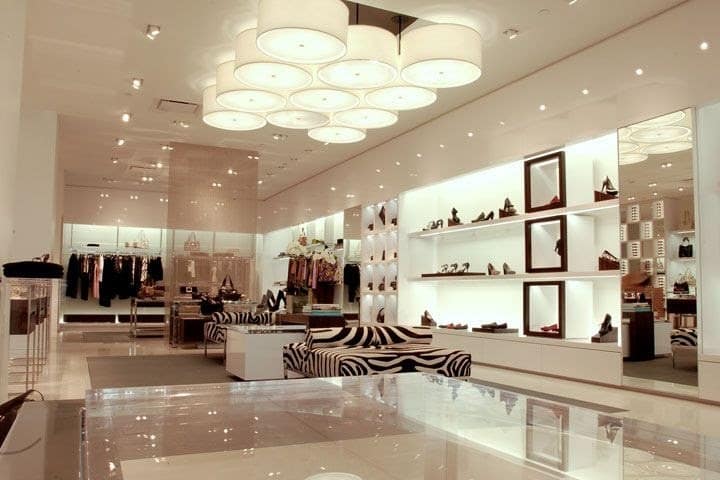
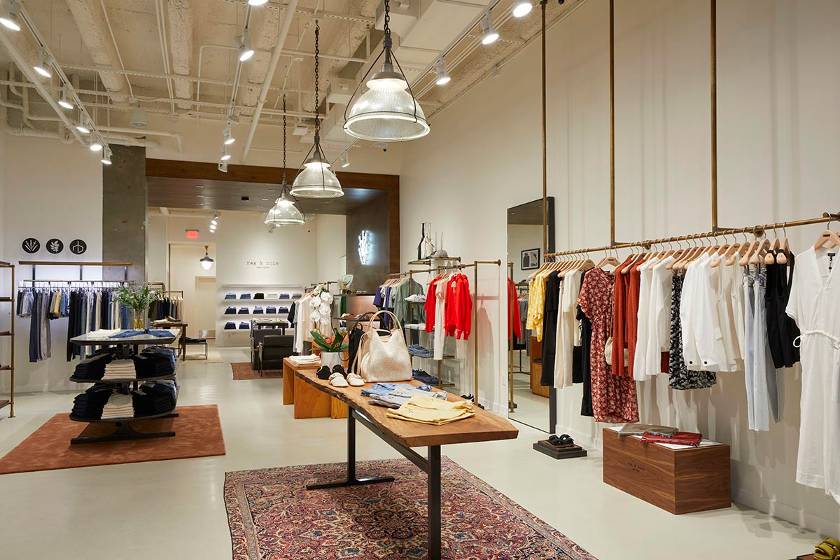
Retail lighting includes all light sources you use to make your space visible and highlight products or areas of your store. The lighting you choose for your retail store is a major part of your merchandising strategy. Effective lighting guides customers to key areas of your space, sets the ambiance, and can even draw people through your doors and keep them engaged and shopping longer.
In this article, we look at the different types of retail store lighting, bulbs, and fixtures. We also go over best practices for lighting your store and what you can expect to spend on your retail lighting plan—all broken down into six easy steps.
Step 1: Learn the Types of Store Lighting
When lighting your space, there are four different types of lighting that you will combine to form a cohesive lighting strategy: accent, decorative, ambient, and task. Click through the tabs below to learn when to use each for perfect retail lighting.
Step 2: Select Your Brightness & Tone
Light bulbs are measured in two ways: brightness and tone. Brightness, as you might expect, refers to how bright the light is; tone refers to the color of the light, which also correlates with its temperature. Your bulb brightness and tone will act to create the ambiance of your retail lighting, so it is important to understand the difference before you pick out your light bulbs.
Step 3: Choose Your Bulb Type
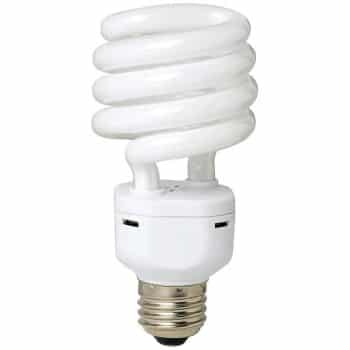
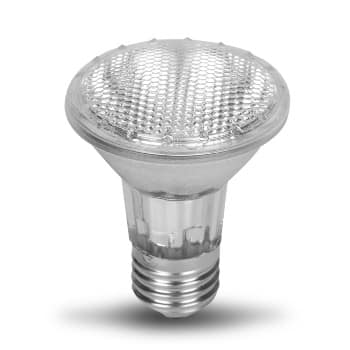
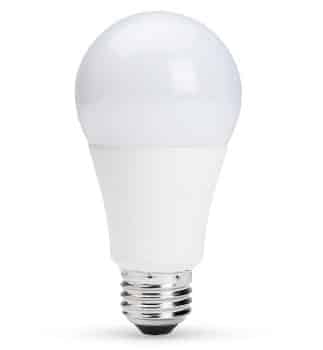
Once you determine the brightness you want your bulbs to emit, it’s time to consider different bulb types for your retail lighting. Generally speaking, when choosing, no one type is best for dim or bright uses or for warm or cool tones. Nowadays, you can achieve most lighting schemes with any bulb type. The factors you will want to consider are average cost, operating life, energy efficiency, color range, and the type of store lighting the bulb is best suited for.
Get the most out of your lighting: Install dimmer switches in your store so you can adjust your lighting with natural light levels or change the mood with the flip of a switch.
Click through the tabs to learn more about the different types of bulbs.
Step 4: Pick Your Fixtures
The three bulb types listed above, in any lumen and color temperature, can be used in a wide variety of fixtures. Most retail store lighting combines several different types of fixtures with various bulbs to deliver the correct amount of light throughout the space.
Sourcing bulbs and fixtures can be challenging. Some of our preferred sources for quality and cost-effective bulbs and fixtures include:
Select from the drop-down menu below to learn more about each fixture’s features, best uses, and associated costs.
- Features: Flush with the ceiling; customizable trim finishes; uniform light distribution
- Best for: Low ceiling heights; ambient and accent lighting
- Cost of fixture: $10–$50
- Features: Exposed canister; customizable trim finishes; uniform light distribution
- Best for: Industrial or open ceiling designs; ambient and accent lighting
- Cost of fixture: $5–$30
- Features: Strong, precise light source pointed downward; small in size; small light coverage area
- Best for: Accent and task lighting
- Cost of fixture: $10–$50
- Features: Adjustable to point light anywhere; strong, precise light source; small light coverage area
- Best for: Accent and task lighting
- Cost of fixture: $20–$50
- Features: Many styles to choose from; need less bright bulbs because suspended closer to ground; even light dispersal
- Best for: Small spaces; decorative, accent, and task lighting
- Cost of fixture: $100–$1,000
For suspended lights like pendant lights, a good rule to follow is to leave seven feet of clearance from the bottom of the fixture to the floor, and when mounting above a table, leave 30 to 36 inches of room from the bottom of the fixture to the table.
- Features: Minimalist design; diffuses light evenly; recessed bulb; size options
- Best for: Ambient lighting
- Cost of fixture: $50–$150
- Features: No visible bulbs; flush with ceiling; many styles to choose from; large in size
- Best for: Ambient and decorative lighting; low ceiling heights
- Cost of fixture: $40–$250
- Features: Many style options; diffuse light evenly; exposed fixture; illuminates large surface areas
- Best for: High ceiling spaces; ambient lighting
- Cost of fixture: $100–$1,000
- Features: Even lighting throughout entire space; completely concealed light source; makes space appear bigger; many style options; laborious installation
- Best for: Large spaces; ambient lighting
- Cost of fixture: $10–$500
- Features: Attached directly to ceiling; disperses light evenly over large areas; many different style options
- Best for: Ambient lighting
- Cost of fixture: $50–$500
- Features: Highly customizable; multidirectional light dispersal; adjustable options; can cover large or precise areas with light
- Best for: Ambient, task, or accent lighting
- Cost of fixture: $20–$200
- Features: Low profile; many different style types; disperses light evenly over medium-sized areas; easy to install
- Best for: Tight ceiling spaces; ambient and task lighting
- Cost of fixture: $15–$150
- Features: Concealed by sunken ceiling feature; soft, widely dispersed light source; makes your space feel taller and more open; typically requires custom installation
- Best for: Ceilings with sunken or coffered features; ambient lighting
- Cost of fixture: $70–$700
- Features: Many style options; disperse light evenly over medium-sized areas; typically placed in sets
- Best for: High ceiling spaces; ambient and task lighting
- Cost of fixture: $100–$1,000
Step 5: Create Your Retail Store Lighting Plan
Now that you have the lighting basics down, you’re ready to put your retail store lighting plan together and get your store lit. As we will cover below, you will do this by layering the four types of lighting using different fixtures and a cohesive tone. The easiest method is to sketch out your lighting ideas onto your retail store floor plan. You can do this by using tracing paper over your store’s blueprint or an online store layout and design tool. We like SmartDraw as it offers a full suite of tools and intuitive automations that let you design virtually anything.
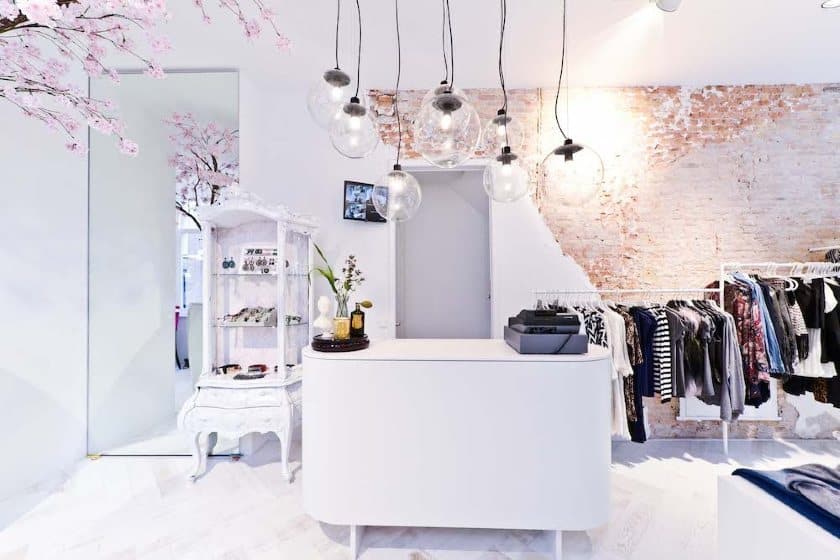
However you handle it, the five-step, bottom-up retail lighting design approach covered below is an easy way to get the results you want and ensure that light covers your entire space and creates the mood you want to elicit. Follow along as we take a look at the lighting plan for the boutique pictured below and map out what it spent to create its stunning scheme.
A boutique that (1) highlights products with accent lighting, (2) uses task lighting to brighten the register, (3) incorporates decorative lighting in the window display, and (4) uses track lights to fill the space with ambient lighting.
By starting with your accent lights, you can build a lighting design with evenly dispersed pops of illumination exactly where you want them.
For example, the boutique pictured above started with versatile ceiling-mounted track lighting and spotlights along the perimeter to highlight its wall product displays.
- Fixtures: (8) 4 bulb adjustable track light systems (~$100 each); (4) spotlights (~$50 each)
- Bulbs: 36 LED bulbs (~$12 each)
- Total Estimated Cost: $1,432
You can also use accent lighting to create contrast, which is when different light sources are layered to create shadows and light around different products or areas. It is a great way to draw customers’ eyes and create a dramatic setting around a product. It is especially useful in window displays, as dramatic lighting will catch the eyes of passersby.
Task lighting, which generally covers a larger area than accent lights, is the next lighting type you will layer on to your space. For this, ask: “What tasks are performed in my shop every day? Let’s light up the places where those activities occur to make them easier and more pleasant.”
The boutique pictured above added a series of pendant lights over the checkout counter and (not pictured) sconces into its fitting rooms and back office and storage spaces.
- Fixtures: (6) flea market pendant light fixtures (~$75 each); (4) wall sconces (~$90 each)
- Bulbs: 10 LED bulbs (~$12 each)
- Total Estimated Cost: $930
Once your accent and task lighting elements are in place, see if there are any areas of your store that lack visual interest and consider whether a decorative lighting element might solve that problem. For example, in the exterior shot of the boutique above, funky LED signs were placed in the window display to add a pop of color and intrigue for passersby.
Using dramatic or decorative lighting in your store windows is a great way to create an eye-catching display. You can learn more about it in our article on creating stunning window displays.
- Fixtures: (9) LED signs (~$45 each)
- Bulbs: N/A
- Total Estimated Cost: $405
Decorative lighting is the lighting type best for attracting the eye and communicating your brand, so be creative and enjoy the design freedom. The right fixture in the right place can make your store memorable. However, decorative lighting must also be in line with your brand to be memorable in a positive light.
For example, if a fun and funky boutique had chosen to install sleek, contemporary chandeliers, the decorative light would become a distraction from its brand rather than an enhancement of the space.
Use ambient lighting to fill the lighting gaps between your accent, task, and decorative fixtures to ensure your entire space is visible to shoppers. The boutique above used track lighting systems to illuminate the center of the store where other light sources did not reach.
- Fixtures: (6) 4 bulb adjustable track light systems (~$100 each)
- Bulbs: 24 LED bulbs (~$12 each)
- Total Estimated Cost: $888
Retail store light fixtures, especially recessed and track lighting, should be no more than six feet apart to ensure uniform light coverage.
Once your plan is set, it is important to review it and make sure that it is up to code and your planned light sources will cover your space. To do this, you will want to review the standards set forth by the Americans with Disabilities Act (ADA) and International Energy Conservation Code (IECC) and your estimated light coverage based on your lumen count.
Here, we will review how to calculate your lumens and light coverage as well as take a look at ADA and IECC codes.
Light Coverage
To ensure that your retail lighting plan will look great in real life, you will want to go back to your total lumens as this will help you understand your overall light coverage. The Lighting Research Center recommends that retail stores aim for an ambient light measurement of 1.5 to 2.5 lumens per cubic foot.
To get this, you first need to calculate the cubic area of your retail space, using this formula: Width x Length x Height of your sales floor = Total Cubic Area. Then, multiply that total by 1.5–2.5 to get an estimate of appropriate lumens for the space.
After you determine the total lumens needed to light the space, add the total lumens provided by the bulbs in your lighting plan. Does the total number of lumens in your plan come close to the lumens needed per your cubic foot formula? If it’s close, then you’re on track. If your plan’s total lumens is greater, you can pare back lighting in some areas. If it’s lower than the recommended amount, you may need to fill in some gaps with more ambient lighting.
Mirrors are an inexpensive way to boost the light throughout your space and brighten your store. In spaces that need a touch more light, a mirror is a low-cost alternative to adding new wiring and fixtures.
ADA & IECC Requirements
For commercial buildings, there are certain requirements that you have to meet per the ADA and IECC*. You will want to be sure that you review these requirements and compliance to avoid penalties in the future.
*The IECC is a uniform standard that applies across state lines. There are, however, state-specific codes (ASHRAE/IES 90.1) that you can choose to implement instead. The IECC references ASHRAE/IES 90.1 as an alternative standard, providing a choice to businesses.
Step 6: Price It Out—Retail Store Lighting Cost Calculator
With your lighting plan sketched out and ready, it’s time to figure out just how much everything is going to cost. Doing this before you press buy will help you stay on budget and give you time to make adjustments before you end up in a costly hole. Use our retail store calculator below to fill in your projected fixture and bulb quantities and to see an estimated cost analysis of your store lighting plan.
Retail Lighting Best Practices & Tips
As you implement your retail store lighting plan, here are 10 retail lighting tips to keep in mind:
- Match brand image with ambiance (brightness and tone): As we talked about in step two, the ambiance of your store will largely be determined by the brightness and tone of your lighting. When you are looking at these two factors, you should aim to create an ambiance that matches your brand. i.e., a spa might choose low, warm lighting and a pharmacy might choose bright, white lights.
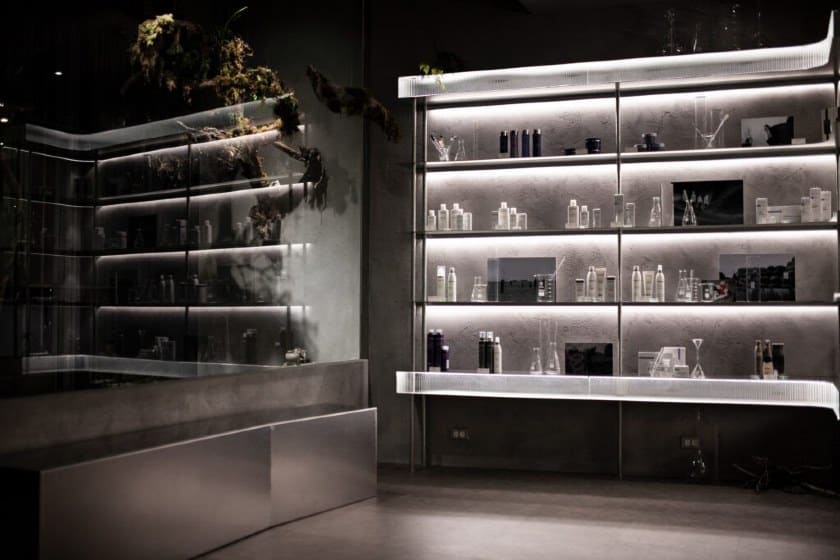
- Consider backlighting shelves: One way you can make your lighting appear more high-end and draw shoppers’ eyes is by backlighting your shelving, like in the picture below.
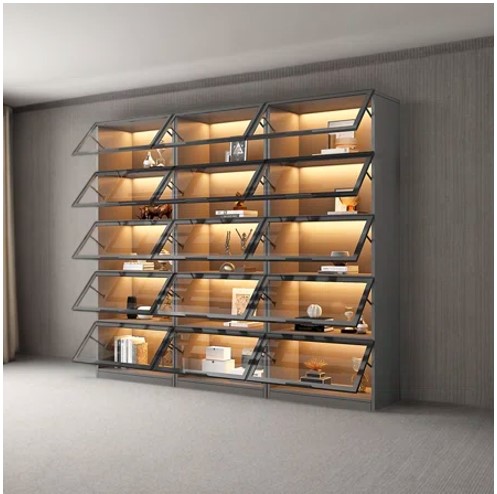
Backlighting shelves is a great way to draw the eye and evoke a high-end feel. (Source: Wayfair)
- Order bulbs in bulk: To save a little money both in terms of cost per unit and shipping fees, try ordering your light bulbs in bulk. Be careful to keep an eye on your inventory, it can take longer for companies to fulfill bulk orders, so you will want to build in plenty of time before you run out.
- Keep bulbs away from flammable products: Items like clothes, upholstery, linens, plants, etc., are flammable and lightbulbs can get hot enough to ignite them. Try to keep all bulbs at least 3 feet away from any flammable products/decor to avoid a fire.
- Create energy-efficient store procedures: To save on your energy costs and to avoid unnecessary pollution, create energy-efficient store procedures, like turning off your lights outside of store hours, turning off bathroom lights, and using energy-efficient bulbs.
- Don’t forget your fitting rooms: You need to put adequate lighting in your fitting rooms. This is where customers will assess your products, so the lighting might even be brighter than the rest of your store to maximize visibility.
- Consider evening and daytime light settings: You might put your lights on a dimmer so you can lower them during evening hours. This will not only add to the ambiance of your store, but it can also save you money by lowering your energy use.
- Don’t overdo it: One of the biggest lighting faux pas you can make is over-lighting your store. Typically this is a risk when you use bright LED lights, but it can also happen with too many bulbs of any type.
- Vary your lighting to guide eyes: We know that there are different types of retail lighting options, and you should be utilizing all of them to draw focus to and away from store zones. In general, eyes travel to where light is brightest, so use bright lighting to draw the eye and dim lighting for areas that aren’t product-rich.
- Don’t use lighting to conceal: While dim lighting will not draw the eye, it also won’t make an area of your store invisible. Dim lighting should not be used to conceal areas of your store, and all store zones should be kept clean and ready for customers’ eyes (even if they are a bit dim).
Retail Store Lighting Frequently Asked Questions (FAQs)
Click through the questions below to get answers to some of your most frequently asked retail lighting questions.
Retail lighting is all the lighting elements that retailers use to light up their stores to create a certain ambiance, highlight products, and guide customers through their space.
The best lighting for retail stores will vary based on the style of your store and where you are seeking to direct customer attention. In general, however, the best lighting for retail stores will include ambient, accent, decorative, and task lighting elements.
Lighting your retail store does not necessarily need to be expensive. Depending on your store size as well as installation and fixture needs, retail store lighting can cost anywhere from $250 to thousands of dollars.
Bright, high-powered LED lights will be best for a showroom to keep the space bright and clean-feeling, especially if you are working with high ceilings.
Bottom Line
Designing a retail store lighting scheme involves many factors, including bulbs, fixtures, and accent, task, decorative, and ambient lighting. Using the process and tips covered above, you are ready to develop a retail lighting plan that keeps your space visible and enhances both your customer experience and brand.
To learn about other visual merchandising practices and how you can implement them effectively, check out our visual merchandising guide.

