


Screen sharing is the process of remotely presenting your screen to others, allowing session participants to see your screen. It’s a great tool for meetings, training, tech support, and collaboration. If you’re looking to learn how to share a screen, you can do so in just three steps. First, you must log in or join your meeting, then prepare your screen and materials, and finally activate screen sharing.
Unified communications (UC) platforms like Zoom, Microsoft Teams, and Google Meet offer screen sharing tools. This feature lets you demonstrate processes, share data, and collaborate in real time. Our guide walks you through the three steps of how to share a screen.
Step 1: Log In & Enter Your Meeting
Most platforms have similar processes when it comes to joining online meetings. You can join a virtual discussion using a telephone, mobile device, desktop computer, or laptop. Invites are often sent through an email, message, or text invite. Participants receive a telephone dial-in number, a link to the meeting room, or a meeting ID with a password.
Depending on your platform and the host’s meeting requirements, you may need to log in to your account. For example, if you’re wondering how to share screen on Zoom, you must download the Zoom app from Google Play, App Store, Microsoft Store, or the provider’s website to join a Zoom meeting via desktop or mobile. Once downloaded, follow the process and create an account. Once an account is created, you can host and join Zoom meetings.
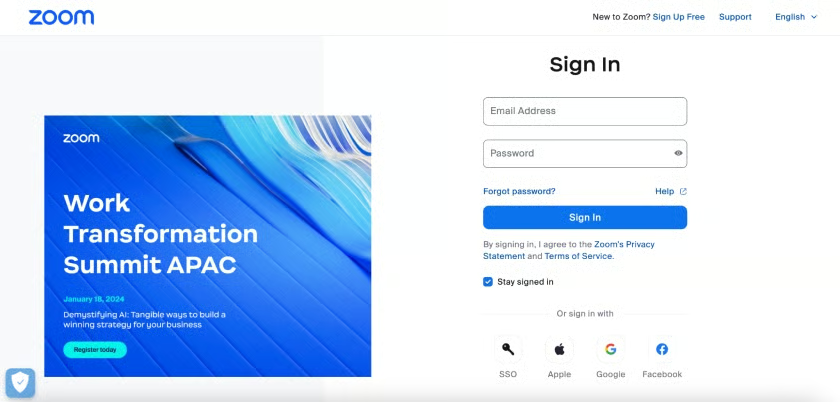
Zoom’s sign-in page 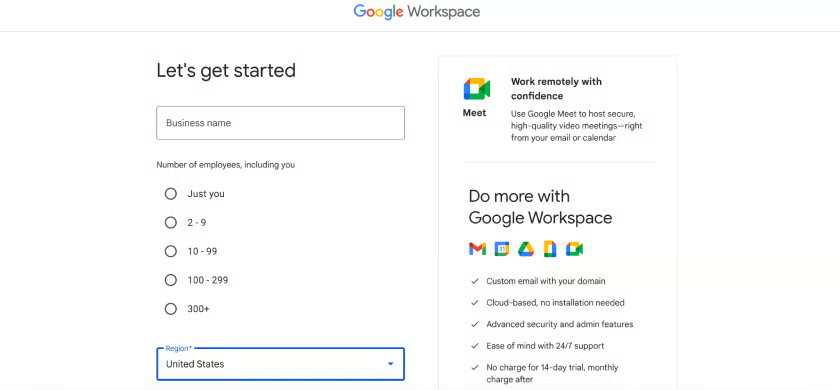
Google Workspace’s sign-up page


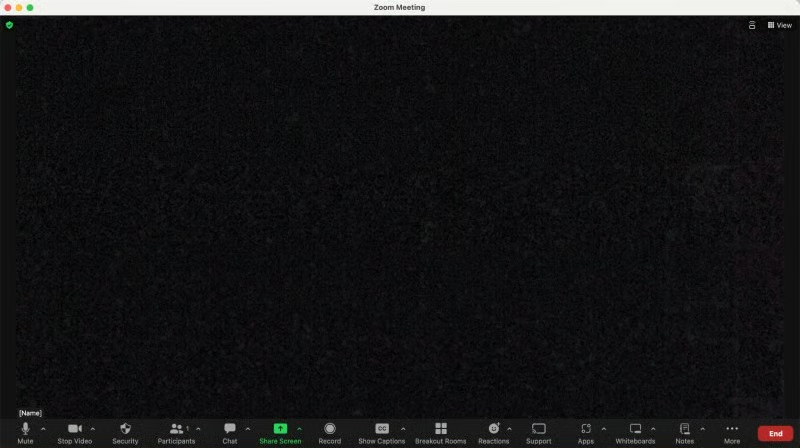
If you have a meeting link, click on the link or paste it into your web browser to join the meeting. You can also open the application and enter the meeting ID and password. For those signed in, change your name so your default name won’t appear. If you’re not signed in, enter a display name. Select if you want to connect audio and/or video and click Join. After clicking “Join,” you will be directed to the meeting room.
Step 2: Prepare Your Screen & Materials
Before sharing the contents of your screen, it’s best to prepare your device and minimize distractions, such as messages and pop-up notifications. Do this by turning off notifications and decluttering your screen. The easiest way to minimize notifications is by setting your device to Do Not Disturb.
Keeping your desktop or mobile home screen clear of distractions and clutter helps your audience focus on the presentation. Preparing and opening the files you need before sharing your screen ensures an efficient presentation and discussion. App switching and file searching in front of everyone causes unnecessary stress and can be time-consuming.
Step 3: Start & Stop Screen Sharing
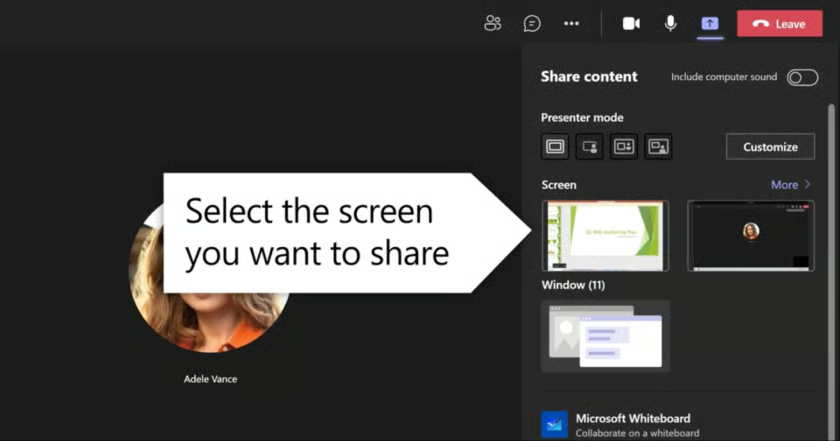
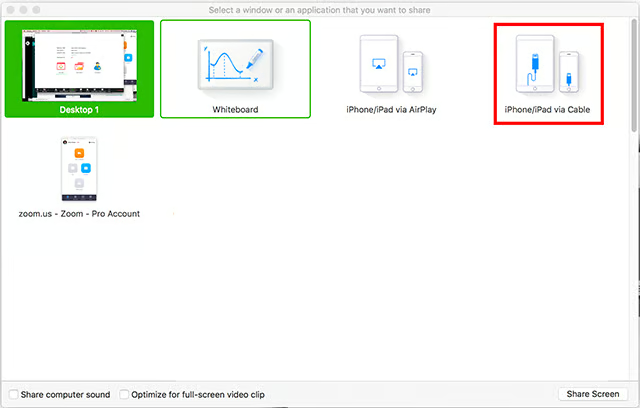
To share your screen or content, locate the share screen icon. While the icon varies per platform, the symbol is often a square with an upward arrow. This screen sharing icon is often located within the control panel at the top or bottom of your window page. Choose if you’ll share a window, tab, file, whiteboard, or the whole screen. You will see all the apps you have opened, make your choice, and then click share.
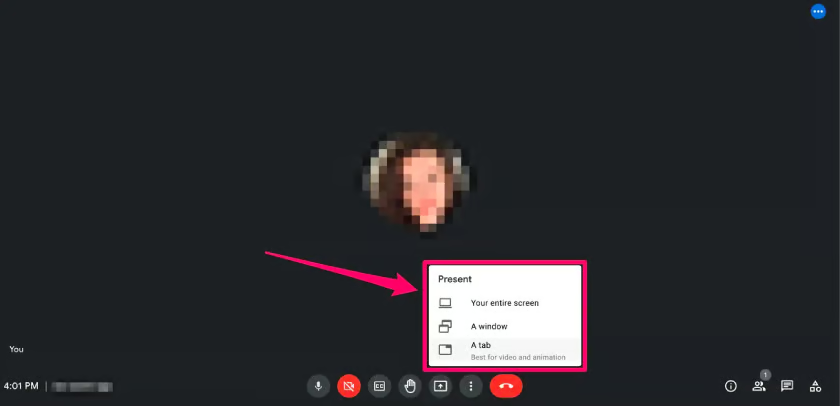
For those wondering how to share screen on Google Meet, use the present now option. (Source: Business Insider) 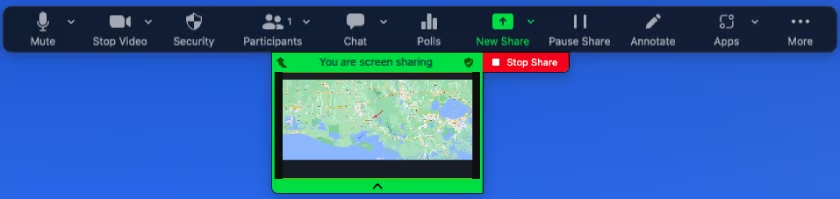
Zoom’s screen share display (Source: Zoom) 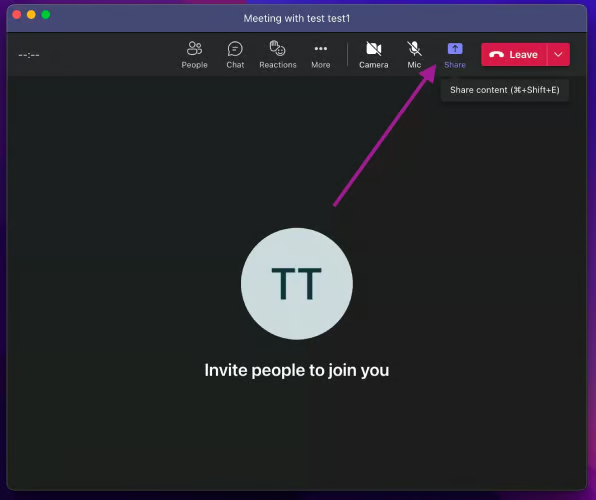
Microsoft Teams screen sharing display (Source: HelpWire)


Scroll and control the presentation directly from your selected tab, window, or application. It’s best to choose the specific app, file, window, or tab to avoid overburdening your computer processor, minimizing notifications, and limiting what attendees see on your computer.
Once you know how to share screen, you must know how to stop sharing your content. You will find a “Stop Sharing” option around your meeting platform’s control panel. Click on this button, and meeting participants will no longer see your screen.
Screen Sharing on Mobile Devices
If you’re wondering how to share screen on your mobile phone, the most popular platforms like Google Meet, Zoom, and Microsoft Teams have built-in settings that make sharing your screen easy. Using Google Meet as an example, a toolbar is located at the bottom of your screen. Tap the three-circle icon toward the right and select the “Share screen” option.
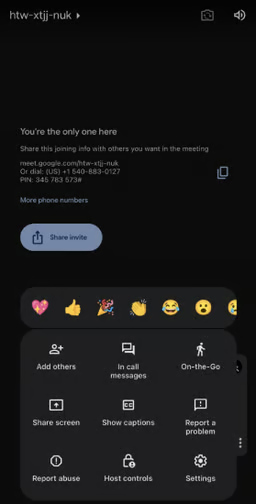
Google Meet’s meeting toolbar 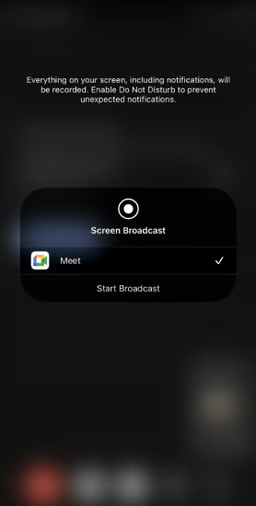
Google Meet’s meeting toolbar


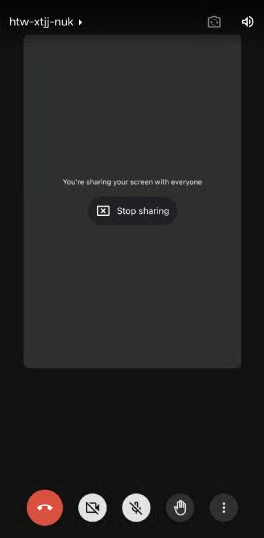
The screen will take you to the Screen Broadcast pop-up, and when you choose Start Broadcast, you’ll begin to share screen on video meetings and everything on your screen will be seen by other meeting participants. Navigate to your presentation or demonstration material and begin your presentation. Once you’re done presenting, click on the Google Meet pop-up and press “Stop sharing.”
Tips When Screen Sharing
Screen sharing breathes life into discussions and presentations, making your pitches and PowerPoints more relatable and realistic. Meetings that use screen sharing tools give participants a front-row seat to real-time demonstrations and detailed presentations. Now that you know how to share screen, follow the tips below to make your screen sharing sessions more efficient and effective.
- Close all unnecessary programs: Unrelated active windows, tabs, and folders on your screen may be visible to viewers and cause distractions. A tidy desktop has a better aesthetic and makes a good impression. From a logistical standpoint, having fewer programs running will help your device run faster.
- Test your tech before the presentation: This preliminary step is crucial to ensuring your presentation and devices are in tip-top shape. Running through your presentation helps establish your pace and increases your familiarity with the platform’s tools and features.
- Mute notifications: People are constantly getting pinged for new emails, chat messages, and news feed updates. While these notifications serve a purpose, they can distract or irritate during a presentation or session.
- Have everything ready: Have everything loaded and waiting before you begin presenting for a smoother and more efficient presentation. Ensure you have quick access to your required documents, saving time and avoiding potential difficulties.
Best Screen Sharing Platforms & Providers
Now that you know how to share your screen on video conferencing, you can use this skill to improve internal and external communications, boost productivity, and deliver the best customer support. Several popular video conferencing solutions offer screen sharing functionalities that are useful for complex demonstrations, internal engagement, and hybrid learning. Refer to the tabs below for our top picks for best screen sharing providers for small businesses:

Microsoft Teams is a collaboration app that integrates team chat, file sharing, and video conferencing. Its screen sharing feature allows users to share a specific application window, a tab, or their entire screen. It also integrates with chat features, allowing meeting participants to interact seamlessly. Microsoft Teams is a low-cost communications solution that tightly integrates with Microsoft 365 apps. Its monthly plans start at $4.00 per user, each month.

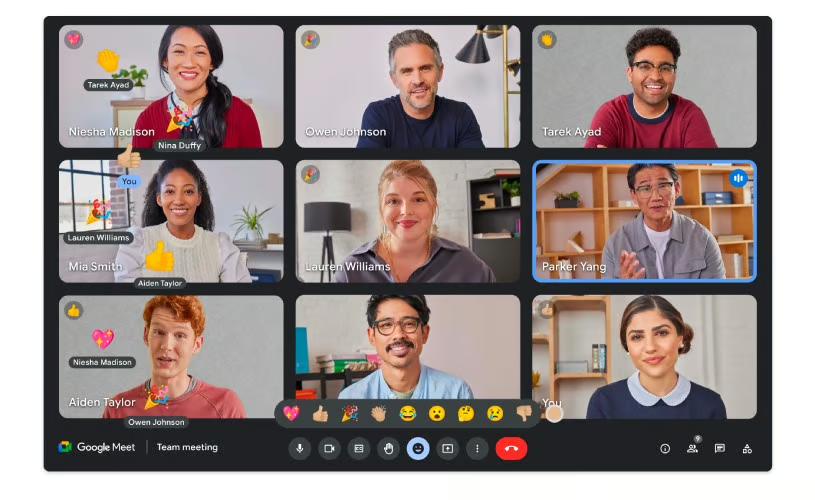
When it comes to the best free video conferencing solutions, Google Meet is one of the top contenders because of its robust integration with Google Workspace products. A free version with screen sharing capabilities is available for Google account owners. It also provides access to a suite of productivity applications, such as Google Docs, Gmail, and Google Calendar. Google Meet’s machine-learning technology filters out noise for distraction-free meetings.

Zoom is a popular UC and video conferencing platform offering a variety of video conferencing features, such as screen sharing, which is ideal for remote collaboration. It provides advanced tools like video recording that captures screen sharing sessions. These recordings can be used in succeeding sessions or for rolling out training.
For those wondering about how to share screen on Zoom and whether it’s difficult, Zoom has a user-friendly interface and intuitive controls. This makes it a great option for teams looking for a simple, easy-to-use solution.
Frequently Asked Questions (FAQs)
Can I share my screen even if I’m not the host?
Yes. Most providers allow meeting participants to share their screens even if they’re not the host. However, the host and/or account administrator controls the rules and extent of participants’ screen sharing capabilities. For example, by default, Zoom allows the hosts to screen share, and if you are a meeting participant, you must have the host’s permission.
Why is screen sharing not working?
You may not be able to share your screen for one of several reasons. Often, it is because you don’t have the host’s permission to share your screen. If you need to present, ask the host to check if screen sharing for participants is enabled. Also, devices like MacBooks have specific security and permissions that must be enabled for screen and audio sharing. Check whether your screen recording permissions are enabled under the computer’s security and privacy settings.
What type of content can I share?
Meeting participants can share a wide range of content, including one or more specific applications, your entire desktop, or a portion of your screen. Meeting participants can also share locally stored or web-based video and audio, content from your camera, video, images, and documents (word, presentations, and PDF files).
Bottom Line
It’s important to know how to share screen because screen sharing is crucial for remote collaboration and communications. First, you log in or join the session, prepare your screen and presentation materials, and then activate screen sharing. This technology is widely used in remote customer support to help clients resolve and troubleshoot problems. Using screen sharing tools can help improve coordination and boost team productivity.
