

If you use Shopify as your ecommerce platform, consider setting up a Shopify Facebook store so your customers can buy your products without ever leaving the Facebook platform. They can also share your products with their friends and followers with just the click of a button.
If you haven’t set up your Shopify site yet, you can sign up for a Shopify trial account (and extend it for $1/month for three months) and follow our steps on setting up a Shopify store.
To connect Shopify to Facebook, follow the steps we outline below.
- Step 1: Ensure Your Facebook Account Is Set Up Properly
- Step 2: Add Facebook as a Sales Channel in Your Shopify Store
- Step 3: Set Up Your Facebook Shop
- Step 4: Set Up Your Products
- Step 5: Optimize Your Shopify Facebook Store
- How to Set Up a Shopify Facebook Store Frequently Asked Questions (FAQs)
- Bottom Line
Step 1: Ensure Your Facebook Account Is Set Up Properly
- Have a Facebook business page. If you haven’t created one yet, read our guide on how to set up a Facebook business page.
- Create a Facebook Business Manager account. It is a tool Facebook provides to help you manage your Facebook page and ad campaigns.
- Check if your Facebook page is linked to your Business Manager account.
- Add an Ad account in your Business Manager.
- Make sure you have admin permissions to the Facebook business page and Business Manager.
All of these will take only a few minutes to set up. Don’t take too long on each one. You can go into detail once you have finished connecting your Shopify store to Facebook.
Step 2: Add Facebook as a Sales Channel in Your Shopify Store
In Shopify, a Facebook store is called a Facebook Shop and is considered a sales channel. Sales channels include your Shopify storefront, eBay, Amazon, Instagram, and buy buttons you can add to your blog or website.
From your Shopify dashboard, click on “Sales Channels” found at the bottom left-side menu. A search bar will appear. If you don’t see Facebook recommended, you can search for it. Alternatively, you can go straight to the Facebook & Instagram by Meta app from the Shopify App Store and click Install.
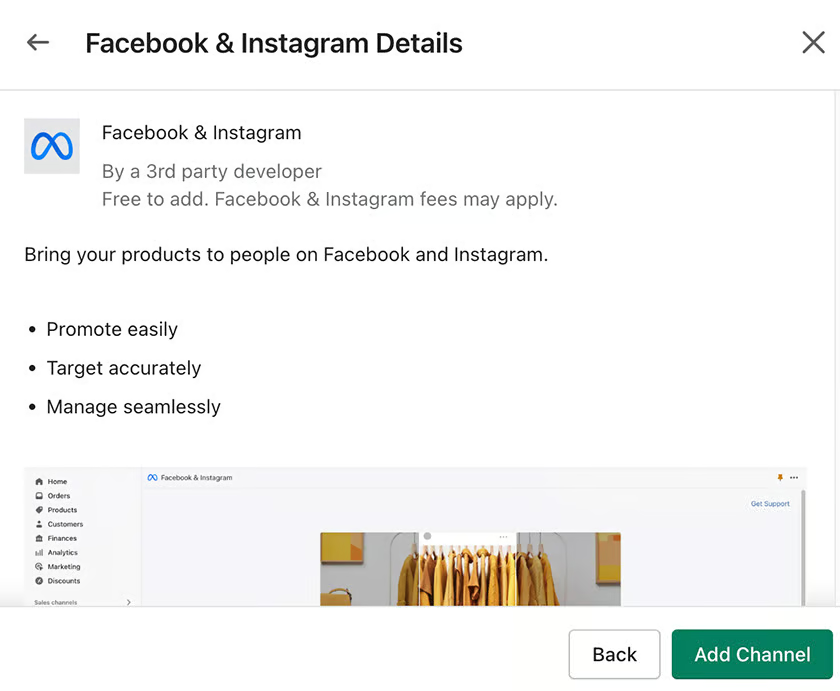
Click on Add Channel to get started in setting up your Facebook Shop.
Step 3: Set Up Your Facebook Shop
Once you add a Facebook sales channel, set up your Facebook Shop. This will take five easy steps.
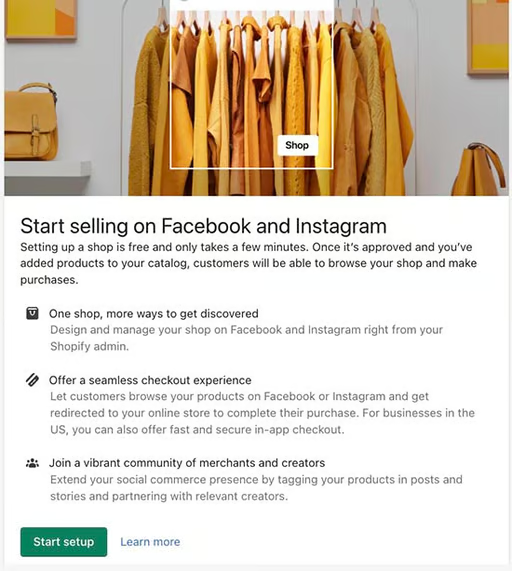
Click Start setup to begin setting up your Facebook Shop. 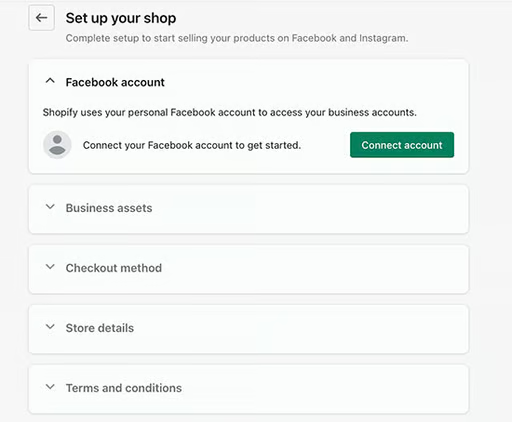
To connect your Shopify store to Facebook, you need to connect your personal Facebook account and business Page, choose a checkout method and agree to the terms and conditions.


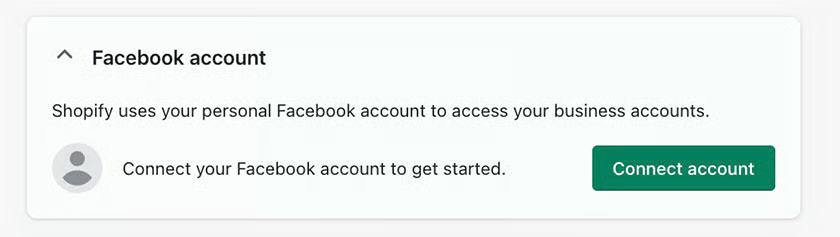
Connect your personal Facebook account first to access your business accounts.
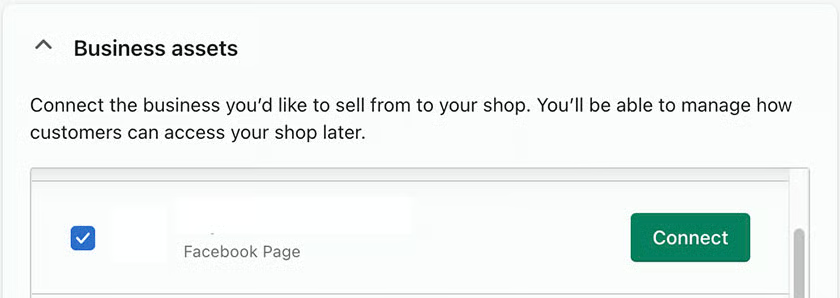
Select the business you’d like to connect to your Shopify store. Note that you won’t be able to connect any Facebook or Instagram accounts that you are not an administrator of.
Choose between doing checkout directly from Facebook or your Shopify online store. If you select Directly on Facebook as your checkout method rather than Checkout on your Shopify Store, then customers can check out without leaving Facebook.
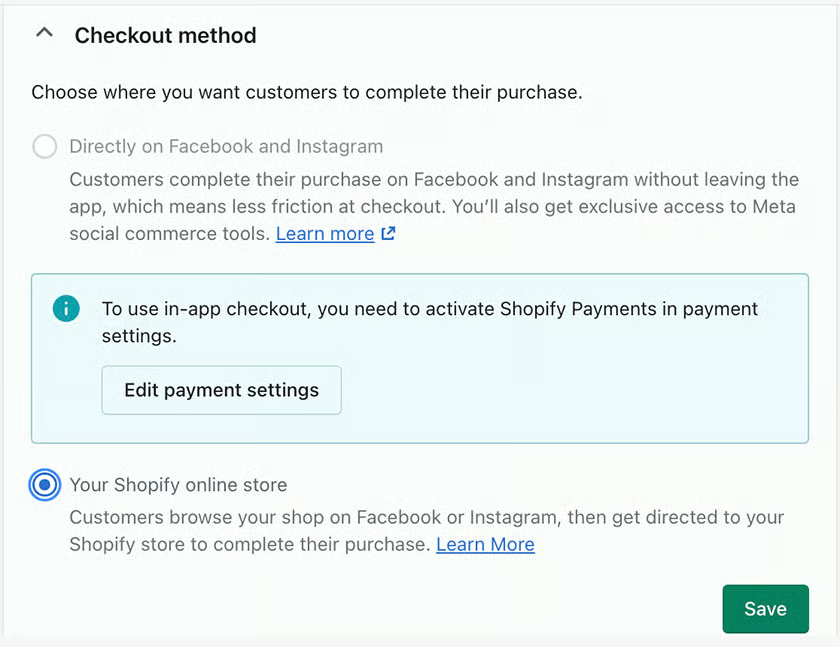
You have two checkout options when connecting your Shopify store to Facebook.
You also have the option to enable Conversions API for more reliable data sharing.
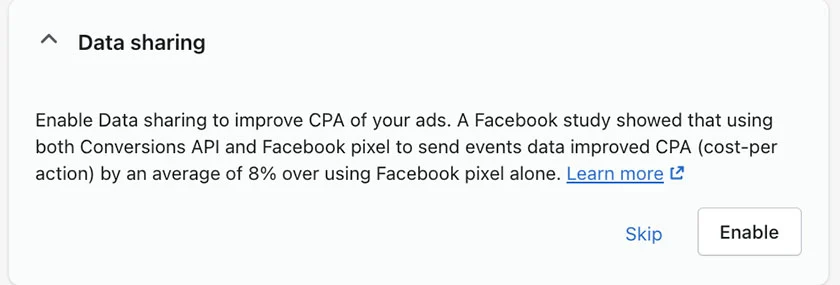
The Data Sharing setting in your Facebook channel allows you to choose how customer data and browsing behavior is collected in your online store through data sharing tools (like Facebook pixel).
The last step would be to review Facebook’s terms. Once done, click on Finish Setup.
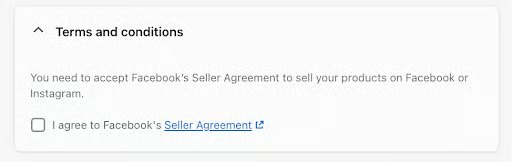
Once you review Facebook’s Seller Agreement, click on Finish Setup.
After connecting your business Facebook account, Facebook will review your store to ensure it meets its guidelines. These guidelines include using a currency supported by Facebook and ensuring you’re not selling anything prohibited, such as adult content or firearms.
It can take up to 48 hours for Facebook to review your store, and you will receive a notification from Facebook via email if you’re approved or denied. You will also see when Facebook finishes the review process when signed into your Shopify store.
Step 4: Set Up Your Products
After you have finished setting up your Facebook shop, you can start setting up products or choosing which products from your Shopify store you would like to make available once your Facebook Shop is approved.
To add a product to your Shopify store, follow these steps:
- From the Shopify dashboard, go to Products and then All Products.
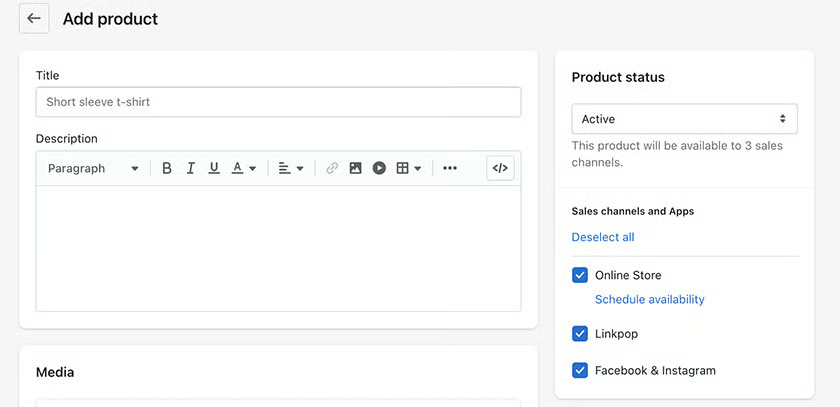
- On the All Products page, click on Add Product. Here, you’ll enter a title for your product, a description, images, pricing, and shipping.
- Under Sales Channels and Apps, select Facebook if you want to include the product listing in your Facebook Shop.
- Click Save Product.
As you add products to your store, remember that you can always change the product details later. You may find that your pricing needs adjusting, or you’ve got additional distribution centers throughout the country that can lower shipping costs.
Once you have connected Facebook as a sales channel, you will see it as an option when adding or editing products in your Shopify dashboard.
Once Facebook approves your Shopify store, your products can sync with your Facebook Shop immediately. Any product updates in Shopify will usually take 15 minutes to reflect in your Facebook Shop.
Step 5: Optimize Your Shopify Facebook Store
After you have set up your Shopify Facebook store, the next step would be to figure out how to market it. Marketing a Shopify Facebook store isn’t all that different from marketing any other business. You still need to know who your desired audience is, where they spend time online, and what motivates them.
Popular marketing strategies include running Facebook ads, offering a referral program, and using affiliates, which gives a percentage of every referred sale to the affiliate. Even if you don’t get a sale from them or a customer sharing your store with their followers, that’s still free advertising.
Use any combination of these tactics for marketing your Facebook Shopify Store:
- Referrals: Many Shopify store owners successfully offer a percentage or flat dollar amount off an order if a customer refers three people.
- Shipping: Offer free shipping for sharing a social media post about the product or store, which will attract more visitors to your shop. Learn how to offer free shipping.
- Guides: If you’re an apparel store, provide a style guide in exchange for email addresses. This builds up your list of people to market to.
- Customers: Encourage your current customers to tag you in their posts featuring your products to earn a feature on your business’s page.
- Giveaways: Facebook and Instagram make it easy for giveaways to go viral. You’ll ask giveaway entrants to tag their friends and like and share your posts.
- Paid Ads: Run ad campaigns on Facebook, Instagram, Pinterest, and Google. You don’t need a huge ad budget for this—sometimes, even $5 per day can yield good results.
How to Set Up a Shopify Facebook Store Frequently Asked Questions (FAQs)
Yes, you can. As an accredited Facebook partner platform, you can easily add Facebook as a sales channel from your Shopify dashboard. You would need a Facebook page, Business Manager account, Ad account, and admin access to these accounts to connect your Shopify store to Facebook.
Selling on Facebook through Shopify is free. However, Facebook has selling fees (waived until June 30, 2023). Selling on Shopify also incurs costs and fees.
No, you don’t. You can set up a store directly through Facebook if you don’t have a Shopify store. However, if you have plans to scale your online store down the road, it is advisable to set up your store in an ecommerce platform like Shopify.
Bottom Line
If you own a Shopify store, consider connecting it to your Facebook page. A Shopify Facebook store is an excellent way for businesses to start selling their products online. When you combine the immense marketing potential of social media with the scalable features Shopify provides, you get the best of both worlds.
Another significant benefit of having a Shopify Facebook store is controlling the customer process and experience. The company maintains relationships with other platforms, such as Amazon and eBay. By selling on Shopify, you control the customer experience and get their contact information, like email addresses.
Facebook users don’t even have to leave the platform to purchase from your store. They can also share a product from your Shopify Facebook store right from the Facebook platform on their news feed, in a Facebook group, or even in a private message.
Connecting the platforms is easy, as Shopify is an accredited Facebook partner platform. Plus, with Shopify’s free trial, it’s possible to start making money before even paying for an account.
Start your free trial before choosing a plan—no credit card required.