Learning how to use Big Cartel to sell your products is simple and easy. Just sign up for an account, add products, set up shipping and payment information, and customize your website. You can start marketing and selling to customers after you launch your store.
What I like about Big Cartel is that it offers a forever-free plan and affordable paid tiers. You can use a free subdomain from Big Cartel or connect a custom domain and pay a low monthly fee for more features. You won’t pay a percentage to Big Cartel for your sales—only transaction fees to your payment processor. Its affordable pricing and easy-to-use platform are why Big Cartel is one of our recommended free ecommerce platforms for small businesses.
I made a demo store to learn how Big Cartel works in detail. You can follow the steps I outlined below by visiting Big Cartel to create a free account.
Step 1: Sign Up for a Big Cartel Account
On Big Cartel’s homepage, you’ll find a button to start the sign-up process in the center of the page. Simply click that to get started or scroll down to see pricing plans. The free plan lets you get started right away with five products. Paid plans range from $9.99 to $19.99 per month and include extra features and fewer limitations. I signed up for the free plan to get started on building a demo store.
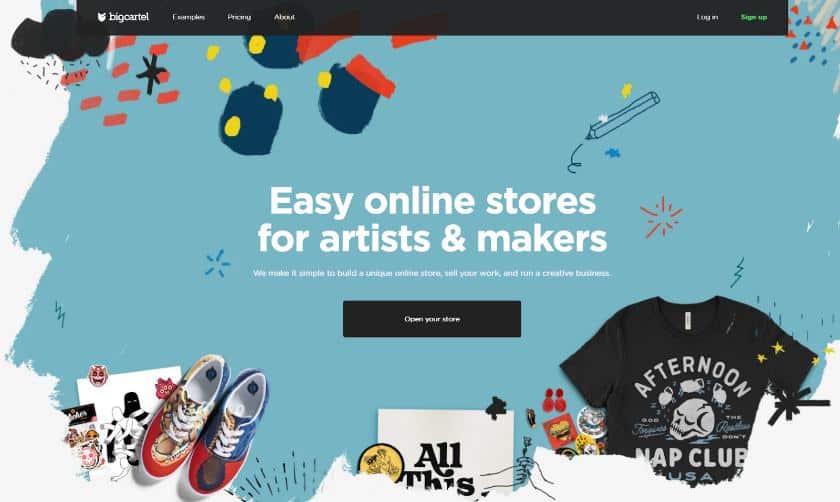
Sign up on Big Cartel’s homepage. (Source: Big Cartel)
Signing up for an account only requires you to provide an email address, your shop’s name, the URL for your store, and a password for your account. If you have a custom domain, you can connect that in a later step.
There are a lot of features I will be discussing with you in this how-to guide that you might not be familiar with, so if anything is unclear, I suggest reading a thorough review of Big Cartel to help you get acquainted with Big Carte’s features.
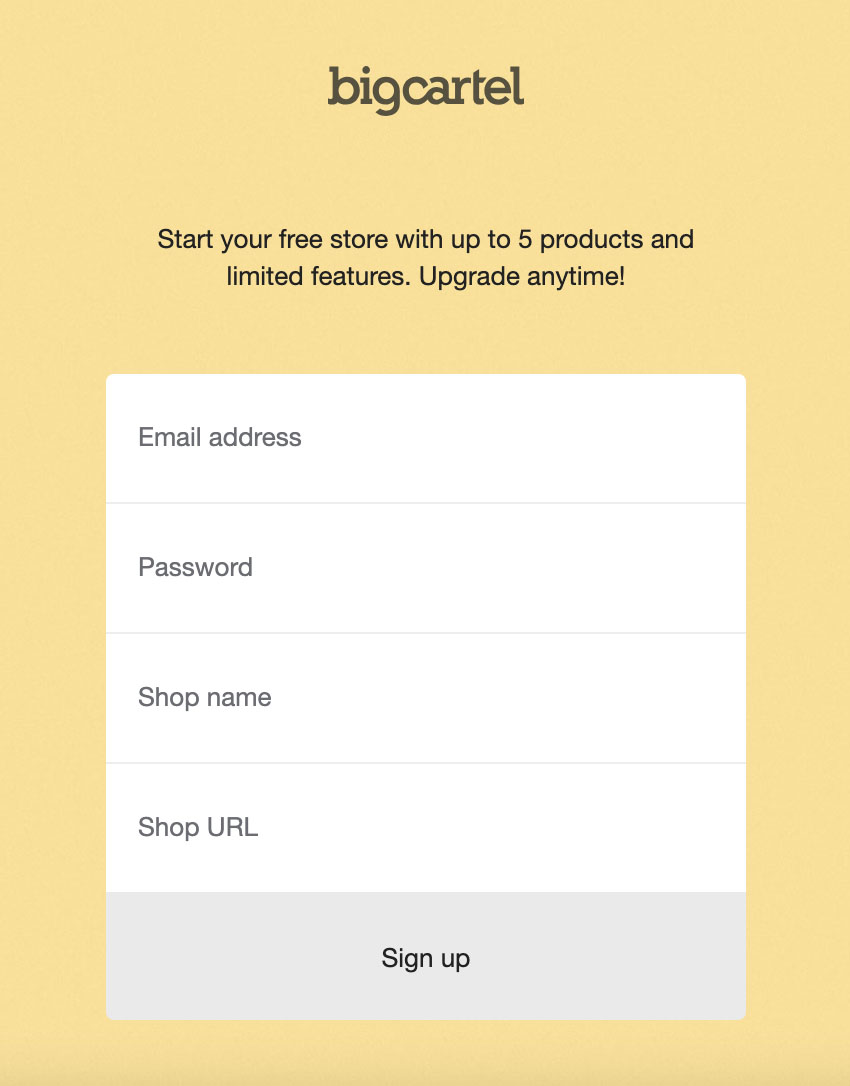
Big Cartel’s sign-up process is short and requires only a few bits of info from you.
Step 2: Set Your Store Location & Currency
As soon as you’ve created your account, you’ll be taken to your dashboard. When I signed up, I saw a checklist that included all the things I need to do to get a Big Cartel store started. The checklist is a comprehensive one—with links to help articles.
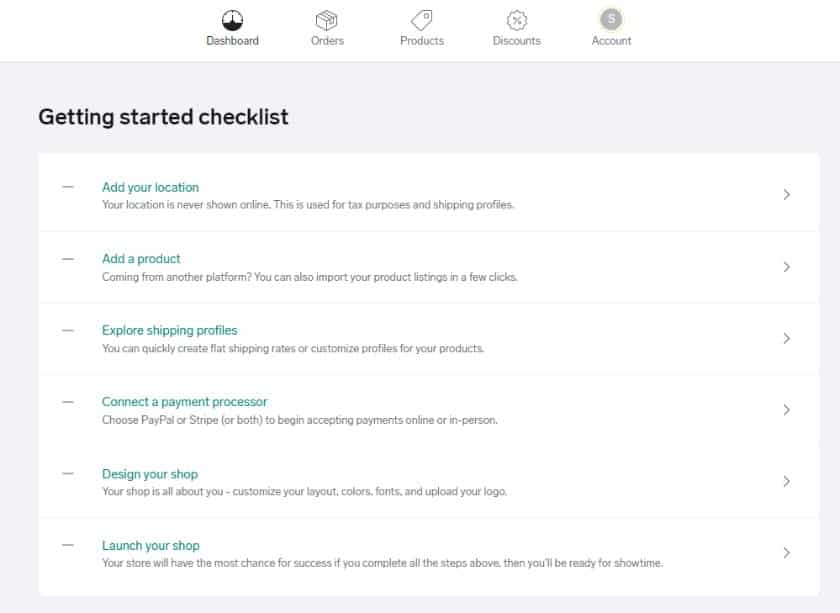
An example of what Big Cartel’s checklist looks like
Adding your location is necessary, so be sure to fill this out. To do this, you can click on the link from the setup wizard. Alternatively, you can change the location by going to your main menu navigation, clicking on Account, and scrolling down to Location & Currency.
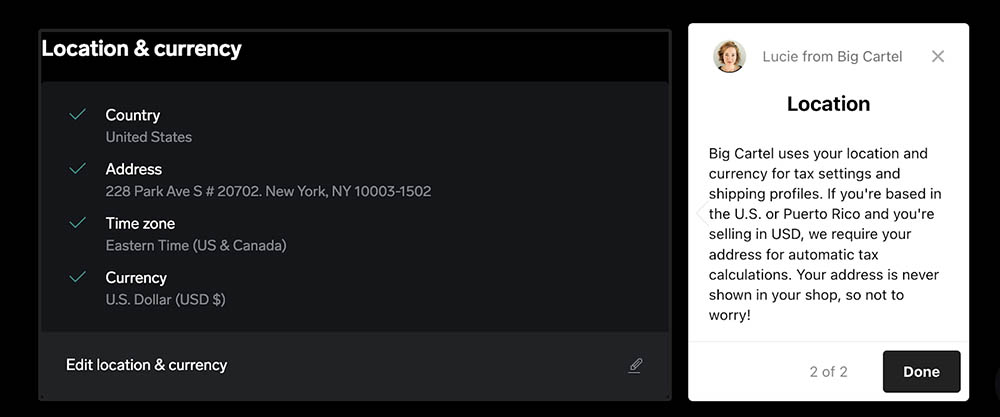
Notice how Big Cartel has pop-ups that explain steps or sections in your dashboard.
Your location is important because it’s how Big Cartel will determine the taxes you need to add to each order. In the United States, there are different sales tax rates, so it’s important you use your business address.
Step 3: Add Your Products
After setting your location, it’s time to add products.
To add a product, you can go through the checklist on your dashboard or click on Products at the top menu. Click on the plus sign to open the add product screen. You can add a single image to a product on the free plan—just click on the plus sign to the left to add an image. If you have a paid plan, you can add up to five images per product listing.
Include a product name, description, and price for the item. You can add categories if you sell more than one type of product and apply the category for each product. This helps organize your products so customers can easily find what they’re looking for.
You can also create separate prices for variables. For example, if you sell different-sized shirts like what I did in the example below, you can set a different price for each variation of a single product.
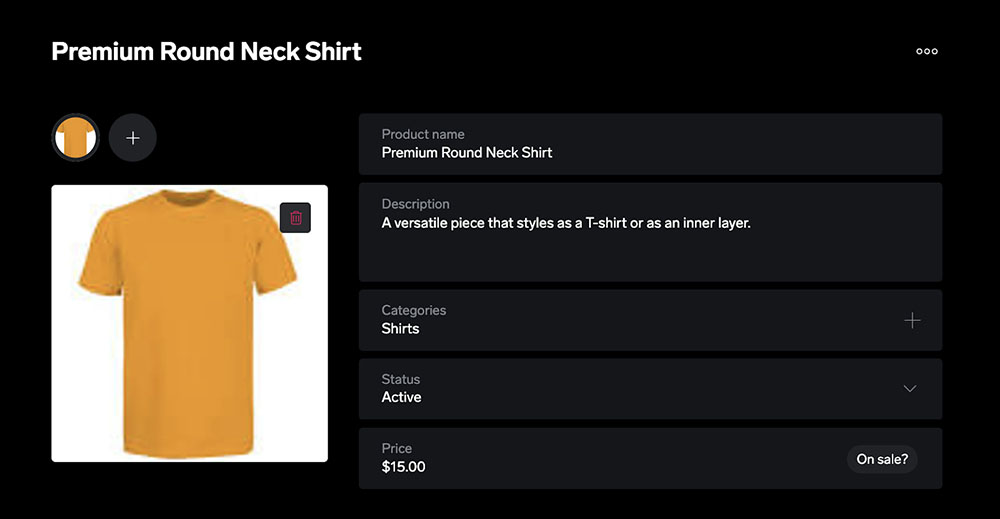
An example of what adding a product in Big Cartel looks like
Big Cartel’s product detail page is straightforward since you can only do so much. I like that even on a free plan, I can set up product options and variants. If you offer a product that has options, you can easily set that up in Big Cartel.
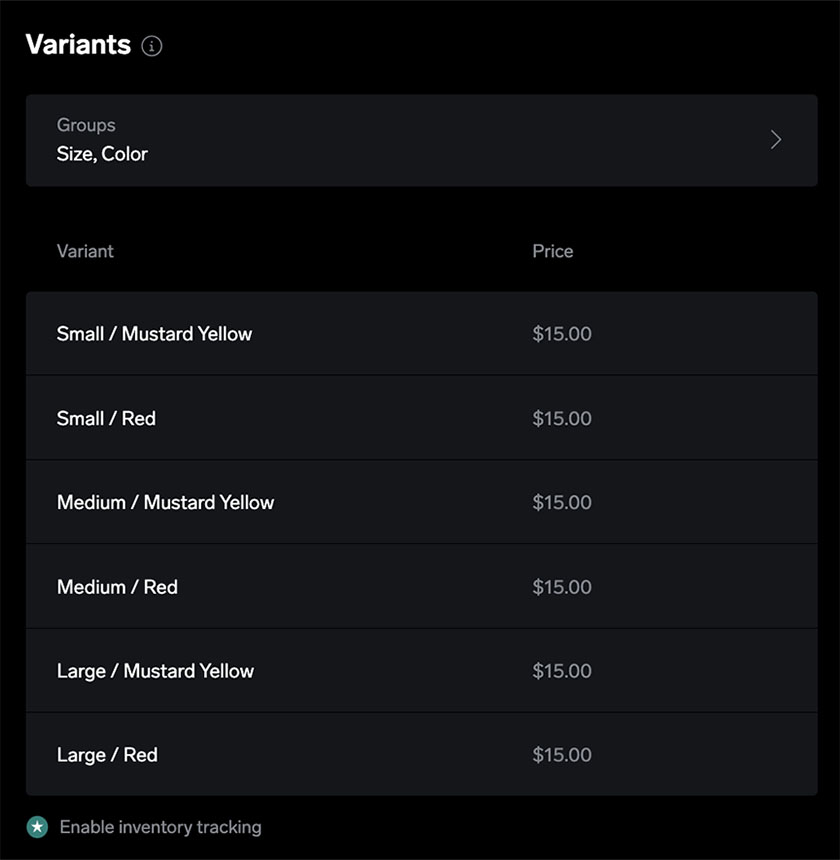
To set up product options, scroll down to your product page. You will see the option to set up variants. If you have multiple product options, such as size and color, click on Add variant group.

Big Cartel will then automatically create all product variations for you. Each variant group will be displayed in a separate list in your online store, making it simple for your customers to select their combination. As you can see below, I created product groups—size and color—and added variant names. Once I click Save, the variant combinations automatically populated for me.
Step 4: Set Up Backend Tools
After adding products, it’s time to set up your store’s backend tools. These include connecting payment providers, setting up shipping profiles, and adjusting checkout preferences.
Set Payment Options
Big Cartel lets you accept payments via PayPal or Stripe. Add both, if you have accounts with both, to give your customers more options for how they can pay. If you want to learn more about these providers, read our full Stripe review and PayPal review.
You can do this by going to the main menu of your dashboard, clicking Accounts, and scrolling down to Payments.
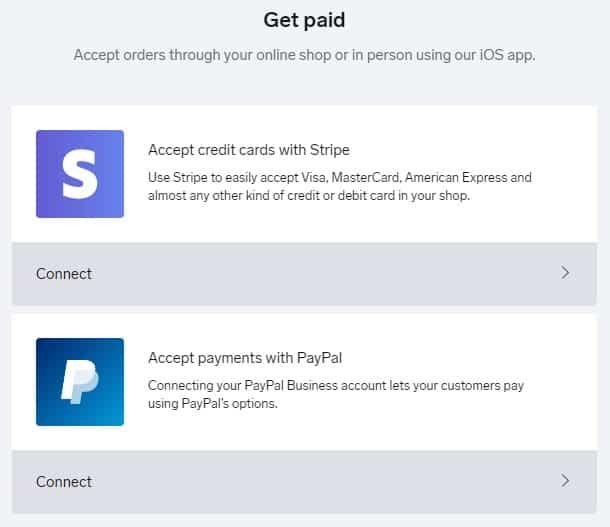
Your payment options for your Big Cartel store
Create Shipping Profiles
You have a couple of options when it comes to shipping. You can fill out shipping profiles and save them based on weight or country or create shipping rules for specific products as you add them. Big Cartel lets you create a shipping price for a single item and an “each additional item” shipping cost, which could encourage shoppers to buy more for a lower overall shipping cost.
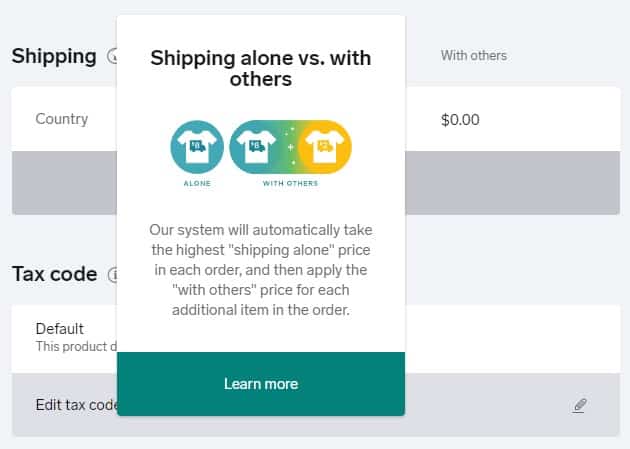
You can set up shipping for single products or create shipping profiles.
Adjust Checkout Preferences
Although adjusting preferences isn’t listed as an item on the checklist, I recommend you also do this now. If you click on Account in the top right, you’ll see where you can change your preferences, such as requiring customers’ phone numbers when they check out or getting an email whenever you get a new order. Big Cartel also automatically sends an email to customers when they place an order—unless you turn this option off.
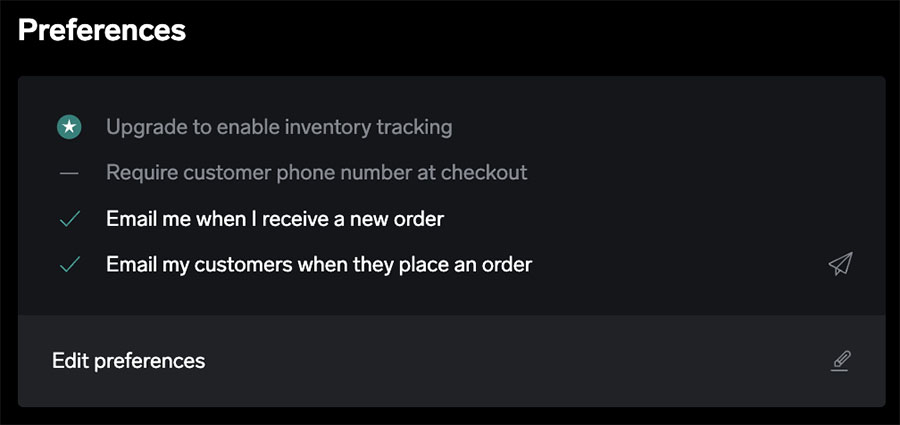
Simply toggle your preferences in settings.
Note: Only paid plans get access to inventory tracking. If you’re on the free plan, you’ll have to track your inventory using a different app or through a spreadsheet. You can find some of our recommended software and free inventory templates from the links below:
Step 5: Design Your Big Cartel Store
After you’ve added your products and set up your backend tools (payment and shipping methods), it’s time to focus on your Big Cartel store’s design. You can start by choosing your favorite template. Big Cartel offers 18 free themes you can choose from.
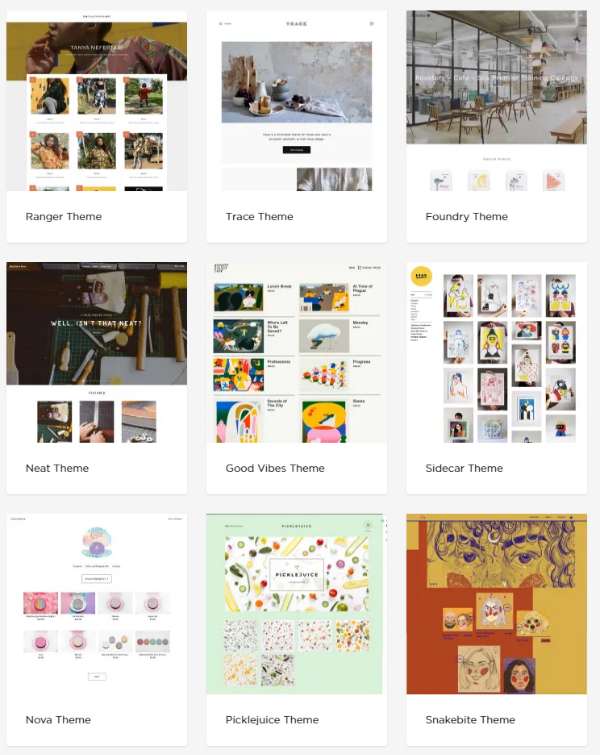
This is half of the free templates or themes that Big Cartel offers.
Once you have a theme in place, you can adjust colors and fonts and add images to your site. If you want to customize your site more than what’s allowed in Big Cartel’s WYSIWYG (what you see is what you get) editor, you’ll need to know how to code in CSS language. To edit a theme, you need to subscribe to a paid plan with Big Cartel.
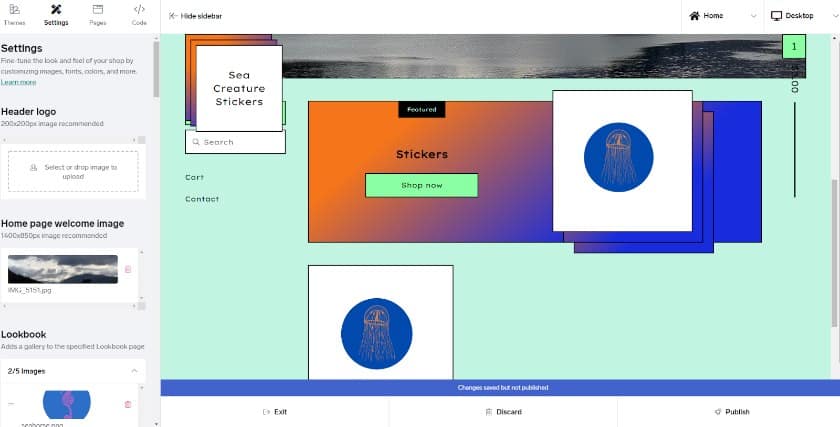
This is what the Big Cartel WYSIWYG editor looks like.
Optional: Connect Your Own Domain
You can connect your own domain whenever you’d like—the place to change this is in your account settings. When you scroll down to Your Shop, there’s a small heading that says +Add a custom domain.
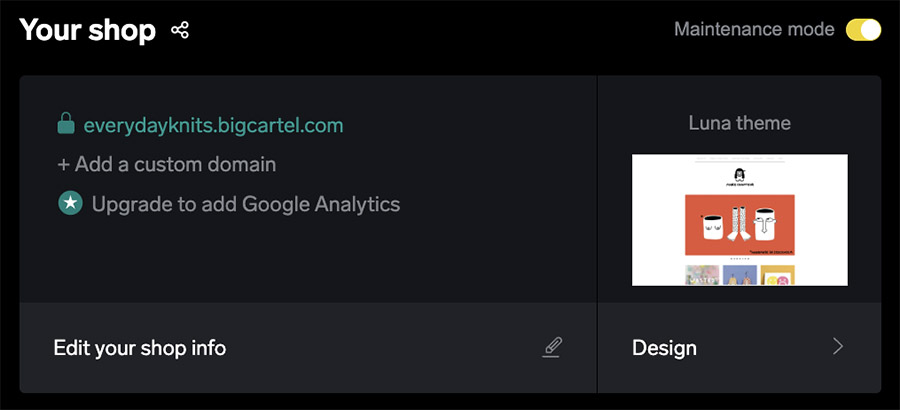
I recommend doing this when you’re satisfied with the design of your site and online store. If you don’t already have a custom domain, you can purchase one through Google Domains and Big Cartel. Remember this feature is only available for those on paid plans.
Step 6: Launch Your Big Cartel Store
Finally, it’s time to launch your Big Cartel store! Be sure to go over all the checklist items to make sure you’re ready to receive and fulfill orders and preview your site.
To launch your shop, go to your Account, then under Your Shop, toggle off the Maintenance Mode. A pop-up window shows up asking you to launch your shop.
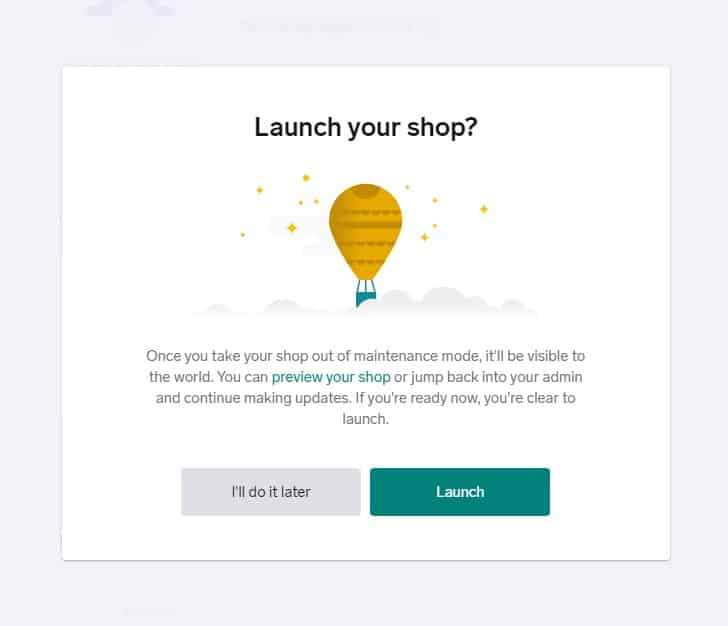
An example of what the launch screen looks like
Tips on Marketing Your Big Cartel Online Store
Create Discounts for Products
Discounts are a great way to entice new people to buy from your shop, but this isn’t a required step to start a Big Cartel store. To create a new discount, click on Discounts from the top menu, and create a new discount code. You can choose the variables of the discount, such as when a customer spends a specific amount of money or orders a specific number of items.
You can offer free shipping, a dollar amount off, or a percentage off. Big Cartel also lets you apply an expiration to your discount code based on a specific date or once it’s been used—or it can simply never expire. The discount shows up at the customer’s checkout stage.
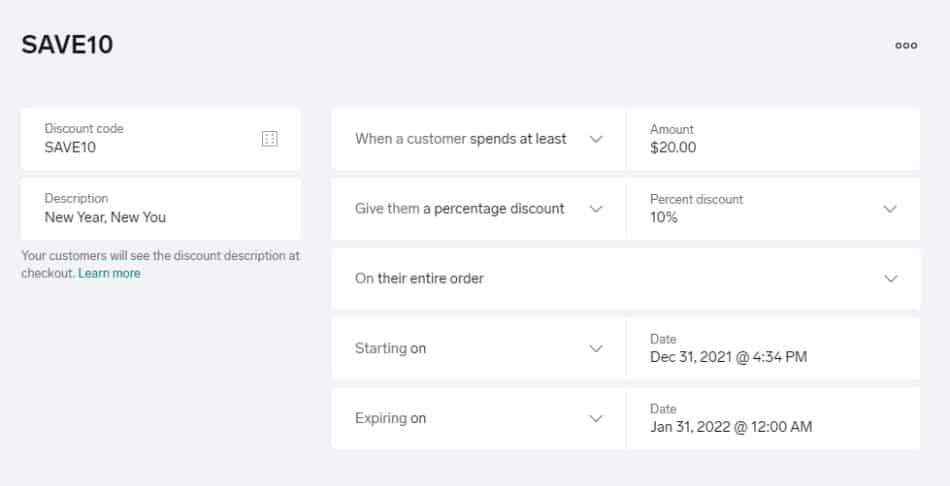
Free and paid plans can create discount codes.
Add Integrations
Although Big Cartel doesn’t offer marketing tools to help you sell your products, it does connect to various apps that can extend the ecommerce site builder’s functionality. You can add marketing apps like Mailchimp for email marketing and Elfsight for a variety of plugins to help you add FAQs and contact forms to your site.
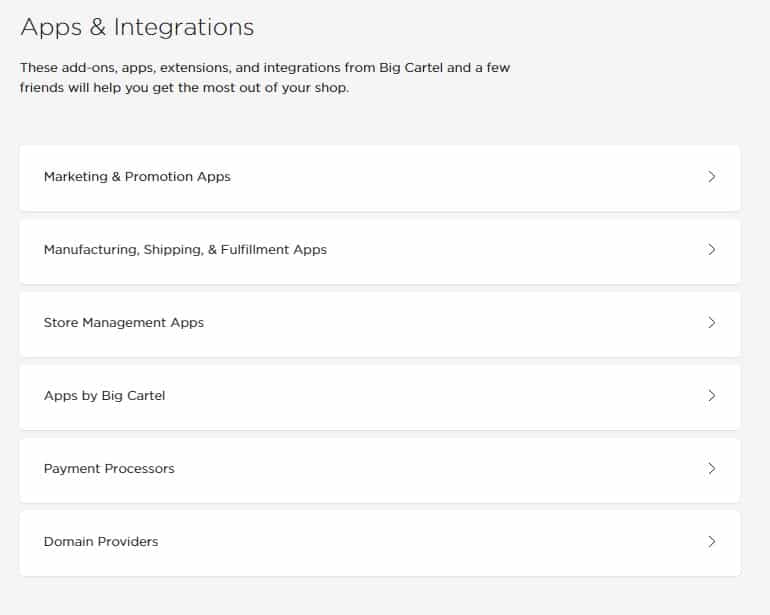
You can choose from a variety of apps that directly integrate with Big Cartel.
To know how to market, promote, and grow your Big Cartel online store aside from the tips I outlined above, I recommend going through our SEO and marketing articles below:
- SEO for Ecommerce Websites: The Ultimate Beginner’s Guide
- How to Create an SEO Content Marketing Plan
- Ecommerce Marketing Strategy Ideas for Retailers
- Ultimate Guide to Email Marketing for Retailers
- Guide to Social Media Marketing for Small Businesses
- How to Grow Your Ecommerce Business & Optimize for Sales
Big Cartel Online Store Frequently Asked Questions (FAQs)
Big Cartel is a great choice for those with no experience creating an online store. Its user-friendly dashboard with a checklist makes it easy for beginners to get started with an ecommerce site on Big Cartel.
You can create a free ecommerce website with Big Cartel, but you will be limited to five products. The paid plans are affordable and less limiting. The ecommerce site builder is meant for creators to sell their art, jewelry, prints, candles, and other products on it. Big Cartel isn’t the only free ecommerce site builder, but it is one of the easiest to use.
Yes, you can make money by selling products on Big Cartel. One of the benefits of using Big Cartel for your online store is that it doesn’t charge fees for you to sell products—you only pay Big Cartel if you opt for one of its paid plans. Otherwise, you pay transaction fees to Stripe or PayPal when you make a sale.
Bottom Line
It’s easy for anyone to create a Big Cartel online store. After signing up and setting your preferences, you can add products and design your ecommerce site. Big Cartel is ideal for new ecommerce sellers, thanks to its ease of use. You can go from designing your ecommerce site to launching and selling products on the same day.