


Squarespace is one of our leading ecommerce platforms and best website builders for small businesses. One of the reasons it is so popular is its array of advanced yet beginner-friendly features, including ecommerce. Learning how to set up a shop on Squarespace is easy: create an account, add products, set up payment and fulfillment options, design your site, then upgrade to launch.
Try most of Squarespace’s commerce features before subscribing to a plan with its 14-day free trial.
And now follow our guide or watch our video to learn how to build an online store with Squarespace.
- Squarespace Ecommerce Video Tutorial
- Step 1: Sign Up for a Squarespace Account
- Step 2: Add Products
- Step 3: Set Up Payment Methods
- Step 4: Configure Fulfillment Options
- Step 5: Design Your Site
- Step 6: Publish Your Online Store
- Squarespace Ecommerce Website Examples
- How to Set Up a Shop on Squarespace Frequently Asked Questions (FAQs)
- Bottom Line
Squarespace Ecommerce Video Tutorial
Step 1: Sign Up for a Squarespace Account
The first step to building your Squarespace ecommerce store is to sign up for an account.
If you haven’t already, we recommend you start a trial.
To do this, go to Squarespace and click on “Get Started.” Unlike other website builders, Squarespace lets you select a template before creating your account. From here, you’ll find a selection checklist that will help narrow your choices. Check “Online Store” underneath “Type” to view all of the available templates. You can click on “Preview” to check them out.
Once you have selected a template, you will be taken to a setup wizard. Create your account through Google, Apple, Facebook, or another email address. This is a very quick process—you will see your dashboard right away once you create an account.
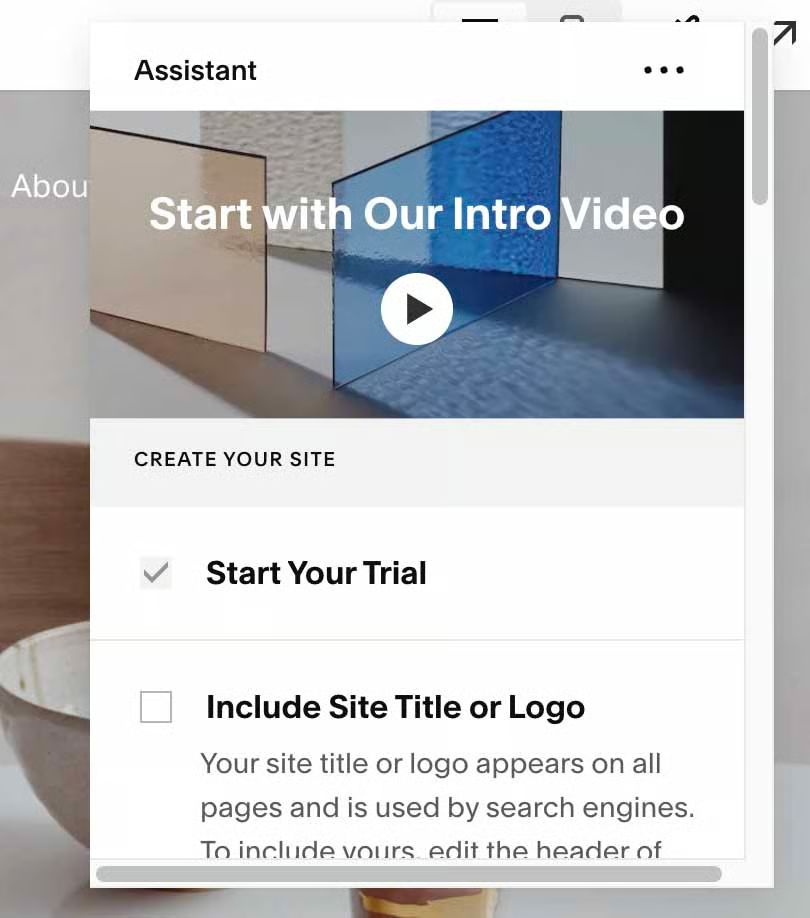
I particularly like Squarespace’s Assistant, which pops up once you load the dashboard. You can quickly watch the two-minute video that gives you an overview of what the platform provides.
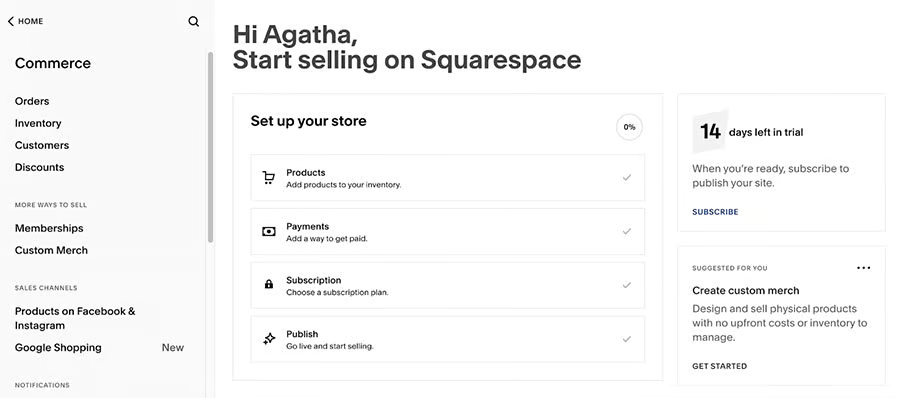
From the dashboard, click “Commerce.” You will then be asked some questions you can even skip, such as where you have been selling, what you want to sell, and how many products you plan on selling.
When you first enter Commerce, you’ll find a quick checklist to help you get started.
Step 2: Add Products
The next step is to add products for selling. You can do this by clicking “Products: Add products to your inventory” from the setup wizard visible in your dashboard. If you need time to organize your products, you can access this step by going to the main menu and clicking on “Commerce,” a section within the dashboard.
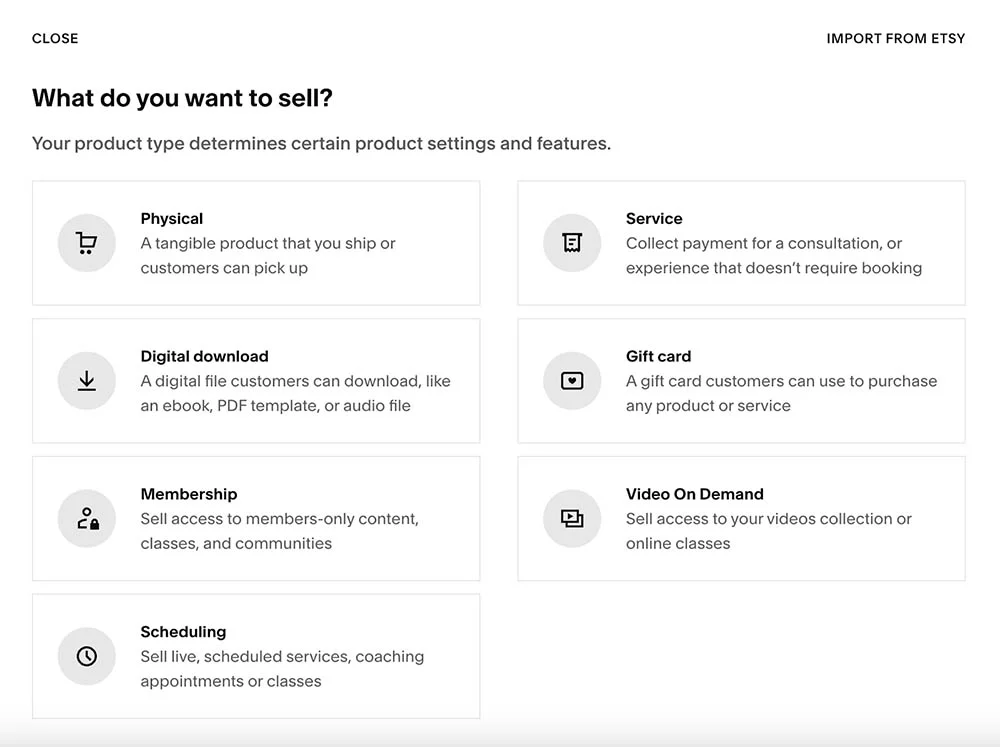
You can enter different types of products in Squarespace—physical items, digital downloads, membership, appointments, service, and video on demand.
When adding products, indicate the type of product and where you want it to be displayed. This is important because it will affect the product detail information you need to fill in for the product page.
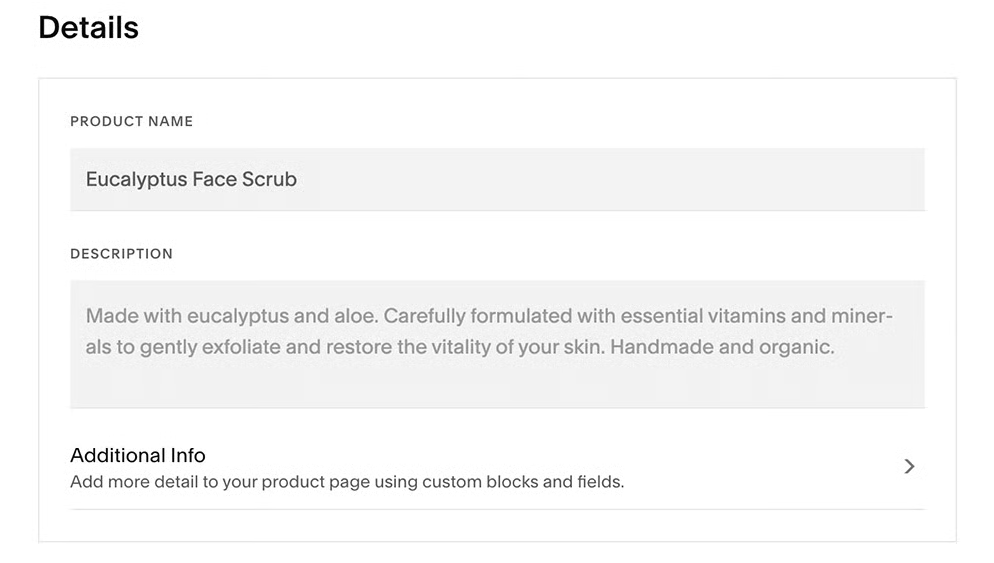
As shown below, add product details such as the product’s name, a product description that sells, good quality product images, categories, and tags to help your customers sort through your store. This page also lets you change prices, put products on sale, and add quantities and variations.
The product page has the following sections below. You can be as detailed as you want with product information, keeping in mind that you want customers to have all they need to make a purchasing decision.
Product Details
Add a product name, description, and any other necessary information. Additional blocks are available to enter a longer description, videos, or other content.
Images
Before uploading product photos, keep in mind that Squarespace has a product structure it follows on all sites—organized by the following methods:
- Store pages (landing pages for multiple products)
- Details pages (product details)

You can add the following images when adding or editing a product:
- Featured image
- Primary image
- Variant images
- Alternate social sharing images

Inventory
In this section, you can set regular and on-sale prices, quantity, stock-keeping units (SKUs), and product options. Squarespace automatically generates an SKU for a product, but you can specify your own.
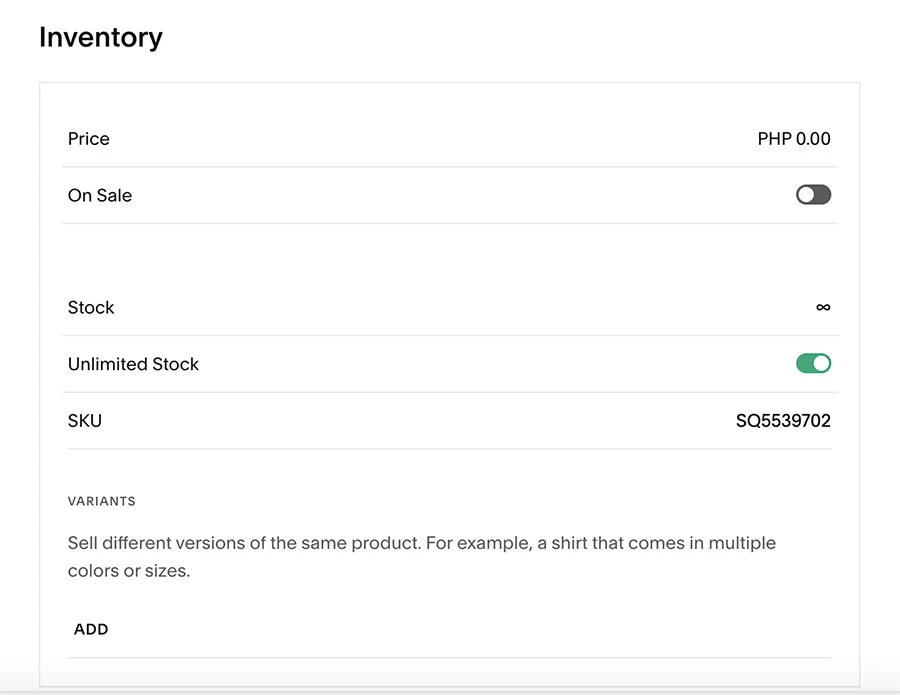
If you sell different versions of the same product, add variants. You can add options such as size, color, material, and even custom fields such as gift wrapping.

To edit product options or add more variants to an option, click “Manage options” in the product editor. You can assign an image, SKU, stock, and regular or on-sale price separately for each variant by clicking “Edit All” once the variants have been saved.
Organization
Specify categories and tags for your products. This helps customers find products easily. Click on “Add” to enter a new category and tags (words or brief phrases).
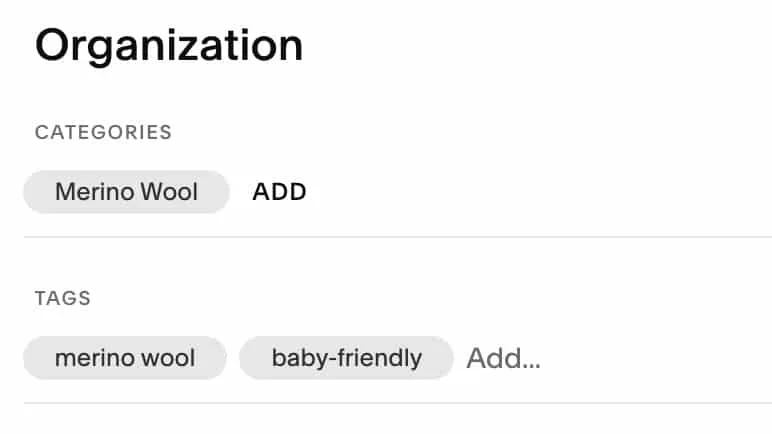
Here are some formatting tips for adding categories and tags:
- Tags have an 80-character limit, while categories have a 25-character limit.
- Tags and categories are case-sensitive. For example, entering Shirts, shirts, and SHIRTS creates three tags or categories.
- Tags and categories appear in alphabetical order.
Visibility
Squarespace lets you set up products on schedule, keep them hidden, or make them public right away. Under this section, you can also display products on Summary Blocks on your site pages (such as a featured product) and enable features for adding related products and Etsy product reviews on product pages.
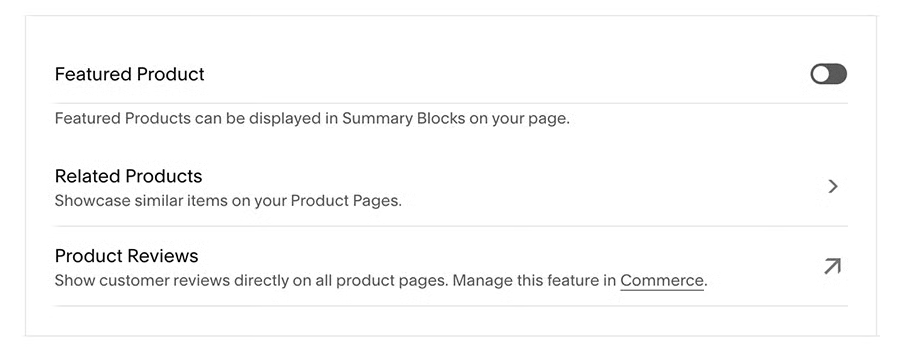
Summary Blocks are content blocks you add to sections on your site pages. In this example, we inserted a featured product in our demo store.
Marketing

You can configure permalink, SEO product titles, and descriptions in the marketing section. You can also customize the image and description (excerpt) that shoppers see when your products are shared on social media.
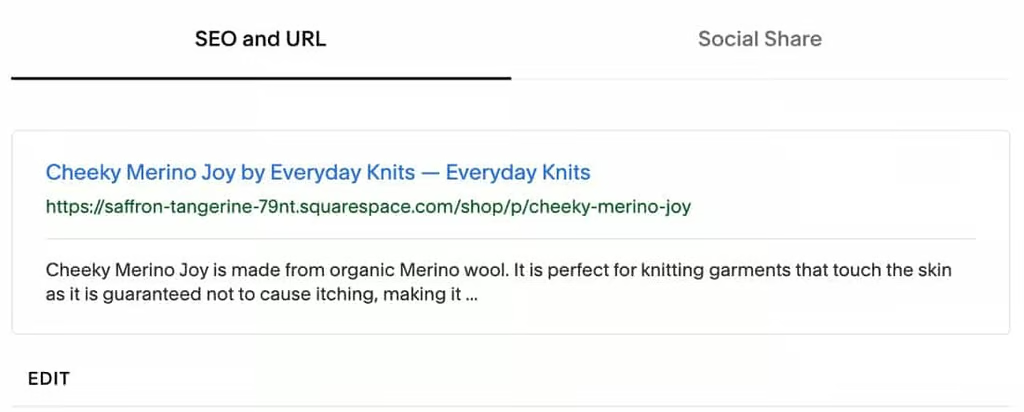
Make it easier for your products to show up on search engines by configuring their SEO. Product names have a 100-character limit, while descriptions have a 400-character limit. 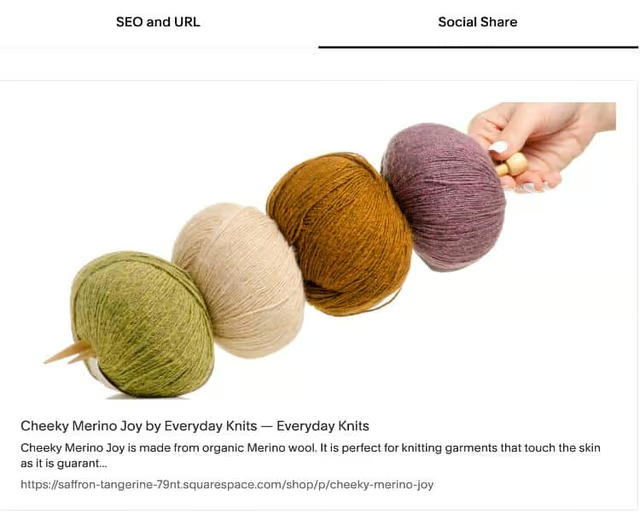
You can use any product image and excerpt for items shared on social media.


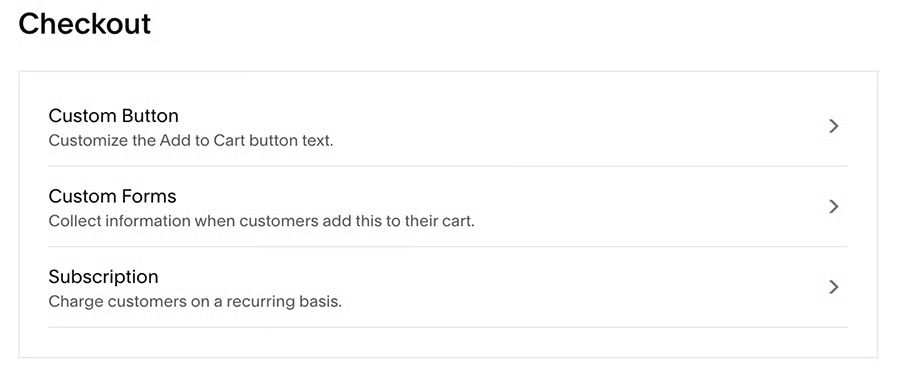
Checkout
The checkout function lets you customize the text for checkout buttons, collect customer information through custom forms when shoppers check out, and charge customers on a recurring basis by setting up a subscription.
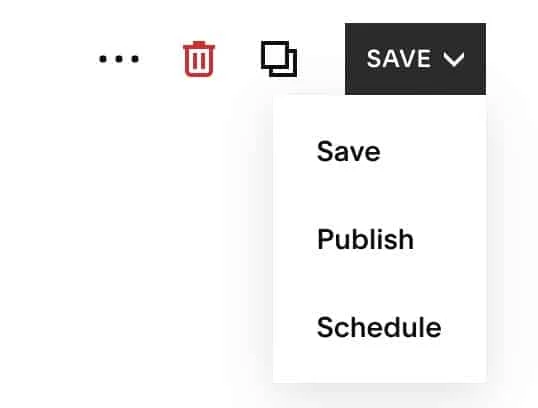
Once you have filled in the product details, don’t forget to save your work! Scroll to the top of your product editor and click on “Save” on the top right. You can choose to make your product visible immediately (publish), schedule it to go live on a certain date and time (schedule), or keep it hidden (save).
Step 3: Set Up Payment Methods
After adding products, you need to set up payment options so you can process payments. Configure your store currency, and connect to any of Squarespace’s payment processors. To do this, click on “Payments” under Setup from your Commerce dashboard’s navigation sidebar.
Squarespace supports Stripe and PayPal and integrates with Square for in-person sales (exclusive to the US). If you wish to enable buy now, pay later (BNPL) services for your customers, Afterpay and Clearpay are available as integrations if you activate Stripe as a payment processor.
Payment processors in Commerce are separate from those that you have set up with other Squarespace products, such as Squarespace Scheduling.
Set Up Taxes
Depending on your business’ location, you may be required to set up taxes for your online store given state requirements. You need to charge sales tax in your state and where your customers are located. To make it simple, you can set up tax-inclusive pricing so the sales tax is included in the product price.
Step 4: Configure Fulfillment Options
Once your online shop can accept payments, it’s time to configure how you will fulfill orders. If you want to offer shipping from your shop—or provide a pickup option from your brick-and-mortar store—this is the place to do it. Click on “Shipping” under Setup from your Commerce dashboard’s navigation sidebar.
Shipping
You can offer flat-rate shipping, shipping rates based on weight, carrier calculation (FedEx, UPS, and USPS), or free shipping.
If you want to use a different shipping carrier or need to ship internationally, Squarespace has third-party shipping extensions, such as ShipBob and ShipStation.
Pickup
You can also specify a local pickup option for shoppers who want to collect their orders in person rather than wait for them to be shipped.
To activate this option, set your store’s location name, address, and any special instructions if needed.
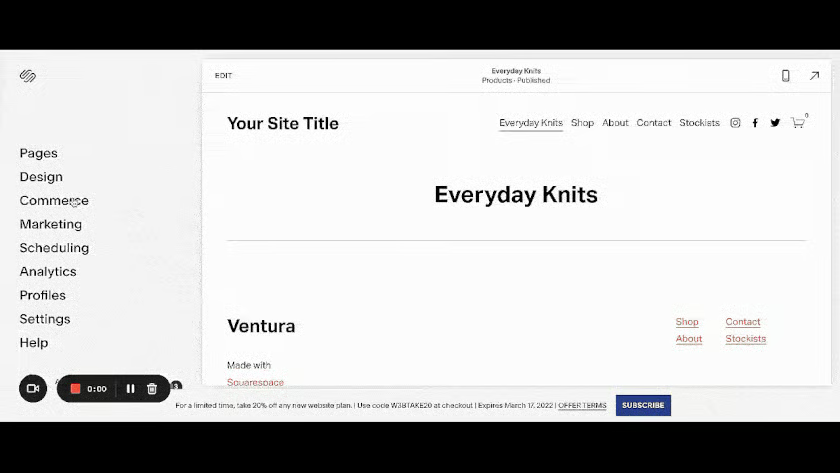
Step 5: Design Your Site
After you have completed the commerce side of your online store, the more exciting part comes next—designing your website. Squarespace’s biggest advantage is its website builder tools—such as aesthetic templates, an intuitive drag-and-drop editor, and customizable CSS.
Since you already chose a website template when you signed up for a trial, you just need to customize it to your brand. If you wish to switch to another template, repeat the process in step 1 while logged in, and the new template will be added to your dashboard. You can see all the templates you have chosen by going to your Squarespace dashboard.
When I was setting up our demo store, I learned that when I switched templates, I needed to set up the Commerce portion of the website all over again.
This frustrated me in the beginning, but I realized that changing the look of my store may not even require switching templates since Squarespace templates are very customizable (you can add multiple sections and elements to your pages in a variety of layouts).
In fact, when it comes to customization, Squarespace is the most fluid among all the ecommerce platforms we have reviewed.
Set Site Styles
Let’s start designing your website by setting up site styles. From your main navigation menu, click on “Design” and then “Site Styles.”
Assign styles for the following:
- Fonts (include text styles for headings, paragraphs, buttons, and more)
- Colors (edit the palette to fit your brand colors)
- Animations (animate site elements as they appear on the page—such as fade, scale, slide, clip, or none at all)
- Buttons (configure styles and shape)
- Images (adjust content position, alignment, and more)
You can also configure the following:
- Browser icon (favicon)
- Lock screen (the page visitors see when your site or individual pages are password protected)
- 404 page (“Not Found” error message due to dead links or an incorrect URL)
- Social sharing (When your pages are shared on social channels, Squarespace will use this image to represent content)
Edit Your Website Template
Once you have set your site’s global styles, the next step would be to edit your template. When you’re ready to edit your site, click on “Edit” at the top of the page.
Site Header
The first step is to name your website—if you haven’t done so already—and upload a logo. If you skipped inputting your website’s name before entering the editor, you can hover over the header and click “Edit Site Header” to open the menu. Click on the first option, which is “Site Title & Logo,” and change the title to your business name.

Make sure to upload both a main logo and a mobile logo—if you have one. If you don’t, your main logo will be used on mobile devices. Note that uploading a logo will replace the site title on all pages. However, don’t skip on naming your website as this will be used for SEO purposes and your page title.
If you don’t yet have a logo for your business, you can get one professionally made by hiring a graphic designer. Freelance sites like Fiverr have expert graphic designers who won’t break the bank. You can also create your own logo through sites like Canva and even Squarespace’s own free logo maker.
Site Footer
Scroll down to the very bottom of your screen and hover over the footer to edit. Your template will already have pre-selected elements, like social media icons and links to different pages.

You can always delete these elements by hovering over them and clicking on the red trash icon that pops up. Choose the section you would like to add by clicking on “Add Section” and selecting from Squarespace’s layouts. You can also add a blank section and fill out this space with text.
Some ideas to place on your footer are your business’ name, social media icons, contact information, business address, business hours, and subscription forms. All these can be found in Squarespace’s premade layouts.
Sections
Add sections to your page by inserting headlines, lists, images, quotes, text, video, and a gallery. Special section features include appointments, contact forms, donations, newsletters, products, and reservations. Simply click on “Add Section,” and choose from the various options on the pop-up window.
To add sections to your site page, click on “Edit” on top of the screen and hover over the area you want to add a section to. An “Add Section” button will appear; click on it, and choose from layout sections offered.
Edit Shop & Product Pages
Once you have edited your template, you can customize your shop’s product and checkout pages.
To edit your shop, click on the Shop navigation from the template and click on “Edit.” Similar to how you edit the template, you can add sections, specify products you want to be displayed, and more.
Treat your Shop Page like your site template. The only difference is that in the Shop Page, product categories and featured products are displayed by default.
To edit product pages, click on any product from the Shop page. Click on “Edit” on top, then “Edit Design.” Click on the pencil icon once you hover over the page. You can choose the format of your product page.
For product pages, make sure to check if your chosen format translates well on mobile.
Make sure to click on “Save” to keep your changes.
Add Pages & Set Up Navigation
From the main menu, click on “Pages”—the first option on the menu to the left of the screen. Here, you’ll find the pages and navigation from your chosen template. Feel free to add more by clicking on the “+” sign beside “Main Navigation” and selecting from either a blank page (which you can build on) or premade page layouts. Choose the format you want and name the page.
Conversely, you can delete pages by hovering over the name and clicking on the trash icon that pops up to the left. Rename pages by clicking on the gear button beside each page name and changing the page title.
Below the page title, you can also change the page’s navigation title (the name that appears on the navigation bar) and the page’s URL slug. This has already defaulted to the page’s name, so if you aren’t confident in what you’re doing, then leave these two as is.
Finally, reorder the pages by dragging the page names up and down on the page menu. Note that this automatically changes the arrangement of your navigation bar.
Step 6: Publish Your Online Store
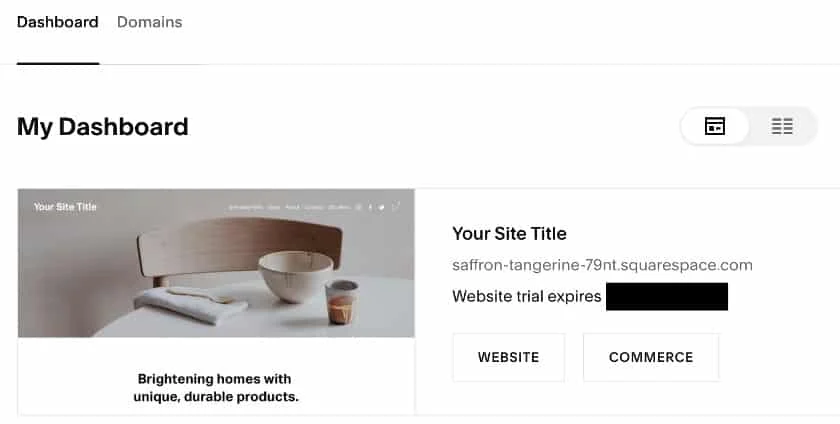
To publish your website—so that it’s available to the public—and change your domain name from generatedID.squarespace.com to your actual brand name without a subdomain, you’ll need to upgrade to a paid plan.
Head over to the main menu and click your username at the bottom left corner. You’ll be led to your Account Dashboard, where you’ll find a list of all the sites you’ve created on Squarespace. Click on the ellipsis beside the site you want to upgrade and proceed to “Billing.” From here, you can upgrade your free plan to a premium one.
After launching your Squarespace online store, the next step is to promote it. Drive traffic to your Squarespace store with built-in SEO, email marketing, and social media campaigns.
Here are some guides to help you get started:
- SEO for Ecommerce Websites: The Ultimate Beginner’s Guide
- Guide to Social Media Marketing for Small Businesses
- 10 Email Marketing Tips for Retailers
- 22 Ecommerce Marketing Strategy Ideas for Retailers
- How to Grow Your Ecommerce Business & Optimize for Sales
Squarespace Ecommerce Website Examples
Take the three excellent examples of Squarespace ecommerce websites below so you can get an idea on how to set up a store on Squarespace and use its templates.
Supernatural
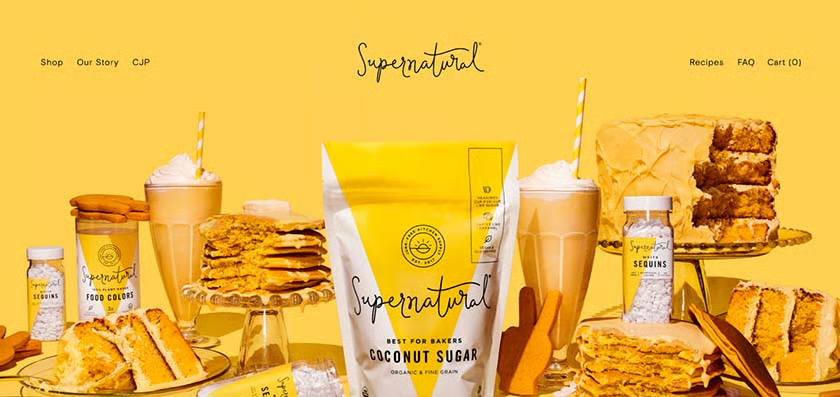
Supernatural’s branding is very obvious and on point once you load its homepage, with its bright and bold colors and excellent product photography. The website uses a lot of negative space so the product photos stand out, with clean CTA actions to shop for the different product categories it offers. It also uses social proof toward the bottom of the homepage, displaying Instagram photos from its social feed.
Soilboy
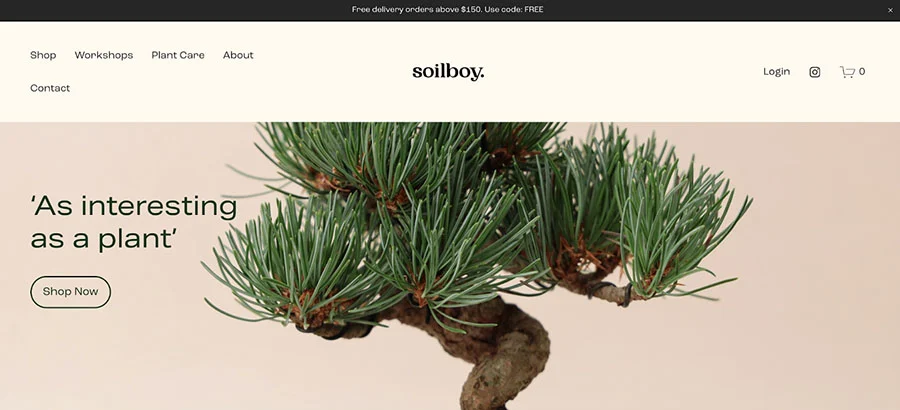
Soilboy employs the banner on top of its website to promote shipping offers and displays a CTA button on its main header image. You can immediately shop its featured products right on the homepage and see plant examples curated from its Instagram feed.
SHHHOWERCAP
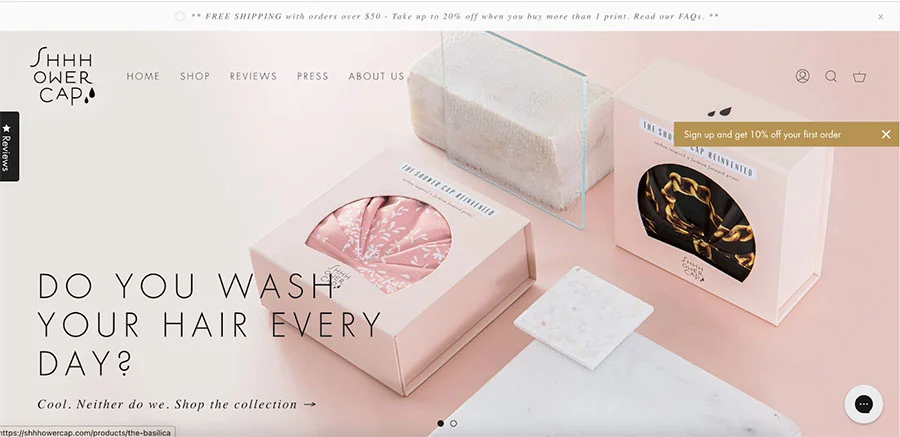
SHHHOWERCAP, a Squarespace online store that sells shower caps, is an excellent example of how to create brilliant website copy. For example, the hero copy reads, “Do you wash your hair every day? Cool. Neither do we. Shop the collection →.” The website also uses Squarespace’s banners for promoting discounts, and noticeable are two snippets you can see from the first fold of the website right away—a link to reviews (user-generated content) and an icon for chatbot/help.
How to Set Up a Shop on Squarespace Frequently Asked Questions (FAQs)
Which is better, Squarespace or Shopify?
For heavy ecommerce, Shopify wins, hands-down. It is a market leader in ecommerce platforms, while Squarespace is an all-in-one website builder that happens to have a good ecommerce feature. However, Shopify’s plans are pricey, and the platform’s design capabilities are limited. For casual sellers or small businesses looking to add a store to their websites, Squarespace is an excellent option.
Check out our Shopify review.
Is Squarespace a good website builder?
Yes, it is. Not only does Squarespace have a good selection of modern templates, but it also has good design features and an intuitive interface that lets you create a website easily. It comes with a suite of well-rounded tools at affordable prices, like advanced ecommerce and SEO—making it one of the best website builders around.
Bottom Line
Squarespace is a great website builder with advanced ecommerce features. While there are other ecommerce website builders out on the market, Squarespace is a solid choice for small businesses looking to expand to online selling. It has a large selection of beautiful templates, an intuitive drag-and-drop editor, and affordable prices.
Sign up for its 14-day free trial and get started on setting up a Squarespace store.