


This short tutorial presents the steps on how to run an accounts payable (A/P) aging report in QuickBooks Online. You’ll learn how to generate an A/P report using default settings and how to customize it so that it shows only the elements you want. We will also show a sample A/P aging report that you can use as a reference when creating your own.
Step 1: Locate ‘Accounts Payable Aging Summary’
Click Reports from the left menu bar and scroll down to the What you owe section. Next, select Accounts payable aging summary from the list of reports shown.

Step 2: Set Up a Basic A/P Aging Report
From the Accounts payable aging summary screen, scroll up to locate the menu bar, which contains basic setup options.
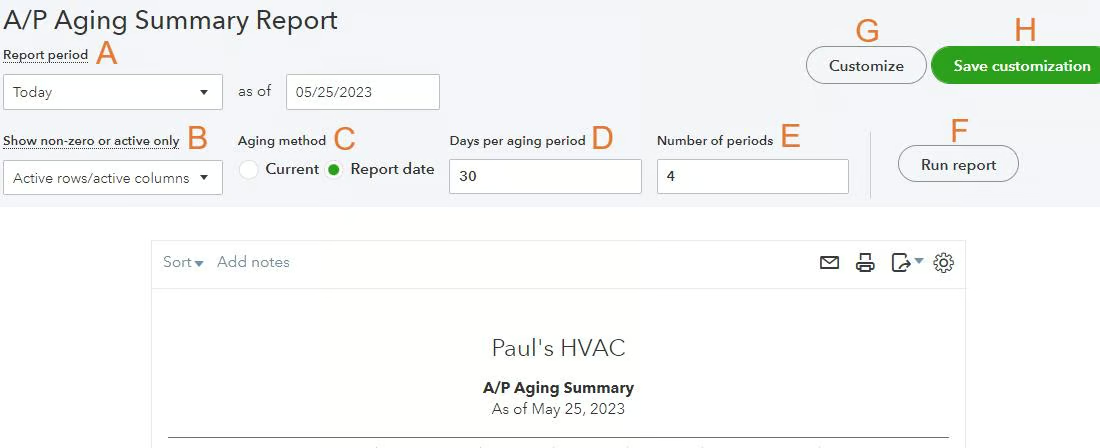
To create your A/P report using default settings, you must complete the following fields:
A. Report period: The A/P report will list your bills outstanding as of the report date that you enter here.
B. Show non-zero or active only: This setting lets you include all rows or columns or add or hide those with no data or those with nonzero totals.
C. Aging method: The number of days a bill is overdue can be calculated based on either the report date chosen in item A or the date the report is created.
D. Days per aging period: A/P aging reports are commonly based on intervals of 30 days per column, but you can adjust them to a different number of days.
E. Number of periods: Set the number of periods, or columns, that you would like to display in your A/P aging report.
F. Run report: Choose this option to reflect your changes.
G. Customize: You can make further customizations to your report by clicking this as further explained in our next section, Step 3.
H. Save Customization: You can create and name a new report with the same options you have chosen.
Step 3: Customize Your A/P Aging Report
Hit the Customize button (item G in our prior section) to customize your A/P report further.
General
Here, you can specify the period for which you want to run the A/P report. You can choose from predefined options like “This Month,” “This Month-to-date,” “This Quarter,” or “This Quarter-to-date.” You can also select a custom date range if desired.
Additionally, the report includes unique options for adding values in thousands of dollars, excluding zero amounts from the report, and choosing a preference for displaying negative numbers.

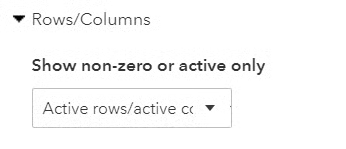
Rows/Columns
The rows/columns option has the same settings found in item B of our previous section.
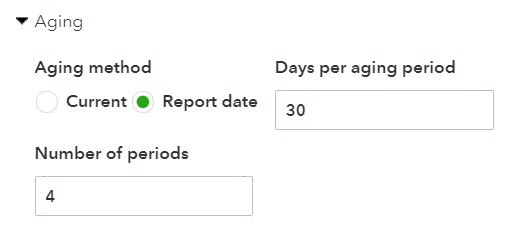
Aging
In addition to choosing the aging method you did in item C in Step 2, you can also indicate the number of periods and days covered for every aging period.
Filter
The filters allow you to filter the aging report based on vendor and location. Use the Vendor filter if you want to analyze the outstanding bills and payment obligations for a particular vendor or compare the aging of payables across different vendors. The Location filter is useful if your business operates in multiple locations.
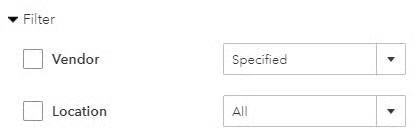
If you don’t have the option to filter your QuickBooks accounts payable aging report by location, you need to turn on location tracking as illustrated in Step 4 of our guide on how to set up advanced settings in QuickBooks Online.
Header/Footer
Choose what information to display in the header and footer of your A/P aging report.
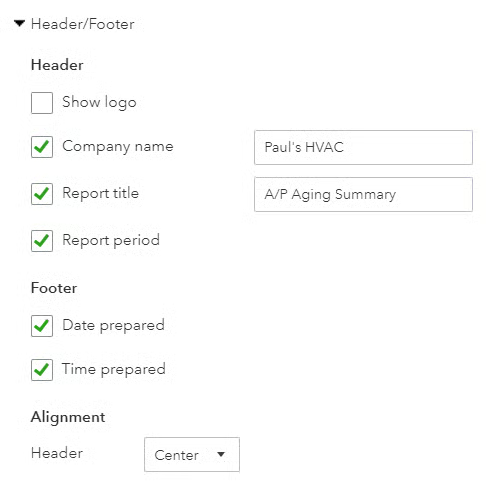
You can opt to add your logo to the top of your A/P aging report if you uploaded one while setting up your company in QuickBooks Online.
Once you are done customizing your report, click the green Run report button.
Step 4: Print, Email, or Export Your A/P Report (If Necessary)
You can print, email, or export your report by clicking on the icons in the top right corner of the report. You can export your report in a PDF or Excel format. When you click the export button, you’ll see an option to add the report to management reports. Management reports are readily available reports that business owners, managers, and executives can easily access from a centralized location.
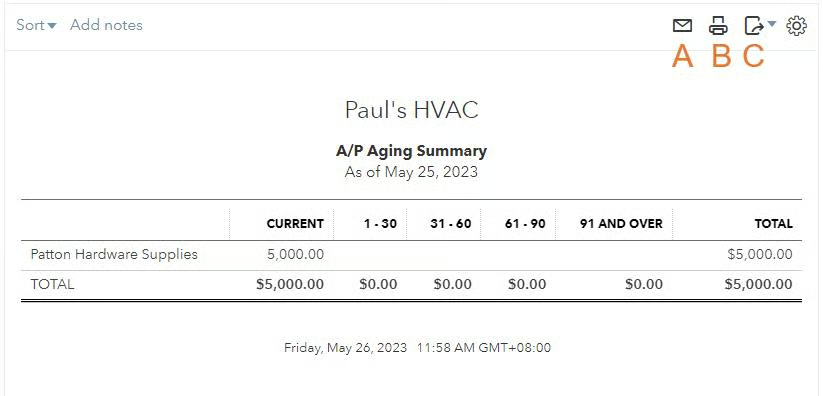
Here is a sample QuickBooks A/P aging report.
What Is the A/P Aging Report & Why It Is Important
The A/P aging report is a financial tool that provides a list of your bills separated by the number of days the bills are overdue. It typically breaks down the outstanding receivables into aging buckets, such as “Current” (invoices due within the agreed-upon payment terms), “1–30 days,” “31–60 days,” and “61–90 days.”
The A/P report includes crucial information such as the vendor name, invoice number, due date, and the amount owed for each bill. This is an extremely useful report as it ensures that you don’t inadvertently miss a vendor payment and that you prioritize which bills get paid first when you are low on cash.
This helps you allocate sufficient funds to cover the most immediate payment obligations—allowing you to prevent overdue payments, late fees, or strained vendor relationships.
Frequently Asked Questions (FAQs)
What information does the A/P aging report provide?
The A/P Aging Report in QuickBooks provides a breakdown of the outstanding bills and payment obligations of your business. It categorizes the unpaid bills based on the length of time they have been outstanding.
Can I customize the QuickBooks accounts payable aging report?
Yes, QuickBooks Online, our overall best small business accounting software, enables you to customize your A/P aging report. You can customize the date range, select the information to be included in your report, and apply filters to focus on specific vendors or criteria.
How often should I run the A/P aging report in QuickBooks?
We recommend that you run the A/P Aging Report at least once a month. This allows you to review and assess the status of your payables, identify any overdue bills, and take necessary actions if needed.
Wrap Up
By learning how to run an accounts payable report in QuickBooks Online, you’ve completed the final lesson in our free QuickBooks Online tutorials! We hope you’ve found this information helpful and encourage you to revisit our guides as questions arise while using QuickBooks Online.