


In this lesson, we’ll illustrate how to create a balance sheet in QuickBooks Online. First, we’ll show you how to generate the balance sheet with basic setup options, then we’ll teach you how to further customize the report. We also included a sample balance sheet, and we’ll walk you through its different sections.
- Step 1: Navigate to ‘Balance Sheet’
- Seeing a Different Left-side Navigation Menu?
- Step 2: Set Options for the Balance Sheet Report
- Step 3: Customize Your Balance Sheet Further
- Step 4: Print, Email, or Export Your Balance Sheet
- What Is a Balance Sheet & Why It Is Important?
- Frequently Asked Questions (FAQs)
- Wrap Up
Step 1: Navigate to ‘Balance Sheet’
To create a new balance sheet in QuickBooks, choose Reports in the left menu bar and then click on Balance Sheet under Business overview, as shown below.
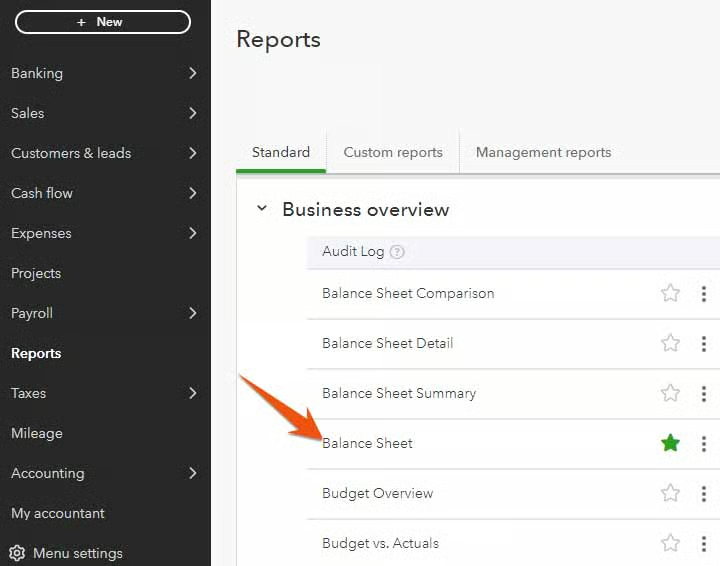
You can add your balance sheet or other frequently used or important reports to the Favorites tab for quick access in the future. To do this, click on the star icon next to the report.
Seeing a Different Left-side Navigation Menu?
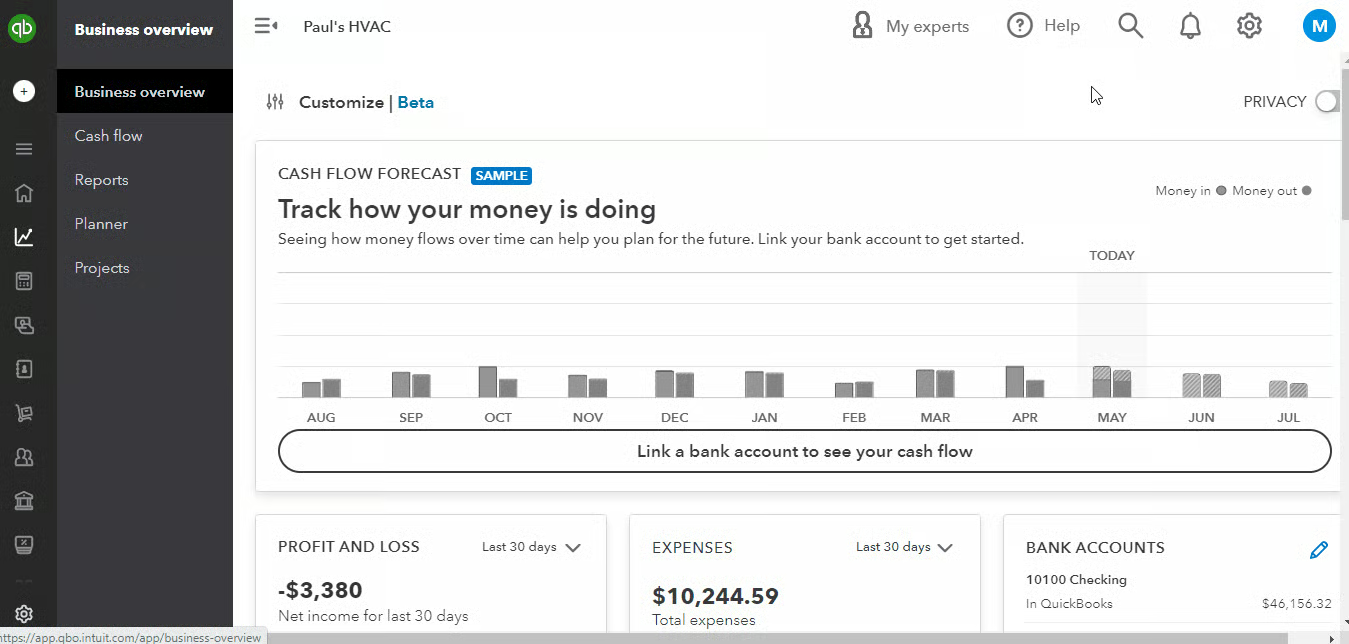
QuickBooks has two user views: Business View and Accountant View. Your left-side navigation menu may look different depending on the user view you are in.
If your sidebar menu is not what is shown in our tutorial, it means that you are on Business View. We prefer and recommend using the Accountant View because it shows a full range of business accounting features and tools that you can use in QuickBooks.
To verify whether you’re using the Business View, click on the cogwheel at the top right-hand corner of your QuickBooks dashboard, and check whether the button on the lower right hand says Switch to Accountant view, as shown below. If so, then it means you are on Business View.
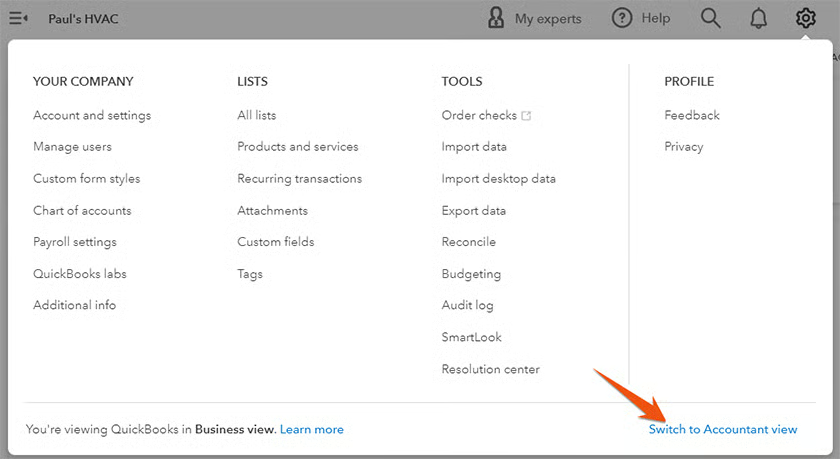
Once you verify that you are on Business view, click on Switch to Accountant view to update the appearance of your sidebar menu. In a few seconds, you should see the same left-side menu bar illustrated in this tutorial.
Step 2: Set Options for the Balance Sheet Report
Scroll to the top of the Balance Sheet screen to access fields that you can edit.
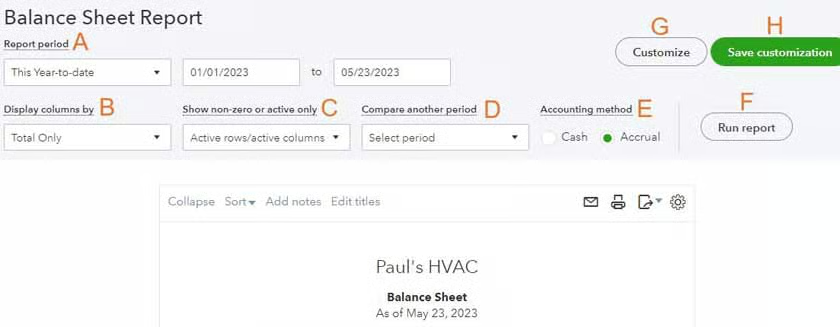
Set the following options for your balance sheet.
A. Report period: Choose the period for which you’re preparing financial statements. You can either click the drop-down box to select a predefined period or enter the start and end dates for a custom period.
B. Display columns by: By default, the balance sheet will have a single column for the balances at the end of the reporting period. You can choose to display additional columns for interim balances, such as quarterly, by clicking the drop-down box. You can also display additional columns to separate the balances by customer, vendors, classes, locations, or other categories.
C. Show nonzero or active only: The default is to show just rows and columns that have activity during the period. This is a good setting as it’ll eradicate unnecessary clutter in your balance sheet.
D. Compare another period: For comparison purposes, you can include an additional column that shows the balances of the prior period’s Balance Sheet. You can also add a column with the difference between the current and prior periods as either a dollar or percentage change.
E. Accounting method: Choose whether the Balance Sheet should be prepared on the cash or accrual basis of accounting. Accrual accounting includes accounts payable and accounts receivable. I recommend using an accrual-basis Balance Sheet for management purposes, even though most small businesses will have to print a cash-basis balance sheet for tax purposes.
F. Run report: Hit this button to apply your changes.
G. Customize: Select this option to customize your balance sheet further. We’ll explore this section in more detail in Step 3.
H. Save customization: Click this button and name your report if you want to save your Balance Sheet settings. You’ll then be able to choose this customized balance sheet from the Reports tab in the future.
Step 3: Customize Your Balance Sheet Further
You can customize your balance sheet further by clicking the Customize button (item G in the prior section). The Customize report screen contains four sections: General, Rows/Columns, Filter, and Header/Footer.
General
The first section in the Customize report screen covers general options:
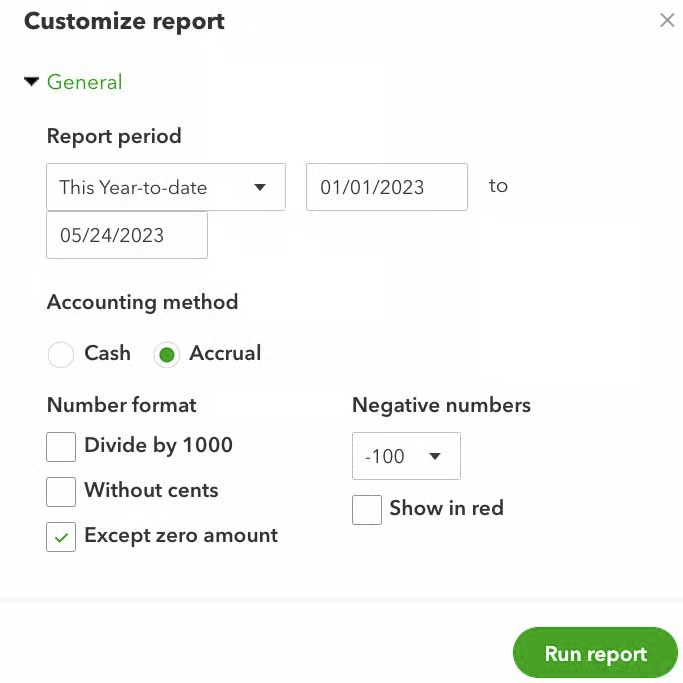
The Report period and Accounting method are populated automatically based on the selections you made in the prior section. Unique options in this screen include the ability to report numbers in thousands of dollars, omit cents from your balance sheet, and choose a format for negative numbers.
Rows/Columns
This section lets you select columns you want to include in your report and change the order of the columns.
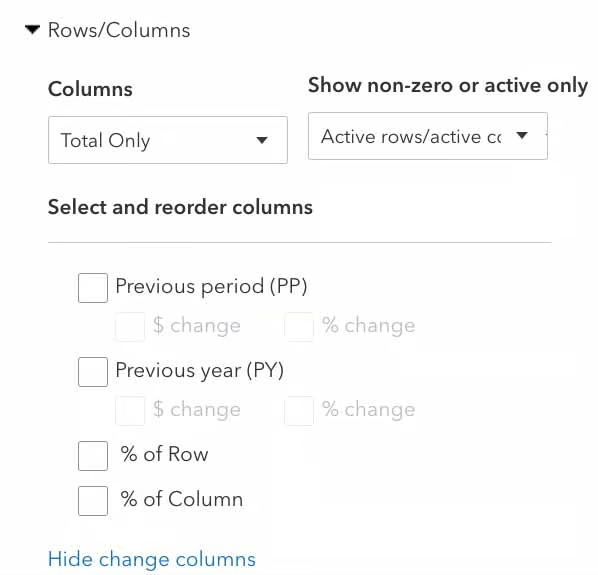
The % of Column is a nice option as it’ll help you analyze how your total assets are allocated among each asset account. You can reorder the columns by first selecting them and then clicking and dragging them up or down.
Filter
QuickBooks Online has several filters to choose from, as shown below.
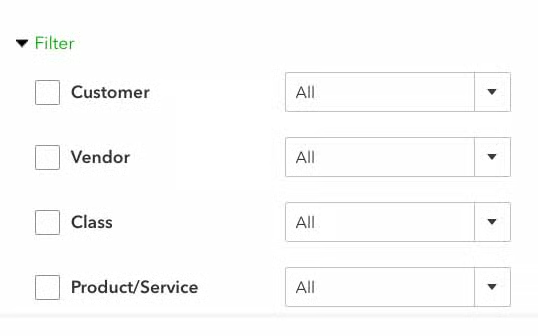
- Customer: This helps you analyze how customer-related transactions affect your balance sheet, such as outstanding customer invoices or customer deposits.
- Vendor: This allows you to narrow the report down to transactions related to a particular vendor or group of vendors, letting you analyze vendor-related transactions affecting your balance sheet, like vendor credits.
- Classes: This shows you how specific classes impact your balance sheet, such as classifying assets, liabilities, or equity by different business segments.
- Product/service: This helps you understand how specific products or services affect your balance sheet, such as tracking inventory assets or accrued revenue.
Header/Footer
Lastly, you can choose what information to display in the header and footer of the balance sheet.
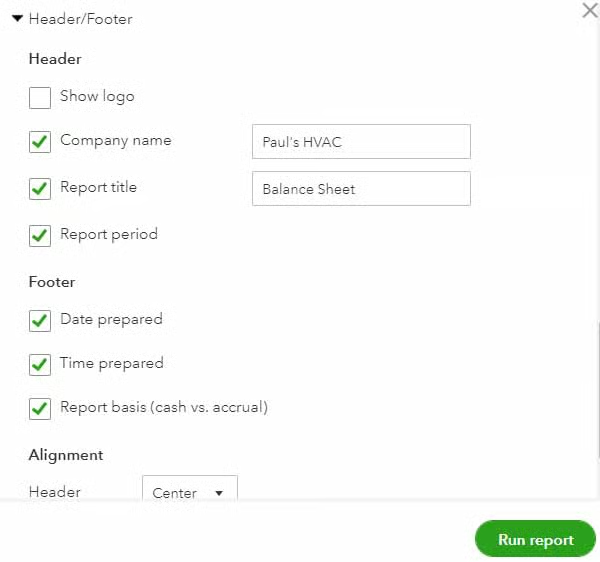
Tick the box of any field you wish to appear on your balance sheet. You can also change the name of the company and report that will appear in the header by entering text in the boxes next to the fields.
Once you’re done customizing your Balance Sheet report, click the green Run Report button at the bottom of the screen.
Step 4: Print, Email, or Export Your Balance Sheet
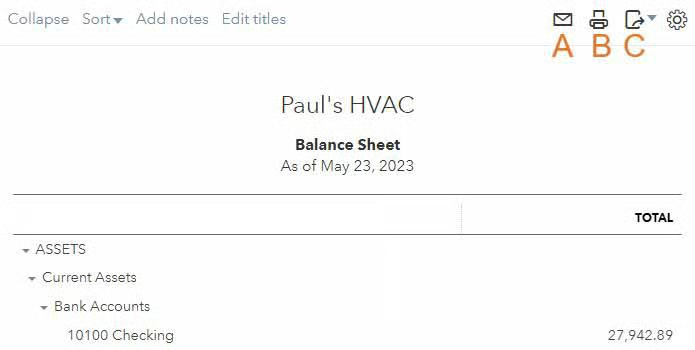
If necessary, you can email, print, and export your balance sheet (labeled A, B, and C, respectively, in the screenshot below). Click on the icon of the task you want to perform.
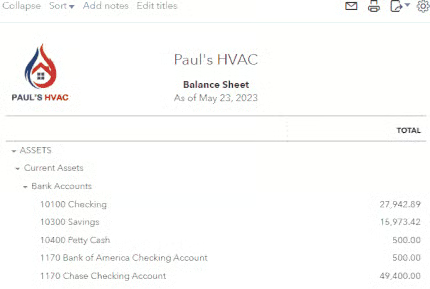
Here’s a sample balance sheet in QuickBooks Online:
What Is a Balance Sheet & Why It Is Important?
A balance sheet is a financial statement that summarizes everything your company owns and owes at the end of a certain period. It’s particularly important because it allows you, stakeholders, and potential investors to assess the business’s risks and returns and make adjustments to your working capital if needed. Further, it helps lenders evaluate the creditworthiness of your business, which comes in handy if you apply for a loan.
Frequently Asked Questions (FAQs)
Can I compare balance sheets for different periods in QuickBooks Online?
Yes, you can select the desired date range to compare the financial position of your business over different periods.
Can I export a balance sheet in QuickBooks Online?
Yes, you can export your balance sheet in a PDF or Excel format.
What other important reports are available in QuickBooks Online?
QuickBooks Online, our best small business accounting software, lets you run a wide range of reports. These include profit and loss reports, cash flow statements, and accounts payable and accounts receivable aging reports.
Wrap Up
Congratulations on completing another tutorial and learning how to create a balance sheet in QuickBooks Online. Our next guide will look at how to run a statement of cash flows in QuickBooks Online, which covers how to set up a default cash flow report and modify it if needed.