

QuickBooks allows you to customize the look and feel of your invoices to make them more professional for your clients. In this article, I’ll walk you through how to customize invoices in QuickBooks Online in just five easy steps, from creating form styles to choosing what appears in the invoice email.
Be sure to have your QuickBooks logged in alongside this article so that you can follow along in your account as you read. And if you
’
re not yet on QuickBooks, sign up now and get either 90% off for the first three months or a 30-day trial.
Step 1: Access custom form styles.
Click the cog wheel (⚙︎) then select Custom form styles to access all your custom forms. By default, QuickBooks has a standard form for invoices. I use the standard form for my example, which has details from the fictitious company called Gadget Garage.
If you’d like to start from scratch, click New style and then select Invoice from the dropdown menu. Otherwise, if you’d prefer editing the standard format, click Edit under the Action column to edit this form style. You’ll see the following window afterwards.
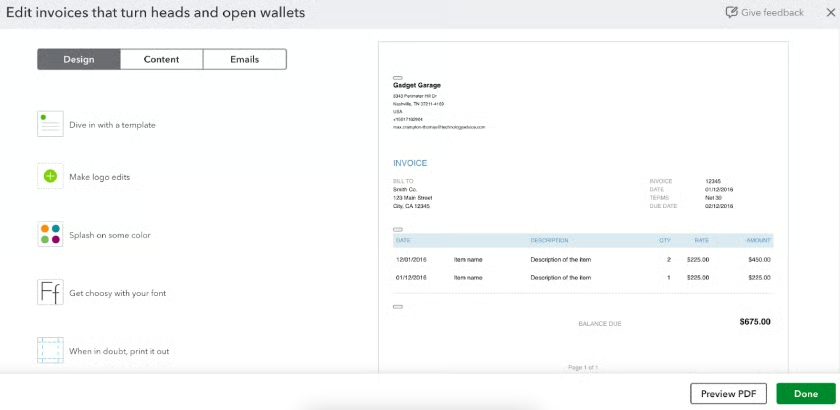
Step 2: Modify invoice designs.
Under the Design tab, you can modify the template, logo, color, font, and print settings.
Template
There are six templates available to choose from. I know that six is limited, especially if you really want to have a uniquely designed invoice. Unfortunately, that’s the only option with QuickBooks.

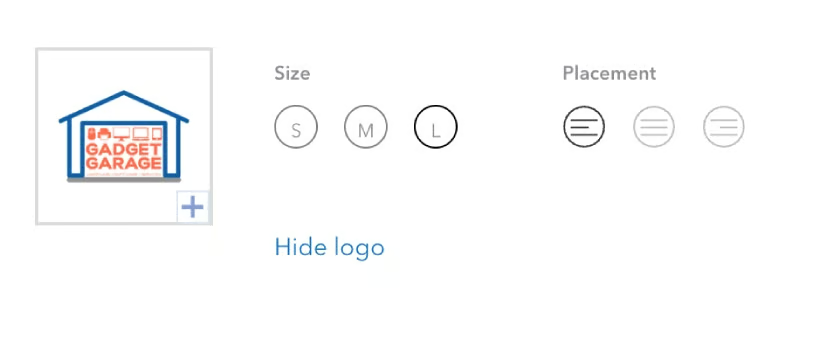
Logo
You can customize how your logo appears on the invoice or choose not to show it at all by clicking Hide logo, though I don’t recommend it. Your invoice is one of many your client receives, and without a logo, it’ll be easy to overlook.
You can adjust the logo size (small, medium, or large) and choose its alignment (left, center, or right), depending on the template you select. Each template has its own layout, so logo placement may vary slightly.
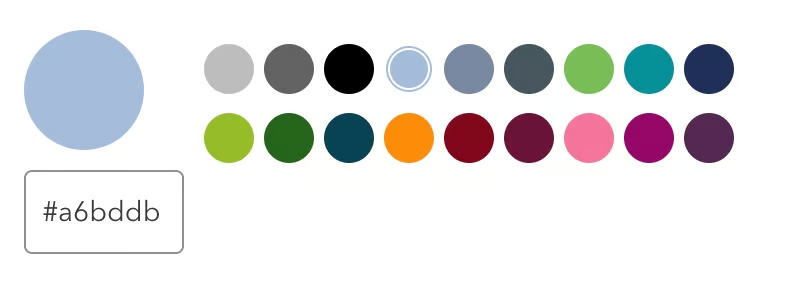
Color
To further customize your invoice, you can change its color by choosing from the preset options or entering a specific color code. If your business follows branding guidelines, I recommend using your brand’s primary color for consistency.
Keep in mind, you can only select one color, and how it appears on the invoice will vary based on the template you choose. It’s a bit limiting, so it’s best to manage expectations accordingly.
Font
QuickBooks offers only four font options: Arial Unicode MS, Courier, Helvetica, and Times New Roman. Font sizes are limited to 8pt, 10pt, and 12pt. When you select a font size, you apply it to the entire invoice and can’t adjust individual words or phrases separately.
Print settings
You can adjust the print settings if you want to ensure the invoice looks good on paper. However, I strongly recommend sending invoices by email unless a customer specifically requests a printed copy. Email is faster, more convenient, and environmentally friendly since it doesn’t require paper.
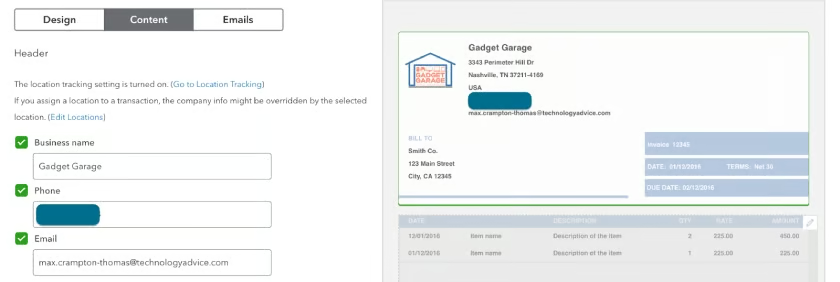
Step 3: Decide what information appears in your invoice.
Under the Content tab, you can modify what information appears in your invoice. You can click the invoice sections to edit the information.
Header
The header section shows essential company information like business name, phone, and email address. I suggest leaving those boxes checked because those are important information for your customers.
Table
The invoice table shows the details that appear in the invoice. By default, most check boxes are already ticked, but you may choose to remove some fields. I suggest keeping those as-is since most fields are important for invoices nonetheless.
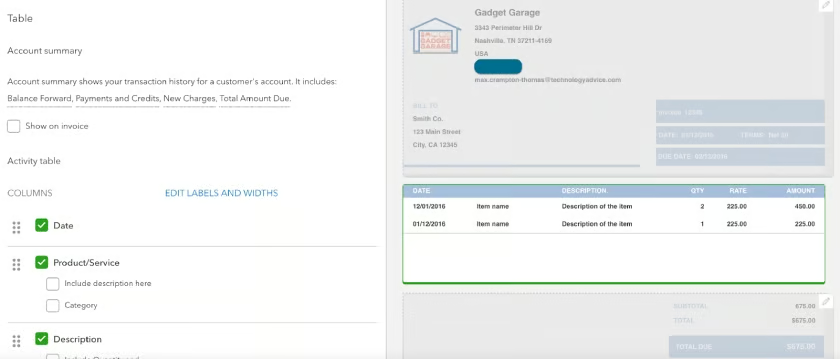
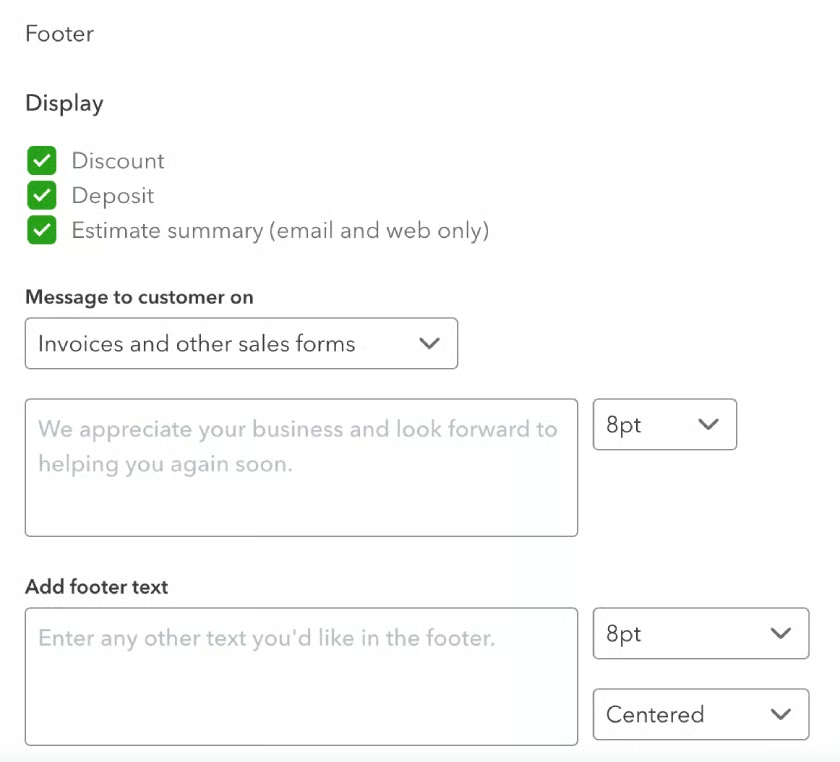
Footer
The footer displays the total amount your customer needs to pay. By default, all options — such as showing discounts, deposits, and estimate summaries — are unchecked. However, it’s a good idea to enable them for added clarity. You can also include a personalized message, like “Thank you for your business,” to leave a positive impression.
Step 4: Personalize your email content.
QuickBooks lets you send invoices directly to your customers via email, so there’s no need to handle the task manually. The emails use a professional QuickBooks-branded layout that highlights your business information. However, you won’t be able to send invoices from your own business email address since everything is sent through QuickBooks’ system.
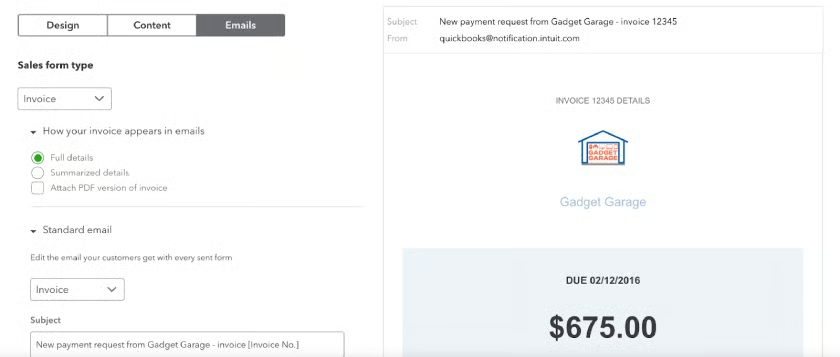
You can customize the email subject line and message body that appear when invoices are sent. Keep in mind that this content will be the same for all invoices, which can save time because you won’t need to rewrite the message each time you send an invoice.
Step 5: Finalize the invoice design.
Once you’re done modifying all fields above, click Preview PDF to see what your invoice looks like overall. If it’s good to go, click Done. You can further edit the invoice design later, in case you want a new look or are unhappy with your current design.
You can also choose different designs. However, when it’s time to create an invoice, be sure to select the design you want because QuickBooks will always use the default or standard design.
Why customize your invoices in QuickBooks Online
A well-designed invoice not only makes you look professional but also helps you get paid faster. Here’s why it’s worth taking a few extra minutes to personalize them.
Look more professional and trustworthy.
Adding your logo, brand colors, and business name makes your invoice instantly recognizable. It shows clients you
’
re serious and helps you come across as more polished and reliable.
Make things easier for your clients.
When you include personalized details like the client
’
s name, a short thank-you message, or what the invoice is for, it feels more thoughtful. Clients appreciate that, and it helps avoid confusion.
Get paid quicker.
A clear, branded invoice is easier to spot and process. Clients are more likely to pay attention to it when they know exactly who it
’
s from and what it
’
s for.
Frequently asked questions (FAQs)
How do I customize an invoice in QuickBooks Online?
You can customize an invoice by uploading your company logo and adjusting invoice colors and fonts, adding fields unique to your business, and including a personalized message for your customers. You can do these from the new invoicing form, which allows you to create and customize your invoices on the spot.
Is the new QuickBooks invoicing layout available to all new users?
Yes. However, some users may still be using the old layout, though there should be an option to switch to the new one. All users will eventually have the new layout; the old one will no longer be available over the coming months.
Can I create invoice templates using the new invoicing layout?
Yes. You can do so by selecting Manage under the Design tab of the invoicing form and then customizing the new invoice template.
Wrap up
You just learned how to customize invoices in QuickBooks Online. Our next tutorial is about how to set up sales form content in QuickBooks Online, where you’ll learn how to designate what content will show on your invoices, estimates, and sales receipts.